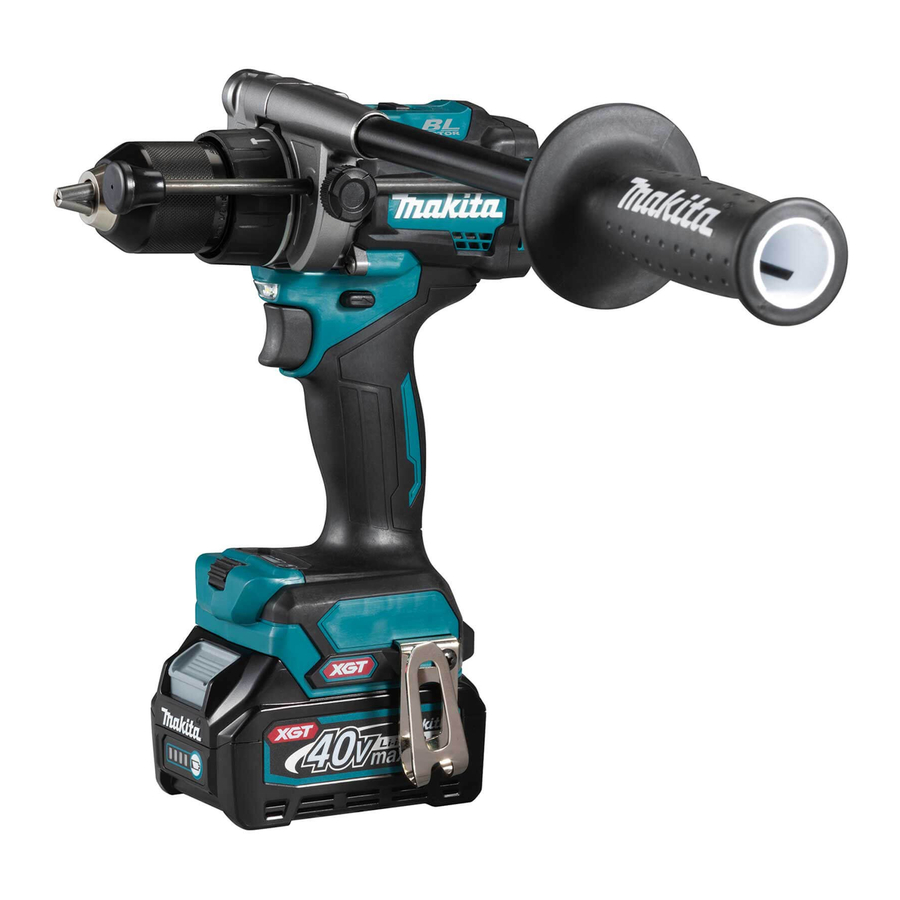
Makita HP001G Instruction Manual
Cordless hammer driver drill
Hide thumbs
Also See for HP001G:
- Instruction manual (96 pages) ,
- Instruction manual (89 pages) ,
- Instruction manual (73 pages)
Summary of Contents for Makita HP001G
- Page 1 INSTRUCTION MANUAL Cordless Hammer Driver Drill HP001G IMPORTANT: Read Before Using.
-
Page 2: Specifications
SPECIFICATIONS Model: HP001G Drilling capacities Masonry 20 mm Steel 20 mm Wood Auger bit: 50 mm Self-feed bit: 76 mm Hole saw: 152 mm Fastening capacities Wood screw 10 mm x 90 mm Machine screw No load speed (RPM) High (2) -
Page 3: Ec Declaration Of Conformity
Electrical safety Vibration Power tool plugs must match the outlet. Never modify the plug in any way. Do not use any The vibration total value (tri-axial vector sum) deter- adapter plugs with earthed (grounded) power mined according to EN62841-2-1: tools. Unmodified plugs and matching outlets will Work mode: impact drilling into concrete reduce risk of electric shock. - Page 4 Always wear protective goggles to protect When using the tool, do not wear cloth work your eyes from injury when using power tools. gloves which may be entangled. The entangle- The goggles must comply with ANSI Z87.1 in ment of cloth work gloves in the moving parts may the USA, EN 166 in Europe, or AS/NZS 1336 result in personal injury.
- Page 5 Do not touch the terminals with any con- causing fires, personal injury and damage. It will ductive material. also void the Makita warranty for the Makita tool and Avoid storing battery cartridge in a con- charger. tainer with other metal objects such as nails, coins, etc.
-
Page 6: Tips For Maintaining Maximum Battery Life
Tips for maintaining maximum CAUTION: Always install the battery cartridge battery life fully until the red indicator cannot be seen. If not, it may accidentally fall out of the tool, causing injury to Charge the battery cartridge before completely dis- you or someone around you. -
Page 7: Overload Protection
Tool / battery protection system Lighting up the front lamp The tool is equipped with a tool/battery protection sys- tem. This system automatically cuts off power to the motor to extend tool and battery life. The tool will auto- matically stop during operation if the tool or battery is placed under one of the following conditions: Overload protection When the tool is operated in a manner that causes it to... -
Page 8: Speed Change
Speed change ► 1. Action mode changing ring 2. Mark 3. Arrow This tool has three action modes. ► 1. Speed change lever • Drilling mode (rotation only) • Hammer drilling mode (rotation with CAUTION: Always set the speed change lever hammering) fully to the correct position. -
Page 9: Adjusting The Fastening Torque
Adjusting the fastening torque CAUTION: Make sure that the dial is clean. Depending on the work environment, foreign objects such as iron scraps or chips may adhere to the dial and cause the personal injury. ► 1. Dial 2. Indicator 3. Button 4. Green light The fastening torque can be adjusted in 41 levels in low speed and 21 levels in high speed. -
Page 10: Electronic Function
If any malfunction occurred with the Optional accessory electronic function, the light blinks for 3 seconds, and then, turns off. In that case, contact with Makita Authorized or Factory Service Centers to repair. NOTE: This function does not work if the acceleration does not reach the predetermined one when the tool is swung. -
Page 11: Operation
The hook is convenient for temporarily hanging the tool. Installing side grip (auxiliary handle) This can be installed on either side of the tool. To install the hook, insert it into a groove in the tool housing on either side and then secure it with a screw. To remove, loosen the screw and then take it out. -
Page 12: Screwdriving Operation
Blow-out bulb Optional accessory ► 1. Vent Screwdriving operation ► 1. Blow-out bulb NOTICE: Adjust the dial to the proper torque level After drilling the hole, use the blow-out bulb to clean the for your work. dust out of the hole. NOTICE: Make sure that the driver bit is inserted Drilling operation... -
Page 13: Maintenance
Discoloration, deformation or cracks may result. To maintain product SAFETY and RELIABILITY, repairs, any other maintenance or adjustment should be performed by Makita Authorized or Factory Service Centers, always using Makita replacement parts. OPTIONAL ACCESSORIES CAUTION:... - Page 16 Makita Europe N.V. Jan-Baptist Vinkstraat 2, 3070 Kortenberg, Belgium Makita Corporation 3-11-8, Sumiyoshi-cho, Anjo, Aichi 446-8502 Japan 885765-229 www.makita.com 20191001...


