Table of Contents
Advertisement
Quick Links
1. IMPORTANT SAFETY INSTRUCTIONS ................................................................................. 4
2. DIMENSIONAL REQUIREMENTS .......................................................................................... 6
2.1 Product dimension ............................................................................................................. 7
3. UNPACKING, MOVING AND PLACING THE RANGE ........................................................... 8
4. WALL FIXING AND ANTI-TIP DEVICE ................................................................................... 9
4.1 Instructions for wall mounting ............................................................................................ 9
4.2 Mounting the rear top upstand ......................................................................................... 11
5. ELECTRICAL CONNECTION ............................................................................................... 12
5.1 US installation only / 3-wire branch circuit ....................................................................... 13
5.2 US installation and canadian installation / 4-wire branch circuit ...................................... 14
NOTE: THIS APPLIANCE MUST BE INSTALLED SOLELY AND EXCLUSIVELY BY A QUALIFIED
TECHNICIAN. ANY TECHNICAL PROCEDURES MUST BE CARRIED OUT BY AN AUTHORIZED
TECHNICIAN.
INSTRUCTIONS FOR THE INSTALLER: these are intended for the qualified engineer who is able to
install, commission and test the appliance
Table of Contents
3
Advertisement
Table of Contents

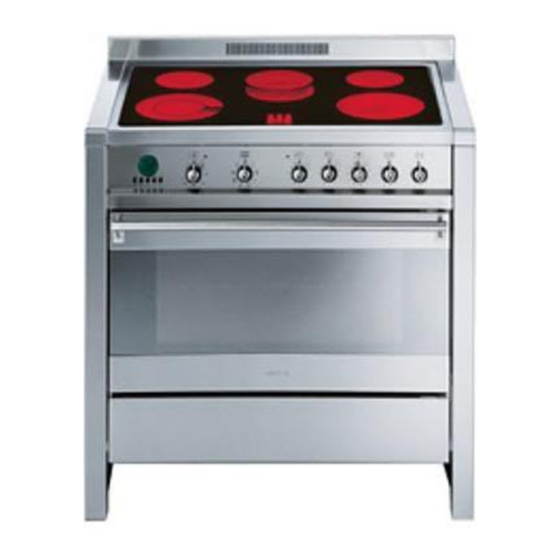
Summary of Contents for Smeg A1XCU6
-
Page 1: Table Of Contents
1. IMPORTANT SAFETY INSTRUCTIONS ... 4 2. DIMENSIONAL REQUIREMENTS ... 6 2.1 Product dimension ... 7 3. UNPACKING, MOVING AND PLACING THE RANGE ... 8 4. WALL FIXING AND ANTI-TIP DEVICE ... 9 4.1 Instructions for wall mounting ... 9 4.2 Mounting the rear top upstand ... -
Page 2: Important Safety Instructions
IMPORTANT: Installation and grounding must comply with applicable local codes. Observe all government local codes and ordinances. WARNING NOTE: This range is NOT designed for installation in manufactured (mobile) homes or for installation in Recreational Park Trailers. DO NOT install this range outdoors. -
Page 3: Important Safety Instruction
Important Safety Instruction To reduce the risk of fire, electrical shock, injury to persons, or damage when installing the range, some basic precautions must be followed, WARNING including: Read all instructions Proper installation is your responsibility. Have a qualified technician to install and ground this appliance, in accordance with these installation instructions. -
Page 4: Dimensional Requirements
3 35- ½ “ (90 cm) min. cabinet opening widht; 4 18” (45.7 cm) upper cabinet to countertop; 5 2” (5 cm) min. clearance from the sides of range to side wall or other combustible material; 6 Junction box. Instructions for the Installer... -
Page 5: Product Dimension
Instructions for the Installer 2.1 Product dimension Overall dimension: location of electrical connection points. Check location where the range will beinstalled. The range should be located for convenient use in the kitchen. NOTE: Observe all governing codes and ordinances. All openings in the wall or floor where range is to be installed must be sealed. -
Page 6: Unpacking, Moving And Placing The Range
Due to the weight, a dolly / fork lift with soft wheels should be used to move this unit. The weight must be supported uniformly across the bottom. After transporting the professional range close to its final location, the range can be tipped back and supported on the rear legs while the dolly is carefully removed. -
Page 7: Wall Fixing And Anti-Tip Device
The anti tip brackets are to be attached to the rear wall as shown. The height of the bracket location from the floor is determined after the range legs have been adjusted to the installation height as shown in the installation instructions and the range has been leveled. - Page 8 (A) using the appliance’s dimensions as a guide. recommended A1XCU6 ( ” 4 Correctly position the range so that the two screws fit the anti-tip brackets on the range perfectly. Instructions for the Installer (Type of screw ”...
-
Page 9: Mounting The Rear Top Upstand
WARNING wire Do not ground to a gas pipe Check with a qualified electricial if you are not sure that the range is grounded Do not have a fuse in the neutral or ground circuit FAILURE TO FOLLOW THESE INSTRUCTIONS COULD RESULT IN DEATH,... - Page 10 Your local codes and ordinaces, of course, take precedence to these instructions. Complete electrical connections according to local and ordinances. This range must be connected to a grounded, metallic, permanent wiring system, or a ground connector should be connected to the ground terminal or wire lead on the range.
-
Page 11: Us Installation Only / 3-Wire Branch Circuit
WARNING ELECTRIC SHOCK HAZARD Turn power supply off before connecting wires. WARNING Electrically ground range. Failure to follow these instructions can results in death, fire, or electrical shock. Improper connection of the equipment-grounding conductor can result in a risk of electric shock. Check with a qualified electrician or serviceman if you are in doubt as to whether the appliance is properly grounded. -
Page 12: Us Installation And Canadian Installation / 4-Wire Branch Circuit
Instructions for the Installer 5.2 US installation and canadian installation / 4-wire branch circuit Refer to picture 2, The ground wire must be attached first; Connect the green or yellow-green ground wire from the appliance to the ground in the junction box (green colored wire).


