Makita UM600D Instruction Manual
Cordless hedge trimmer
Hide thumbs
Also See for UM600D:
- User manual ,
- Instruction manual (132 pages) ,
- Instruction manual (108 pages)
Table of Contents
Advertisement
Quick Links
Download this manual
See also:
Instruction Manual
Advertisement
Table of Contents

Related Manuals for Makita UM600D


Summary of Contents for Makita UM600D
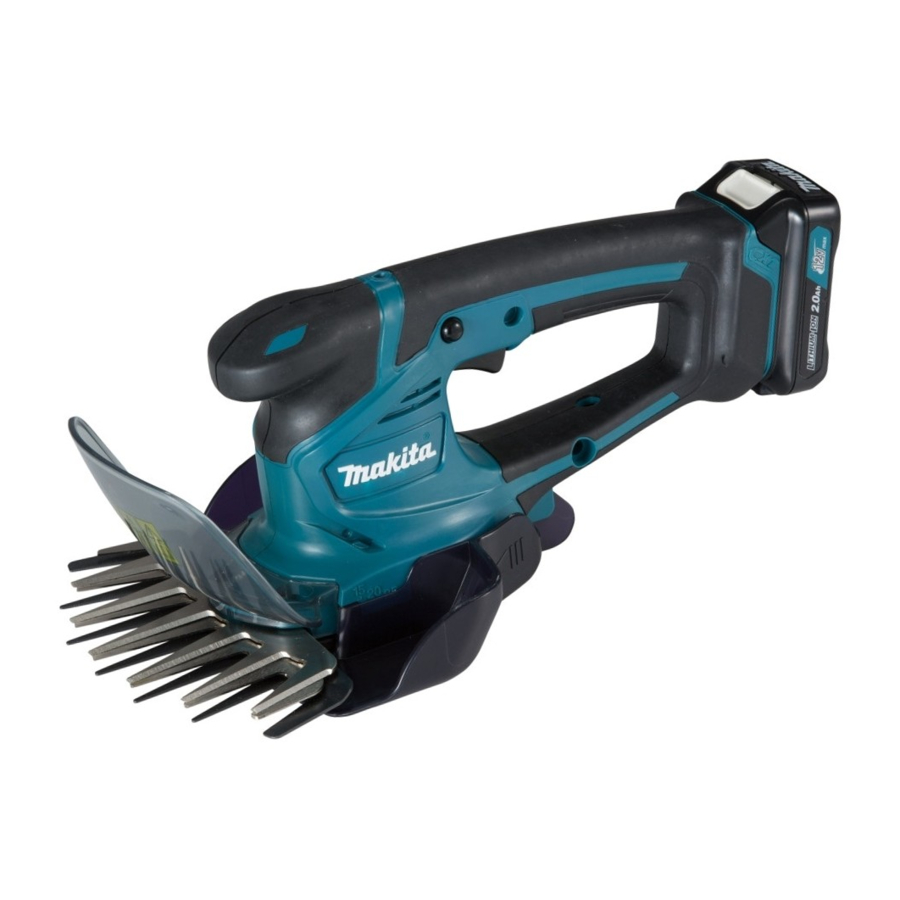
- Page 1 INSTRUCTION MANUAL Cordless Grass Shear / Cordless Hedge Trimmer UM600D / UH201D Read before use.
-
Page 2: Specifications
SPECIFICATIONS UM600D with shear blade for grass shear installed Model: UM600D Cutting width 160 mm Strokes per minute 2,500 min Dimensions 347 mm x 177 mm x 131 mm (L x W x H) Rated voltage D.C. 10.8 V Battery cartridge... -
Page 3: Ec Declaration Of Conformity
The vibration total value (tri-axial vector sum) deter- Electrical Safety mined according to EN50636: Power tool plugs must match the outlet. Never UM600D/UH201D with shear blade for grass shear modify the plug in any way. Do not use any installed adapter plugs with earthed (grounded) power Vibration emission (a ) : 2.5 m/s... - Page 4 Power tool use and care Cordless Grass Shear Safety Do not force the power tool. Use the correct Warnings power tool for your application. The correct power tool will do the job better and safer at the General instructions rate for which it was designed. To ensure correct operation, user has to read Do not use the power tool if the switch does this instruction manual to make himself famil- not turn it on and off. Any power tool that cannot...
- Page 5 When not in use, store the equipment indoors Switch on the motor only when the hands and feet are away from the cutting tool. in dry and high or locked-up place - out of the reach of children. Clean and maintain before Before starting make sure that the cutting tool storage.
- Page 6 Keep it out of reach of children. have been altered, may result in the battery bursting Never store the trimmer outdoors. causing fires, personal injury and damage. It will also void the Makita warranty for the Makita tool and SAVE THESE INSTRUCTIONS. charger. WARNING:...
-
Page 7: Functional Description
Always be sure that the tool is switched off and the battery cartridge is removed before adjusting or checking function on the tool. Using the tool as cordless hedge trimmer/grass shear For UM600D This tool can be used as cordless hedge trimmer by installing the shear blades for hedge trimmer (optional accessory). For UH201D This tool can be used as cordless grass shear by installing the shear blades for grass shear (optional accessory). -
Page 8: Overdischarge Protection
Lamp status and action to be taken tool if it starts when you pull the switch trigger Indicator lamp Status Action to be taken without pressing the lock-off button. Ask your local Makita Service Center for repairs. The lamp blinks The remaining Charge the battery. red. battery capacity is low. - Page 9 Change the fixed position of the grass receiver by moving it in the direction of the arrow. NOTE: The shearing height value is a guideline. The actual shearing height may vary depending on the condition of the lawn or the ground. NOTE: Try a test shearing in a less conspicuous place to get your desired height. ASSEMBLY CAUTION: Always be sure that the tool is Installing or removing the grass switched off and the battery cartridge is removed receiver...
- Page 10 ► 1 . Hinge 2. Grass receiver Remove the undercover, shear blades, and crank. Align the protrusions on the grass receiver with the grooves on the tool by sliding the grass receiver toward the front of the tool and moving it in the direction of the arrow. NOTICE: Do not attach the hinge of the grass receiver to the tool forcibly after aligning the pro-...
- Page 11 Adjust the three pins so that they are lined up on Turn the shear blades upside down and install the alignment line. them so that the pins on the tool fit in the hole on the base plate. Make sure that the shear blades are fixed securely in place. ► 1 . Alignment line Apply a small amount of grease to the periphery Place the undercover so that on the under- of the crank. Attach the crank to the pins with the small cover is aligned with on the lock lever. and large rounds facing up. While pressing the undercover, turn the under- ► 1 . Crank cover clockwise until on the undercover is aligned with...
- Page 12 Make sure that the lock lever fits in the groove on While pressing the lock lever, turn the undercover the undercover. counterclockwise until on the undercover is aligned with on the lock lever. ► 1 . Lock lever CAUTION: Never use the tool without install- ing the undercover. Remove the undercover. 10.
- Page 13 Adjust the three pins so that they are lined up on the alignment line. ► 1 . Screws NOTE: The shear blades can be removed without removing the screws. Remove the crank from the shear blades. ► 1 . Alignment line Apply a small amount of grease to the periphery of the crank. Attach the crank to the pins with the small and large rounds facing down. ► 1 . Crank NOTE: The crank may remain in the tool. Attach the blade cover and the storage case to the removed shear blades, and then store the blades. Installing the shear blades Prepare the crank, undercover, and new shear blades.
- Page 14 Turn the shear blades upside down and install them so that the pin on the tool fits in the hole on the shear blades. Insert the claw of the base plate into the While pressing the undercover, turn it clockwise groove on the tool. Make sure that the shear blades are until on the undercover is aligned with on the lock fixed securely in place.
-
Page 15: Operation
Installing or removing the chip receiver Optional accessory CAUTION: When installing or removing the chip receiver, always wear gloves and attach the blade cover so that your hands and face do not directly contact the blade. The chip receiver gathers discarded leaves and makes clean-up afterward much easier. It can be installed on either side of the tool. - Page 16 CAUTION: Overreaching with a hedge trim- mer, particularly from a ladder, is extremely dangerous. Do not work while standing on anything wobbly or infirm. NOTICE: Do not attempt to cut branches thicker than 10 mm in diameter with the tool. Cut branches to the desired height using branch cutters before using the tool.
-
Page 17: Cleaning The Tool
MAINTENANCE CAUTION: Always be sure that the tool is switched off and the battery cartridge is removed before attempting to perform inspection or maintenance. To maintain product SAFETY and RELIABILITY, repairs, any other maintenance or adjustment should be performed by Makita Authorized or Factory Service Centers, always using Makita replacement parts. 17 ENGLISH... -
Page 18: Optional Accessories
OPTIONAL ACCESSORIES CAUTION: These accessories or attachments are recommended for use with your Makita tool specified in this manual. The use of any other accessories or attachments might present a risk of injury to persons. Only use accessory or attachment for its stated purpose. If you need any assistance for more details regard- ing these accessories, ask your local Makita Service Center. - Page 20 Makita Europe N.V. Jan-Baptist Vinkstraat 2, 3070 Kortenberg, Belgium Makita Corporation 3-11-8, Sumiyoshi-cho, Anjo, Aichi 446-8502 Japan 885549-225 www.makita.com 20161022...