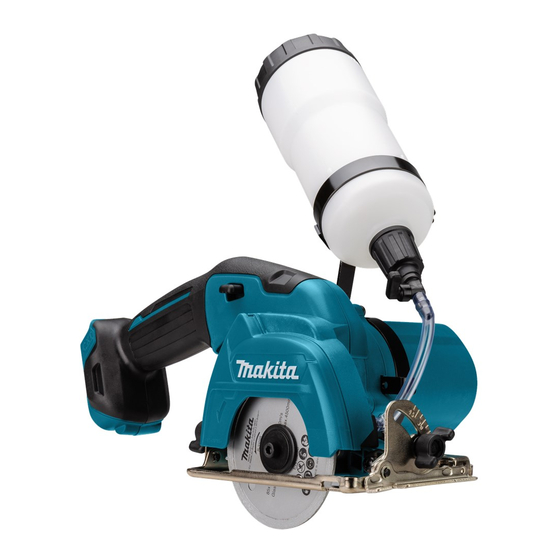
Makita CC301D Instruction Manual
Cordless cutter
Hide thumbs
Also See for CC301D:
- Instruction manual (69 pages) ,
- Instruction manual (53 pages) ,
- Instruction manual (57 pages)
Table of Contents
Advertisement
Quick Links
Download this manual
See also:
Instruction Manual
Advertisement
Table of Contents

Summary of Contents for Makita CC301D
- Page 1 INSTRUCTION MANUAL Cordless Cutter CC301D Read before use.
-
Page 2: Specifications
SPECIFICATIONS Model: CC301D Diamond wheel diameter 85 mm Max. wheel thickness 0.8 mm Max. Cutting depth at 0° bevel 25.5 mm at 45° bevel 16.5 mm Rated speed 1,600 min Rated voltage D.C. 10.8 V - 12 V max Battery cartridge... - Page 3 Use personal protective equipment. Always wear eye Use power tools only with specifically desig- protection. Protective equipment such as dust mask, non- nated battery packs. Use of any other battery skid safety shoes, hard hat, or hearing protection used for packs may create a risk of injury and fire.
- Page 4 Do not use damaged wheels. Before each movement at the point of pinching. Abrasive wheels use, inspect the wheels for chips and cracks. may also break under these conditions. If power tool or wheel is dropped, inspect for Kickback is the result of power tool misuse and/or damage or install an undamaged wheel.
-
Page 5: Functional Description
Improper storage may damage the wheels. have been altered, may result in the battery bursting causing fires, personal injury and damage. It will SAVE THESE INSTRUCTIONS. also void the Makita warranty for the Makita tool and charger. WARNING: DO NOT let comfort or familiarity with product (gained from repeated use) replace... -
Page 6: Battery Protection System
To install the battery cartridge, align the tongue on the Indicator lamps Remaining battery cartridge with the groove in the housing and slip capacity it into place. Insert it all the way until it locks in place with a little click. If you can see the red indicator on the Lighted upper side of the button, it is not locked completely. - Page 7 Installing or removing diamond wheel CAUTION: Use only the Makita wrench to install or remove the diamond wheel. CAUTION: When installing the diamond wheel, be sure to tighten the bolt securely.
- Page 8 ► 1 . Screw A 2. Tank holder 3. Motor housing 4. Notch BE SURE TO TIGHTEN THE HEX BOLT SECURELY. of the band (part of the tank holder) 5. Screw head of the tool Attach the tank on the tank holder so that the tank holder fits between the step and dots. Connect the cap on the tube end to the mouth of the tank.
-
Page 9: Operation
Do not use the tool with the dia- repairs, any other maintenance or adjustment should mond wheel in an upward or sideways position. be performed by Makita Authorized or Factory Service Centers, always using Makita replacement parts. CAUTION: The wheel for this tool is a wet- type diamond wheel for glass and tile applica- tions. - Page 12 Makita Corporation Anjo, Aichi, Japan 885502A928 20160215 www.makita.com...


