Makita DHP482 Instruction Manual
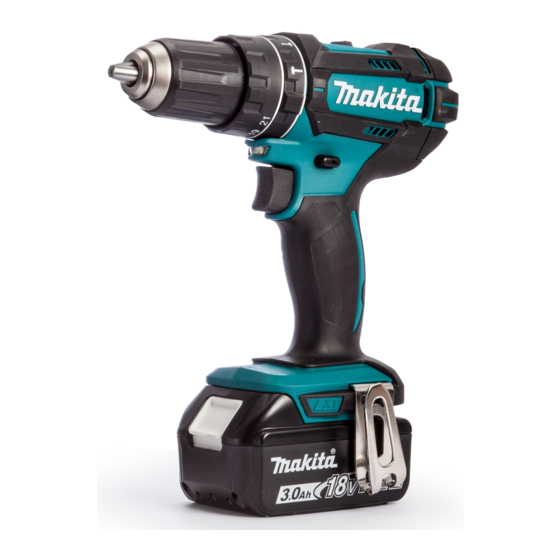
Cordless hammer driver drill
Hide thumbs
Also See for DHP482:
- Instruction manual (85 pages) ,
- Technical information (11 pages) ,
- Instruction manual (57 pages)
Table of Contents
Advertisement
Advertisement
Table of Contents

Related Manuals for Makita DHP482


Summary of Contents for Makita DHP482
- Page 1 INSTRUCTION MANUAL Cordless Hammer Driver Drill DHP482 Read before use.
- Page 2 ) : 82 dB(A) For European countries only Sound power level (L ) : 93 dB (A) Makita declares that the following Machine(s): Uncertainty (K) : 3 dB(A) Designation of Machine: Cordless Hammer Driver Drill Model No./ Type: DHP482 WARNING: Wear ear protection.
- Page 3 Do not use a power tool while you are tired or Makita, Jan-Baptist Vinkstraat 2, 3070, Belgium under the influence of drugs, alcohol or med- 30.3.2015 ication. A moment of inattention while operating power tools may result in serious personal injury.
- Page 4 Makita warranty for the Makita tool and Hold the tool firmly. charger. Keep hands away from rotating parts.
- Page 5 charge the battery cartridge when you notice CAUTION: Always install the battery cartridge less tool power. fully until the red indicator cannot be seen. If not, Never recharge a fully charged battery car- it may accidentally fall out of the tool, causing injury to tridge. Overcharging shortens the battery you or someone around you. service life.
- Page 6 Indicating the remaining battery Switch action capacity Only for battery cartridges with "B" at the end of the model number 1. Switch trigger CAUTION: Before inserting the battery car- tridge into the tool, always check to see that the 1. Indicator lamps 2.
- Page 7 Reversing switch action Position of Speed Torque Applicable speed operation change lever High Heavy load- ing operation High Light loading operation To change the speed, switch off the tool first. Select the "2" side for high speed or "1" for low speed but high torque. Be sure that the speed change lever is set to the correct position before operation.
- Page 8 Adjusting the fastening torque 1. Action mode changing ring 2. Adjusting ring 3. Graduation 4. Arrow The fastening torque can be adjusted in 21 steps by turning the adjusting ring. Align the graduations with the arrow on the tool body. You can get the minimum fastening torque at 1 and maximum torque at 21. Before actual operation, drive a trial screw into your material or a piece of duplicate material to determine which torque level is required for a particular application.
- Page 9 Installing driver bit holder Screwdriving operation Optional accessory CAUTION: Adjust the adjusting ring to the proper torque level for your work. CAUTION: Make sure that the driver bit is inserted straight in the screw head, or the screw and/or driver bit may be damaged. First, turn the action mode changing ring so that the arrow on the tool body points to the marking.
- Page 10 Drilling operation Replacing carbon brushes First, turn the adjusting ring so that the pointer points to marking. Then proceed as follows. Drilling in wood When drilling in wood, the best results are obtained with wood drills equipped with a guide screw. The guide screw makes drilling easier by pulling the drill bit into the workpiece.
- Page 11 1 minute. Check the tool while running and electric brake operation when releasing the switch trigger. If electric brake is not working well, ask Makita Authorized or Factory Service Centers for repair. To maintain product SAFETY and RELIABILITY,...
- Page 12 Makita Jan-Baptist Vinkstraat 2, 3070, Belgium Makita Corporation Anjo, Aichi, Japan 885433-224 www.makita.com 20150625...