Advertisement
Quick Links
Download this manual
See also:
User Manual
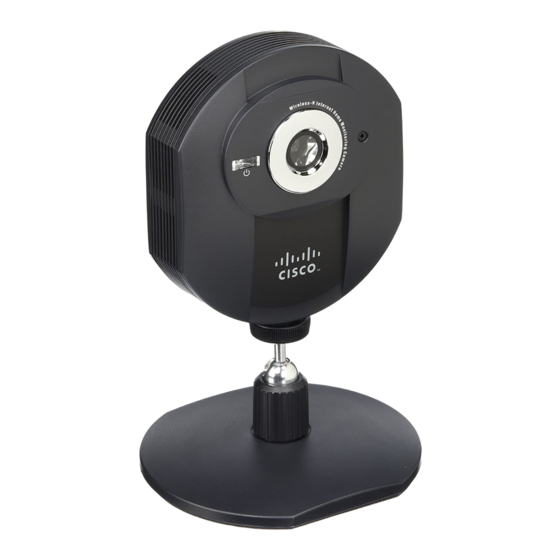
Wireless-N Internet Home Monitoring Camera
Package Contents
•
Wireless-N Internet
Home Monitoring Camera
•
Camera stand/wallmount
•
Setup software and
User Guide on CD-ROM
•
Quick Installation Guide
•
Network cable
•
Power adapter
Quick Installation Guide
Model:
WVC80N
Advertisement

Related Manuals for Cisco WVC80N


Summary of Contents for Cisco WVC80N
- Page 1 Wireless-N Internet Home Monitoring Camera Package Contents • Wireless-N Internet Home Monitoring Camera • Camera stand/wallmount • Setup software and User Guide on CD-ROM • Quick Installation Guide Quick Installation Guide • Network cable • WVC80N Model: Power adapter...
- Page 2 Installation Insert the Setup CD-ROM into your CD-ROM drive. Click Start Setup, then click Next. Click Next. Select I accept this agreement, then click Next.
- Page 3 Please wait while the Wizard identifies the devices on your network. When it has finished, click Next. Follow the on-screen instructions to connect the Camera. Please wait while the Wizard searches for the Camera. Enter a username and password for the Camera. The username and password may only contain letters, numbers, or the underscore ( _ ) character.
- Page 4 Choose a descriptive name for your camera and enter it in the Friendly Name field. If you would like to save the Camera’s settings to a text file on your desktop, select Save settings to your desktop. Click Next. Please wait while the Wizard configures your settings.
- Page 5 The Wizard searches for available wireless networks. When it has finished, select your wireless network and click Next. If your network uses wireless security, the Enter Wireless Network Security Key screen appears. Enter your password in the Security Key field and click Next.
- Page 6 Enter your router’s username and password and click Next. Congratulations! The Camera installation is complete. To set up your Camera for remote viewing over the Internet, continue to “Remote Access Setup” below. Remote Access Setup Using the TZO DDNS Service, you can access the Camera from anywhere on the Internet by using the Camera’s domain name.
- Page 7 If you are setting up a new TZO account, select I would like to create a new TZO DDNS domain name... and click Next. Go to step D. If you already have a TZO account, select No thanks, I have an existing TZO DDNS domain name...
- Page 8 © 2009 Cisco Systems, Inc. All rights reserved. Cisco, the Cisco logo, and Linksys are trademarks or registered trademarks of Cisco Systems, Inc. and/ or its affiliates in the United States and certain other countries. All other trademarks mentioned in this document or website are the property of their respective owners.