Tripp Lite B040-008-19 Owner's Manual
Hide thumbs
Also See for B040-008-19:
- Owner's manual (36 pages) ,
- Quick start manual (32 pages) ,
- Specifications (3 pages)
Table of Contents
Advertisement
NetController
Note: Follow these instructions and operating procedures to ensure correct performance and to prevent damage to this unit or to its connected devices.
Copyright © 2009 Tripp Lite. All rights reserved. All trademarks are the property of their respective owners.
Owner's Manual
Rackmount KVM Switches
Models: B040-008-19, B040-016-19, B042-004, B042-008 and B042-016
1111 W. 35th Street, Chicago, IL 60609 USA
www.tripplite.com/support
™
Console KVM and
2
2
2
2
2
3
5
5
5
6
7
7
7
7
7
8
8
Español
8
8
Français
1
8
8
8
8
9
9
9
9
9
9
9
10
10
10
10
10
12
12
13
25
Advertisement
Table of Contents

Related Manuals for Tripp Lite B040-008-19


Summary of Contents for Tripp Lite B040-008-19
-
Page 1: Table Of Contents
Note: Follow these instructions and operating procedures to ensure correct performance and to prevent damage to this unit or to its connected devices. Copyright © 2009 Tripp Lite. All rights reserved. All trademarks are the property of their respective owners. -
Page 2: Features
• C13 Power Cord (B040-Series Console KVM Switches only) • External Power Supply* (B042-Series KVM Switches only) • Tripp Lite P780-Series USB/PS2 Combo KVM Cable Kit • Tripp Lite P781-Series Daisy-Chain Cable • HD15 Female to DB9 Male Firmware Upgrade Cable •... -
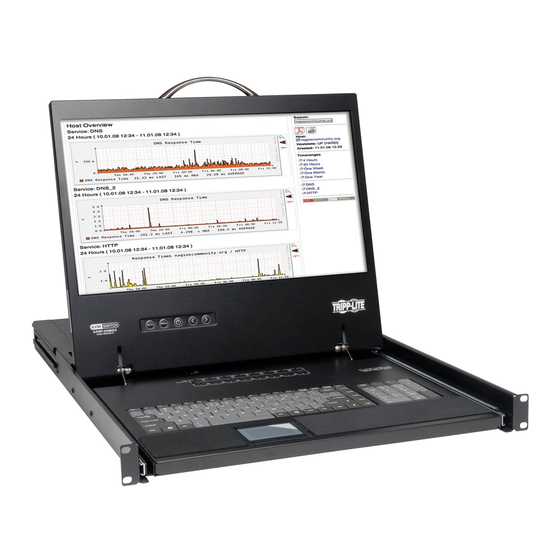
Page 3: External Views
1. Features (continued) 1.5 External Views Console KVM Switch Front View Upper Handle: Pull to slide the KVM Switch out; push to slide the KVM Switch in. 19” LCD Display: Built-in on-screen display (OSD) for convenient KVM Switch control, including port selection. OSD Push Buttons: Used to access the OSD Menu to adjust the LCD display. - Page 4 1. Features (continued) Console KVM Switch Rear View External USB Keyboard/Mouse Port: This USB port is available if you want to use an external keyboard or mouse. It can also be used if connecting a B051-000 IP Remote Access Unit. Firmware Upgrade Port: During a firmware upgrade, the included HD15 to DB9 Firmware Upgrade Cable connects to the KVM switch here.
-
Page 5: Installation
Note: If you are not using the External VGA Monitor port, you must connect the External VGA Port Terminator to it for the unit to function properly. Using Tripp Lite P780-Series USB/PS2 Combo KVM Cable Kits, connect a computer to an available computer port on the back of the unit. Repeat this step for each additional computer you are connecting. -
Page 6: Daisy-Chaining
Note: The maximum distance between any two daisy-chained KVM switches is 98 ft (30 m)*. Step 5: Connect the external power supply to the second-level B042-Series KVM Switch and then plug it into a Tripp Lite Surge Suppressor, PDU or Uninterruptible Power Supply (UPS). -
Page 7: Operation
3. Operation This chapter provides general guidelines for KVM Switch operation. It is strongly recommended that you read this chapter in advance of operating your NetController KVM Switch. 3.1 Control Interfaces There are three ways to operate your NetController KVM Switch—Push buttons, Keyboard Hotkeys or the OSD Menu. The operation of these three control methods is detailed below. -
Page 8: Osd Main Menu
3. Operation (continued) 3.2 OSD Main Menu Upon opening the OSD, the OSD Main Menu is the first screen to appear. The OSD Main Menu displays the ports on the KVM installation and allows you to switch between them. In addition, the OSD Main Menu allows you to edit port names, mark ports as Easy View ports and navigate to other OSD pages. The following section describes the various features of the OSD Main Menu. -
Page 9: Osd Setup Page
3. Operation (continued) 3.3 OSD Setup Page The OSD Setup Page allows you to configure the settings of the KVM switch, and to enable/disable password security. The settings in the OSD Setup Page are described in the following sections. 3.3.1 Auto Logout The Auto Logout setting allows you to determine the amount of inactivity time required before the user is logged out of the KVM switch and required to enter a password to regain access. -
Page 10: Load Default
3. Operation (continued) 3.3.7 Load Default The Load Default setting allows you to restore the OSD’s factory default settings (Port Names, Auto Scan Period, Title Bar, etc.). Restoring the OSD’s fac- tory default settings will not affect the KVMs password security. To restore the default settings, highlight the Load Default settings and press the [Enter] key. - Page 11 3. Operation (continued) Step 5: Click the Select File button and find the firmware upgrade file that you just downloaded. Step 6: If you have not yet verified your KVM Switches firmware version number via the OSD Status page, click the Check Version button. This will compare your KVM Switches firmware to the firmware upgrade file you just downloaded.
-
Page 12: Technical Specifications
1-Year Limited Warranty TRIPP LITE warrants its products to be free from defects in materials and workmanship for a period of one (1) year from the date of initial purchase. TRIPP LITE’s obligation under this warranty is limited to repairing or replacing (at its sole option) any such defective products. To obtain service under this warranty, you must obtain a Returned Material Authorization (RMA) number from TRIPP LITE or an authorized TRIPP LITE service center.