Makita DTD129 Instruction Manual
Cordless
Hide thumbs
Also See for DTD129:
- Instruction manual (53 pages) ,
- Instruction manual (29 pages) ,
- Instruction manual (53 pages)

Related Manuals for Makita DTD129


Summary of Contents for Makita DTD129
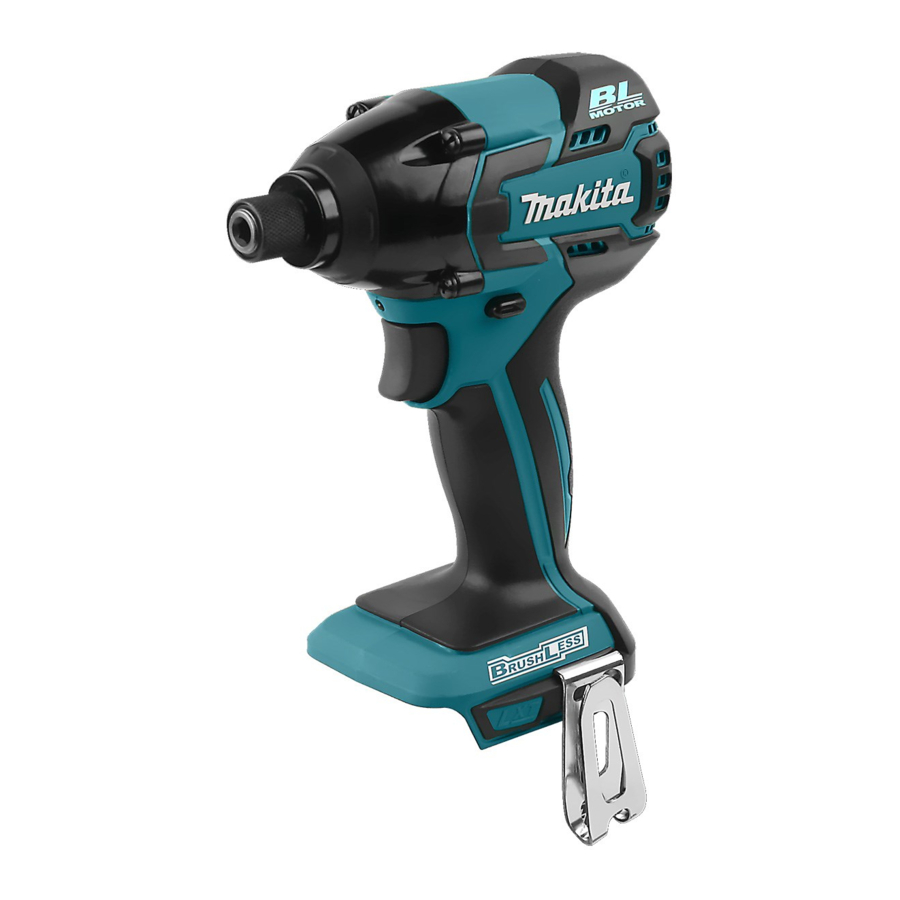
- Page 1 INSTRUCTION MANUAL Cordless Impact Driver DTD129 012780 IMPORTANT: Read Before Using.
-
Page 2: Specifications
For European countries only to EN60745: EC Declaration of Conformity Sound pressure level (L ) : 94 dB (A) Makita declares that the following Machine(s): Sound power level (L ) : 105 dB (A) Designation of Machine: Uncertainty (K) : 3 dB (A) Cordless Impact Driver Model No./ Type: DTD129... - Page 3 The technical file in accordance with 2006/42/EC is moving parts. Damaged or entangled cords available from: increase the risk of electric shock. Makita, Jan-Baptist Vinkstraat 2, 3070, Belgium When operating a power tool outdoors, use an extension cord suitable for outdoor use. Use of 28.4.2015 a cord suitable for outdoor use reduces the risk of electric shock.
- Page 4 GEB054-3 19. Disconnect the plug from the power source and/or the battery pack from the power tool CORDLESS IMPACT DRIVER before making any adjustments, changing SAFETY WARNINGS accessories, or storing power tools. Such preventive safety measures reduce the risk of Hold power tool...
-
Page 5: Functional Description
Do not expose battery cartridge to water FUNCTIONAL DESCRIPTION or rain. A battery short can cause a large current flow, overheating, possible burns and even a CAUTION: breakdown. Always be sure that the tool is switched off and the • Do not store the tool and battery cartridge in battery cartridge is removed before adjusting or locations where the temperature may reach or... - Page 6 Lithium-ion batteries with a star marking are equipped NOTE: with a protection system. This system automatically cuts Depending on the conditions of use and the • off power to the tool to extend battery life. ambient temperature, the indication may differ The tool will automatically stop during operation if the tool slightly from the actual capacity.
- Page 7 For tool with deep bit hole Reversing switch action 1. Reversing switch lever A=17mm To install these types of bits, follow the procedure (1). B=14mm To install these types of bits, follow A=12mm the procedure (2). B=9mm (Note) Bit-piece is necessary for installing the bit.
-
Page 8: Operation
Hook Standard bolt 1. Groove (kgf cm) 2. Hook (1,224) 3. Screw (1,020) (816) (M14) (612) 012787 (M12) The hook is convenient for temporarily hanging the tool. (408) This can be installed on either side of the tool. (M10) To install the hook, insert it into a groove in the tool (204) (M8) housing on either side and then secure it with a screw. -
Page 9: Maintenance
Only use accessory or attachment for its stated purpose. If you need any assistance for more details regarding these accessories, ask your local Makita Service Center. Screw bits • Hook • Socket bits •... - Page 12 Makita Jan-Baptist Vinkstraat 2, 3070, Belgium Makita Corporation Anjo, Aichi, Japan www.makita.com 885235B228...