
Related Manuals for Bosch DHI 635 H


Summary of Contents for Bosch DHI 635 H
- Page 1 DHI 635 H Operating and installation instructions Internet: http://www.bosch-hausgeraete.de Bosch Info-Team: de Tel. 01 80/5 30 40 50 (E 0,12/Min. DTAG)
- Page 2 Fig. 1 Abb. 1 ELECTRO min. 430 mind. 650...
-
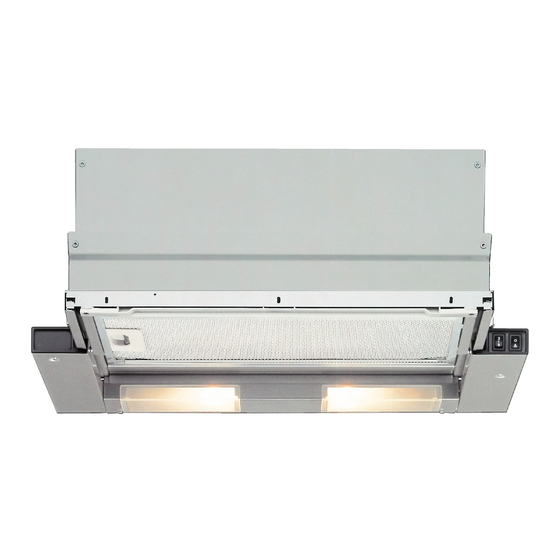
Page 3: Appliance Description
Instructions for use: Appliance description Operating modes This can be achieved if combustion air can flow through non-lockable openings, e.g. in doors, windows and via the air- intake/exhaust-air wall box or by other technical measures, such as reciprocal interlocking, etc. If the air intake is inadequate, there is a risk of poisoning from combustion gases which are drawn back into the room. -
Page 4: Before Using For The First Time
Before using for the first time Important notes: Before using your appliance for the first The Instructions for Use apply to several time, please read these Instructions for versions of this appliance. Accordingly, Use carefully. They contain important you may find descriptions of individual information concerning your personal features that do not apply to your safety as well as on use and care of the... -
Page 5: If You Encounter A Problem
Operating the extractor hood Kitchen fumes are best eliminated by: Light: Switching ON the fan when you start cooking. Switching OFF the fan several minutes after you finish cooking. Switching ON the fan: 1. Pull out the filter drawer by the handle. Note: the light can be used at any time, even if the filter drawer has been pushed in. -
Page 6: Filters And Maintenance
Filters and maintenance Metal-mesh grease filters have been Removing and installing the filter installed to filter grease particles out of frames the kitchen fumes. The filter mats are made of incombustible Removal: metal. 1. Pull out the filter drawer all the way. Attention: 2. -
Page 7: Cleaning And Care
Filters and maintenance Activated carbon filter: Removal: The activated carbon filter is removed in For filtering odours during circulating-air reverse sequence. mode. Press the locking hooks outwards. The activated carbon filter is installed above the grease filter(s) in the extractor hood. Replacing the activated carbon filter: 1. -
Page 8: Replacing The Light Bulb
Cleaning and care Replacing the light bulb Disconnect the extractor hood from the 1. Switch off the extractor hood and pull out the mains plug or switch off the electricity supply by pulling out the mains plug or switching it off at the fuse box. electricity supply at the fuse box. -
Page 9: Installation Instructions
Installation Instructions: Important information Additional information concerning gas Old appliances are not worthless cookers: rubbish. Valuable raw materials can be reclaimed by recycling old appliances. When installing gas hotplates, comply Before disposing of your old appliance, with the relevant national statutory render it unusable. -
Page 10: Prior To Installation
Prior to installation Exhaust-air mode The exhaust air is discharged upwards This can be achieved if combustion air can through a ventilation shaft or directly flow through non-lockable openings, e.g. in through the outside wall into the open. doors, windows and via the air- intake/exhaust-air wall box or by other Exhaust air should neither be directed technical measures, such as reciprocal... - Page 11 Prior to installation For operating in exhaust-air mode, a Round pipes: one-way flap should be mounted inside the We recommend extractor hood unless there is already one Internal diameter at least. 120 mm. fitted in the outlet duct or wall ventilation Flact ducts must have an internal box.
-
Page 12: Electrical Connection
Prior to installation Electrical connection Exhaust flows straight out at the This is what you have to do: back: 1. Connect the green and yellow (Earth) wire to the terminal in the plug marked – inside the wall cupboard –. ‘E’... - Page 13 Preparing the wall cupboard Ensure that there is a minimum gap A stop allows the handle (Dimension ∆) between hob and extractor hood of 650 to be positioned further forwards. mm (for gas hobs) or 430 mm (for electric hobs). This extractor hood has been designed for installation inside a wall cupboard with the following dimensions:...
- Page 14 Preparing the wall cupboard Installation inside the wall cupboard 3. Align and screw on the enclosed mounting rails. 1. Remove the filter frames (see Operating Manual). Note the thickness of the sides of the 2. If the hinges are no longer accessible cupboard (16 mm or 19 mm).
- Page 15 Installation inside the wall cupboard 7. Feed the mains connection cable 2. Align the handle and screw onto the through the aperture into the upper appliance with the two enclosed cupboard and connect the pipe. screws. 8. Connect to the power supply. 9.
- Page 16 DHZ3450 296178 086244 Metall: DHZ3350 Aluminium: DHZ3570 Plastic: DHZ3520 9000 022 199 Robert Bosch Hausgeräte GmbH Printed in Germany 0704 Es.