Table of Contents
Advertisement
Advertisement
Table of Contents

Related Manuals for Denver WCT-3004


Summary of Contents for Denver WCT-3004
- Page 1 Digital Infrared Trail Camera User’s Manual Denver WCT-3004...
-
Page 2: Table Of Contents
Table of Contents Instructions....................2 General Description ..................2 Camera Body Interfaces ................2 Camera Components and Features…............2 Remote control ...................2 Shooting Information Display ..............3 Supported Format..................3 Easy Operation....................4 Power Supply....................4 Insert SD-card…………… ……..............4 Enter into the TEST Mode ................4 2.3.1 User Settings....................4 2.3.2 Manual Capturing..................4 2.3.3 View Images or Videos.................4 Power on and Enter into the ON Mode……………………………………..……….……4... -
Page 3: Instructions
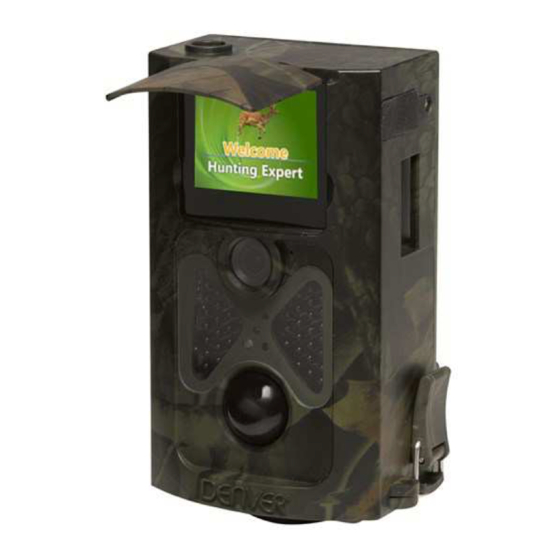
1. Instructions 1.1 General Description This digital trail camera is a surveillance camera working automatically. It can be triggered at once by any movement of human (or animals) in a certain region monitored by motion sensor, and then automatically captures high quality pictures (up to 8M pixels) or records 1080p HD video clips (WVGA or QVGA). -
Page 4: Shooting Information Display
Press LEFT or RIGHT to select menu table,press UP or DOWN to select the sub-menu then press OK to finish 1.5 Shooting Information Display When the camera is turned on (the power switch is slid to TEST position), the shooting information will be displayed in the monitor. 1.6 Supported Format Item Format... -
Page 5: Easy Operation
2 Easy Operation 2.1 Power Supply To supply power for the camera, 4 or 8 AA batteries are needed. The following batteries with 1.5V output can be used: 1. High-density and high-performance alkaline batteries (Recommended) 2. Rechargeable alkaline batteries 3. Rechargeable NiMH batteries When in Test Mode, camera will be automatically shut down to save power if without any operation within 3 minutes;... -
Page 6: Power Off
buffering time before automatic capturing, e.g. lock the bottom cover, fix the camera on a tree and walk away. 2.5 Power Off Slide the power switch to OFF position to turn off the camera. Therefore, please remove the battery if the camera will not be used for a long time. 3. -
Page 7: System Settings
3.1.3 System Setting 4. Cautions The working voltage of the camera is 6.0V. Please unlock and format the SD-card. Please insert the SD-card when the power switch is at OFF position. Please do not insert or take out the SD-card when the power switch is at ON position. Please ensure full power when having firmware upgrade, otherwise the upgrade process could be stopped. -
Page 8: Appendixⅰ: Technical Specifications
AppendixⅠ: Technical Specifications Image Sensor 3 Mega Pixels Color CMOS Memory SD Card to 32GB Lens F=3.1; FOV=120 ° Size 145mm * 80mm * 55 mm IR Filter Full Automatic IR Filter TFT Display Screen 2.0 inch Black Invisible 940nm PIR Distance High/Normal/Low PIR Sensor Sight Angle... - Page 9 ALL RIGHTS RESERVED, COPYRIGHT DENVER ELECTRONICS A/S Electric and electronic equipment and included batteries contains materials, components and substances that can be hazardous to your health and the environment, if the waste material (discarded electric and electronic equipment and batteries) is not handled correctly.
Need help?
Do you have a question about the WCT-3004 and is the answer not in the manual?
Questions and answers