Advertisement
Quick Links
Advertisement

Related Manuals for Extech Instruments EasyView EA11A


Summary of Contents for Extech Instruments EasyView EA11A
- Page 1 User's Guide EasyView™ K-Type Thermometer Model EA11A...
-
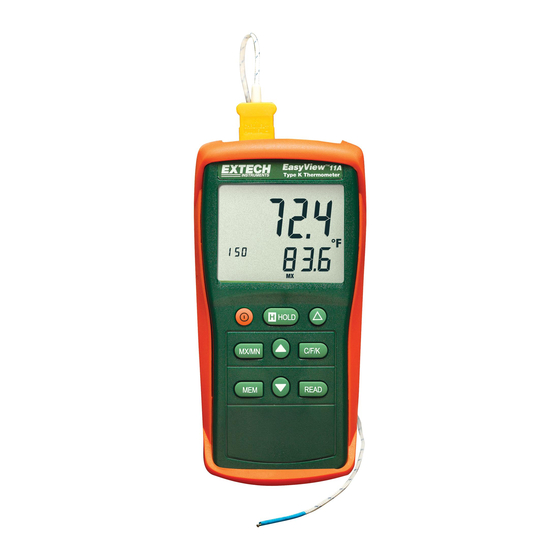
Page 2: Meter Description
Introduction Congratulations on your purchase of the Extech EasyView™ Thermometer. This device offers a single K-type thermocouple input with multifunction LCD display. This meter is shipped fully tested and calibrated and, with proper use, will provide years of reliable service. Safety To prevent personal injury or meter damage, use the meter only as specified in this guide WARNING... -
Page 3: Operation
Operation Connecting thermocouples 1. This meter accepts any K-type thermocouple with spade plugs (sub-miniature type with one spade wider than the other). 2. Plug the thermocouple into the meter's thermocouple input jack. Measuring 1. Press the button to turn power on. The meter will perform a short self-test. 2. - Page 4 Memory The meter memory allows for the storage and recall of up to 150 temperature measurements. 1. Press the MEM button to store the reading into memory. “MEM” will briefly appear on the display and the memory location will be indicated on the display. 2.
-
Page 5: Specifications
Specifications General Specifications Display Multi-function LCD Measurement Range -50 to 1300 C (-58 to 1999 Resolution F <200 F >200 Data Memory 150 sets Input Protection 20V maximum Display Update Rate 2.5 times per second Over range indication "OL" appears on the LCD Open input indication "-------"...
Need help?
Do you have a question about the EasyView EA11A and is the answer not in the manual?
Questions and answers
meter not reading refer to attached photo please advice
The Extech Instruments EasyView EA11A meter may not be reading due to the following reasons:
1. Thermocouple Connection – Ensure that a K-type thermocouple with the correct spade plug is properly connected to the thermocouple input jack.
2. Battery Issues – Check if the low battery icon ("BT") appears on the display. If so, replace the 6 AAA batteries, as low battery power may affect operation.
3. Auto Power Off – If no button has been pressed for 30 minutes, the meter may have entered sleep mode. Turn it on again to resume operation.
4. Exceeded Voltage Limit – If more than 20Vrms is applied between the thermocouple inputs or between the thermocouple and earth ground, the meter may not function correctly.
If the issue persists, verify that the meter is powered on and functioning correctly.
This answer is automatically generated