Table of Contents
Advertisement
Advertisement
Table of Contents

Related Manuals for 909 BS9


Summary of Contents for 909 BS9
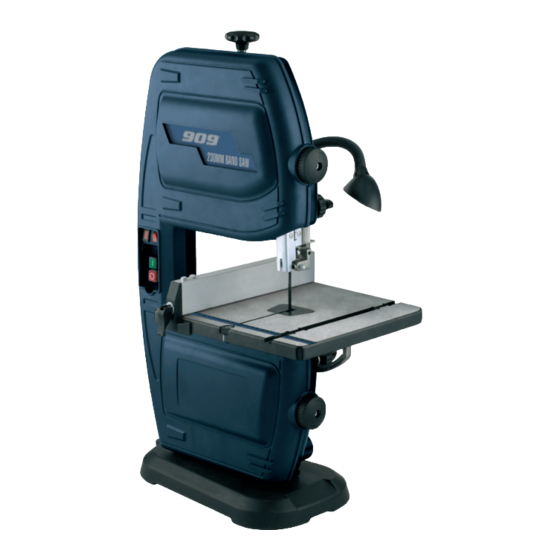
- Page 1 INSTRUCTION MANUAL 230mm (9 " ) B A ND SAW...
-
Page 2: Table Of Contents
CONTENTS Warranty Power Tools Warranty Introduction For full details please visit us at www.909.com Environmental protection Description of symbols Specifications General safety rules Additional safety rules for band saws Unpacking Required tools Know your product Components Assembly Mounting to a workbench... -
Page 3: Environmental Protection
Conforms to relevant standards special care to heed the Cautions and Warnings. for electromagnetic compatibility. Your 909 power tool has many features that will make your job faster and easier. Safety, performance, and Specifications dependability have been given top priority in the Voltage: 230–240Vac ~ 50Hz... -
Page 4: General Safety Rules
General safety rules 3) Personal safety a) Stay alert, watch what you are doing and use WARNING. Read all safety warnings and all instructions. common sense when operating a power tool. Do not Failure to follow the warnings and instructions may result in use a power tool while you are tired or under the electric shock, fire and/or serious injury. -
Page 5: Additional Safety Rules For Band Saws
4) Power tool use and care i) Children should be supervised to ensure that they do not play with the appliance. a) Do not force the power tool. Use the correct power tool for your application. The correct power tool will 5) Service do the job better and safer at the rate for which it was a) Have your power tool serviced by a qualified repair... -
Page 6: Unpacking
Due to modern mass production techniques, it is unlikely 21. Blade tension knob that your 909 Power Tool is faulty or that a part is missing. 22. Saw blade If you find anything wrong, do not operate the tool until the 23. -
Page 8: Components
Components Assembly The BS9 band saw is supplied The band saw is shipped partly disassembled and the work with the following components: table and rip fence need to be installed prior to use. a. Band saw 1. Place the work table on the table trunnion (10) by threading the saw blade through the slot in the table. -
Page 9: Mounting To A Workbench
3. To adjust the height of the Note. It may be necessary to rotate the handle upper blade guide, first anticlockwise to be able to slide the rip fence over the table release the blade guide and then clockwise before locking the handle in position. height adjustment lock (18) 5. -
Page 10: Lower Blade Guide Adjustment
2. Adjust the thrust bearing Upper guide pin adjustment position until it is 0.5mm away 1. To adjust the guide pins loosen the 2 screws that hold the from the band saw blade. guide pins in place using the 3mm hex key supplied. When the band saw blade is turned by hand it should not make contact with the... -
Page 11: Housing Doors
Housing door Adjusting the mitre gauge WARNING. Always ensure that the saw is switched off 1. The mitre gauge is used to help support the workpiece and can be adjusted when cutting an angle. and unplugged from the power supply before making any adjustments. -
Page 12: Adjusting The Saw Blade Tension
3. Adjust the table angle by Adjusting the blade tracking rotating the table angle WARNING. Always ensure that the saw is switched off and adjustment knob (13). Rotate unplugged from the power supply before making the knob in an anti-clockwise any adjustments. -
Page 13: Turning On And Off
Power Indicator light Removing and installing band saw blades Located next to the light switch is a small power indicator. WARNING. Always ensure that the saw is switched off and When power is available to the saw assembly this indicator unplugged from the power supply before making will glow. -
Page 14: Operation
6. Remove the blade by 4. To begin the cut guide the wood into the moving guiding it through the saw blade. slot in the work table 5. Use only enough pressure to keep the saw cutting. Do and the upper and lower not force the cutting, allow the blade and the saw to do blade guides. -
Page 15: Power Cord Maintenance
Troubleshooting WARNING! Turn the on/off switch to the off position and unplug the tool from the power supply before performing trouble shooting procedures. Trouble Problem Suggested remedy Band saw will not Power cord not plugged in Ensure that the cord is connected to the power supply start Power fault, fuse or circuit breaker Check the power supply...
Need help?
Do you have a question about the BS9 and is the answer not in the manual?
Questions and answers