Table of Contents
Advertisement
Advertisement
Table of Contents

Summary of Contents for LifeSize Icon 600
-
Page 1: Installation Guide
® LifeSize Icon 600™ Installation Guide January 2013... -
Page 2: Preparing For Installation
Room Configuration The size, shape, layout, and occupancy of the room dictate where you place your video conferencing components. For example, in a conference room, place a LifeSize Digital MicPod at the center of the group of participants. You can lock the LifeSize codec with a secure loop to prevent physical removal of the device. For assistance, contact your LifeSize Partner or LifeSize Technical Services. -
Page 3: System Components
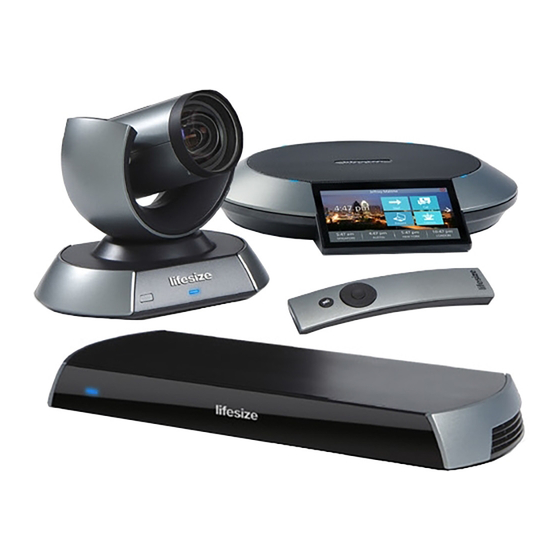
To install your LifeSize system, remove all components from the product packaging and place them in the appropriate positions in your conference room or office. - Page 4 Insert the opposite end of the network cable into a network port on the wall. Insert one end of the LifeSize Link cable into the LifeSize Digital MicPod and the other into the port on the back of the codec.
-
Page 5: Initial Configuration
The LifeSize system starts and illuminates an LED on the front of the codec. When the video system completes the startup process, an initial configuration dialog directs you to configure your system from a web browser. -
Page 6: Supported Resolutions
For use with devices and laptops for presentations or to share PC data; accepts both digital video and VGA analog signals with the proper adapter cable. For devices and PCs with VGA output, LifeSize includes a VGA to DVI-A cable. An HD source can be used with an adapter. -
Page 7: Troubleshooting Installation Issues
Disconnect the PSU from the LifeSize codec and the AC source. Plug a working appliance into the AC source to determine whether the source is functioning. If the AC source works, plug the PSU into the AC source, but do not connect the PSU to the LifeSize codec. - Page 8 Your system is then configured with the IP address of 169.254.x.x. From a web browser, enter 169.254.1.1 and log in with administrator credentials. The default username and password are admin. Refer to the LifeSize Icon 600 Video System Guide and the browser-based online help to complete the initial configuration.
-
Page 9: Camera Issues
Camera Issues Video from the camera appears on the main screen. If no video from the camera appears, follow these steps: Ensure that the camera is properly connected to the LifeSize codec, as described in Installing Your System. Verify that the blue LED on the front of the camera is lit and not blinking. -
Page 10: Best Practices
Consider potential cabling issues for audio, video, and network. Do you need lengths beyond the cables that were shipped with your LifeSize components? How do you intend to conceal the cables? Can they be run around furniture, through walls, or under carpet? •... -
Page 11: Component Placement
12 feet of the device (such as a 24 x 24 foot room). • For a room that is longer than it is wide, a dual LifeSize Digital MicPod configuration can cover a 20 x 40 foot room. Read Audio Input Device for more information. - Page 12 LifeSize Icon Video System Installation Guide Codec Most LifeSize codecs are designed to be set top devices that lie horizontally on a stand. Consider the minimum vent clearance, power consumption, and codec weight when you decide how and where to place a codec.
- Page 13 • budget If the camera is centered on the top or bottom of the display, LifeSize recommends that you position the display so that its top is as high as the forehead of a typical participant. Cables The LifeSize video system is shipped with the following cables: •...
- Page 14 LifeSize Icon Video System Installation Guide • LifeSize Digital MicPod cable – The LifeSize Digital MicPod ships with a 4-meter LifeSize Link cable. • Display cables – The video system ships with a 3-meter HDMI to HDMI cable and a 3-meter HDMI to DVI-D cable.
- Page 15 ©2013 Logitech, and its licensors. All rights reserved. LifeSize, a division of Logitech, has made every effort to ensure that the information contained in this document is accurate and reliable, but assumes no responsibility for errors or omissions. Information in this document is subject to change without notice.


Need help?
Do you have a question about the Icon 600 and is the answer not in the manual?
Questions and answers