
Related Manuals for Truma Climaster


Summary of Contents for Truma Climaster
- Page 1 Climaster Comfort Air Conditioner Operating instructions Page 3 Installation instructions Page 7 To be kept in the vehicle!
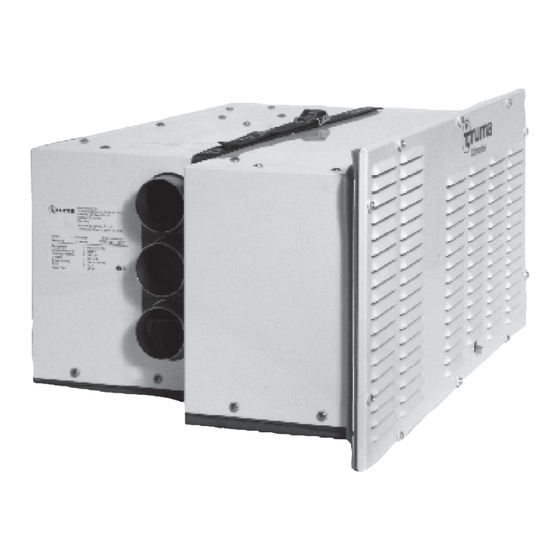
- Page 2 Climaster Comfort Air Conditioner Fig. 1 Installation example 1 Air conditioning unit Truma Climaster 2 Control panel 3 Indoor air return with filter 4 Cold air ducts 5 Indoor air outlets 6 Outdoor air intake 7 Outdoor air outlet...
-
Page 3: Table Of Contents
Any alteration to the unit, or the use of spare parts and functionally-important accessories which are not original Truma components, or failure to respect the Installation and Operating Instructions, will lead to the cancellation of the guarantee and to the ex clusion of claims for liability. -
Page 4: Operating Instructions
Notes for the use of the air-conditioner green light The Truma Climaster is recommended for pop-top caravans and caravans up to 4.8 m overall length, but requires that all Fig. 2 walls and ceilings are insulated with a minimum thickness of 25 mm. -
Page 5: Maintenance
Maintenance Technical data Determined on the basis of EN 14511 or Truma test conditions Return air filter Designation Climaster, Comfort air conditioner Area of operation up to 16’6" caravans (external) Dimensions (LxWxH) 650 x 420 x 275 mm Weight approx. 32 kg Power supply 230 V –... -
Page 6: Fault Finding
– The company will only provide service on presentation air outlet of proof of purchase, on either the Truma product, or the indoor heat exchanger Caravan / RV / Pleasure Craft in which the Truma product has been installed, to any authorised service agent. The pur-... -
Page 7: Installation Instructions
Truma. Regulations Any alteration to the unit, or the use of spare parts and func- tionally-important accessories which are not original Truma Fig. 8 components, or failure to respect the Installation and Operat- ing Instructions, will lead to the cancellation of the guarantee 2. -
Page 8: Fitting The Air Conditioning Unit
The finished hole should be 275 mm high and 660 mm wide. Climaster Fitting the air conditioning unit 1. Take the second template and place inside the vehicle in... -
Page 9: Installation Of The Control Panel
Installation of the control panel To achieve the best possible performance, we recommend that: 1. Choose a suitable location for the control panel in the vicinity of the unit (cable length 3 m). 1. The air outlets be fitted in the upper part of the vehicle (see installation example on page 2). - Page 10 Accessories 1. Replacement return air filter 8. Elbow BG, part no. 40040-61900 (for narrow bends in the air duct) part no. 39010-76400 9. T-pipe Fig. 18 part no. 40151-01 2. Return air grille, (for return air from the living area to 10.
- Page 11 Climaster Comfort Air Conditioner Climaster · 06/06 When ordering spare-parts, please always specify the fabrication number and year of make.
- Page 12 In Australia, always notify the Dometic Service Centre if problems are encountered; in other countries the relevant service partners should be contacted (www.truma.com). Having the equipment model and the serial number ready (see type plate) will speed up processing. Dometic Pty Ltd...
Need help?
Do you have a question about the Climaster and is the answer not in the manual?
Questions and answers