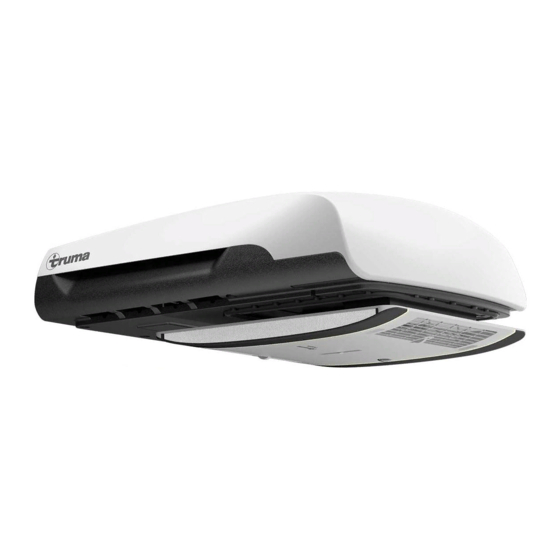
Truma Aventa comfort Operation And Installation Instructions Manual
Truma aventa comfort (australia) operation and installation instructions
Hide thumbs
Also See for Aventa comfort:
- Operating and installtion instructions (88 pages) ,
- Operating and installation instructions (80 pages) ,
- Installation instructions manual (48 pages)
Summary of Contents for Truma Aventa comfort
- Page 1 Aventa comfort (Australia) Operation instructions Page 2 Installation instructions Page 9 To be kept in the vehicle!
-
Page 2: Table Of Contents
Clearance around the air conditioning system ..... 8 Air inlets / Air outlets ............. 8 Condensation traps ............... 8 Declaration of conformity ..........8 Truma warranty policy ............. 9 Installation instructions Scope of delivery ..............9 Intended use ................9 Location selection .............. -
Page 3: Symbols Used
– modifications to the unit (including accessories), – Set the fan level to high – failure to use original Truma parts as replacement parts and – Set the air distributor for the front/rear to medium accessories, – Set the air distributor for the floor/ceiling to ceiling –... -
Page 4: Operating Instructions
Operating instructions Remote control The symbols shown on the display become visible depending on the setting. Circulated air Automatic Resend / mode data transmission Cooling Fan level Heating Sleep function Temperature Clock time / Timer on/off time Timer Mode Operating mode selection button –... -
Page 5: Taking Into Operation
Taking into operation Sleep function Before switching on, it is essential to make sure that the fuse When the “Sleep function” is active (cooling mode only), system for the power supply at the camp site is sufficient the interior fan and the exterior fan operate at slow speed and (230 V). -
Page 6: Ir Receiver And Manual On / Off
/ air outlets and condensation traps on the roof free time and switch on again. If the red LED continues to illumi- from obstructions such as leaves. Use a soft, clean cloth to nate, please contact Truma Service. clean the air conditioning system. Air distribution... -
Page 7: Accessories
Accessories Technical data Filter set, 2 x (part no. 40091-16800) Power supply 230 V – 240 V~, 50 Hz Current consumption Cooling: 4.2 A Heating: 3.7 A Start-up current 28 A (150 ms) Cooling power 2.4 kW Heating power 10 mm roof thickness adapter, 1 x (part no. 40091-16900) 1.7 kW (heat pump) Volumetric air flow Max. -
Page 8: Clearance Around The Air Conditioning System
1. Information about the manufacturer front, 100 mm to the side and as far as possible and not less than 200 mm to the rear. Name: Truma Gerätetechnik GmbH & Co. KG Address: Wernher-von-Braun-Str. 12, D-85640 Putzbrunn 2. Device identification... -
Page 9: Truma Warranty Policy
The company will only provide service on presentation installation instructions thoroughly and follow them carefully! of proof of purchase, on either the Truma product, or the Caravan / RV / Pleasure Craft in which the Truma product Scope of delivery has been installed, to any authorised service agent. -
Page 10: Installation In A 400 X 400 Cut-Out
Installation in a 400 x 400 cut-out Preparation for mains cable connection For optimum sealing, we recommend using the sealing frame A leadthrough for the mains cable to the connection point which can be purchased as an accessory (part no. 40091-19000). should be provided in the intermediate ceiling, for example. -
Page 11: Installing Roof Thickness Adapters
Installing roof thickness adapters Installing filters Dependent upon the roof thickness, slide a roof thickness Insert the filters in the panels and connect them to the air adapter (roof thickness adapter (base ring) and 10 mm roof distributor. thickness adapter for roof thickness from 25 to 50 mm) into the air distributor as far as the stop. - Page 12 In Australia, always notify the Dometic Service Centre if problems are encountered; in other countries the relevant service partners should be contacted (see Service Booklet or www.truma.com). Having the equipment model and the serial number ready (see type plate) will speed up processing.


Need help?
Do you have a question about the Aventa comfort and is the answer not in the manual?
Questions and answers