Samsung SDS-P3042 Quick Start Manual
All-in-one security system
Hide thumbs
Also See for SDS-P3042:
- Brochure & specs (2 pages) ,
- User manual (146 pages) ,
- Quick start manual (242 pages)
Advertisement
Quick Start Guide
Thank you for purchasing a Samsung DVR Security System.
Follow the simple steps in this guide to set up and start using your new system.
If you have any questions or need help installing your new product please contact our free technical support.
Telephone: 1-877-349-3149
9am - 9pm EST, Monday - Friday
Internet: http://www.samsungsv.com
inStaLLinG YOuR SYSteM
Images may differ depending on the model.
M
`
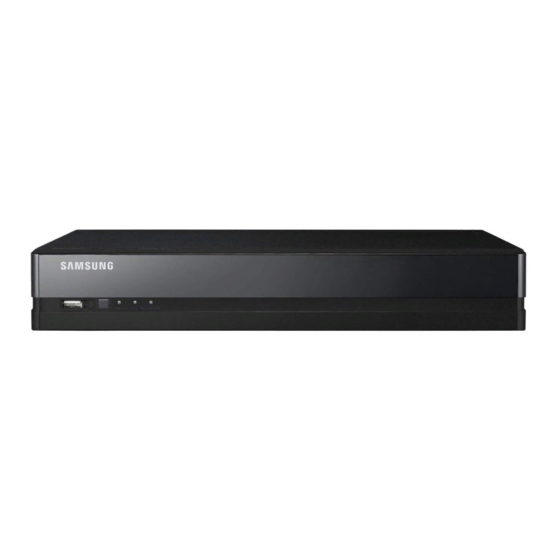
❒ 4ch DVR
Front
Rear
2
Connect a mouse
1
Connect a camera
2
Connect a monitor
3
SAMSUNG ALL-IN-ONE SECURITY SYSTEM
POWER
REC
NETWORK
1
VI D EO
IN
3
KIT MODEL
SDS-P3042 / P4042 / P4082/ P5082 / P5102 / P5122
DVR MODEL
SDR-3102 / 4102 / 5102
IN 1
IN 2
LA N
VG A
IN 3
IN 4
AU DI
eS AT
O IN
A
AU DI
O O UT
H D M
I
U S B
R S 48
5
D C 12
V
LA N
Connect the DC adaptors
4
Connect to a network router
5
4
5
English
_1
Advertisement
Table of Contents

Related Manuals for Samsung SDS-P3042


Summary of Contents for Samsung SDS-P3042
-
Page 1: Installing Your System
Quick Start Guide KIT MODEL SDS-P3042 / P4042 / P4082/ P5082 / P5102 / P5122 DVR MODEL SDR-3102 / 4102 / 5102 SAMSUNG ALL-IN-ONE SECURITY SYSTEM Thank you for purchasing a Samsung DVR Security System. Follow the simple steps in this guide to set up and start using your new system. - Page 2 ❒ 8ch DVR Rear IN 1 IN 2 LA N VI D EO VG A IN 3 IN 4 AU DI eS AT O IN AU DI O OU H D M U SB R S4 D C 12 16ch DVR LA N Rear IN 1...
- Page 3 Rear Connect the DC adaptors (Camera) eSATA HDMI RS485 DC 12 V VIDEO IN AUDIO IN AUDIO OUT Connect an BNC camera eSATA CH10 CH11 CH12 CH13 CH14 CH15 CH16 HDMI RS485 DC 12 V VIDEO IN AUDIO IN AUDIO OUT eSATA Connect a monitor HDMI...
-
Page 4: View Launcher Menu
View the LauncheR Menu The Launcher menu appears on the bottom of the live screen. In Live mode, right-click to display the context menu and select 2013-01-01 <Show Launcher>. 01:10:25 2013-01-01 Move the cursor to the bottom and click a desired item in the 01:10:25 Launcher menu. -
Page 5: Connection Mode
After filling in the information, Click <OK>. network Setting ❒ connection Mode Click on Network and select <connection Mode>. If there occur a problem with Connection Mode, check the connection as “installing your system” on page 1. If you still have a problem, contact the nearest service center for more information. - Page 6 ❒ SettinG uP SaMSunG iPOLiS DDnS Since you will be accessing the DVR remotely, let’s setup your Samsung iPolis account first using the PC. Go to Your Pc Open your browser and go to http://www.samsungipolis.com and click <LOGin>. You first need to create an account.
-
Page 7: Go Back To Dvr
Go back to DVR From network tab, click on <DDnS>. Under DDNS Site, select <iPOLiS>. Under Product ID, enter the product ID you created on the Samsung iPOLiS website. Under Quick Connect, select <use> and click <OK>. Write down the DDNS Host address:. -
Page 8: Remote Monitoring
ReMOte MOnitORinG From a Windows computer Open Windows Internet Explorer and go to http://www.samsungipolis. com and click <LOGin>. Login with the user ID and password you wrote down earlier. Click < >. sdr-5102HOME sdr-5102 You will be asked to install the active X plug-in. Enter the user ID and password for the DVR. -
Page 9: Using Smartphone
: Create a name for the DVR you are adding Model : Select the DVR Host : If you are using Samsung iPOLiS DDNS, enter the DDNS Host Address you SDR-5102 wrote down earlier. (Page 6, 7) It should be www.samsungipolis.com/Product ID HTTP Port : Enter the HTTP Port you wrote down earlier. -
Page 10: Recording And Playback
❒ For iPhone SAMSUNG TECHWIN C... Utilities install Visit App Store to Download the Samsung iPOLiS mobile app. Search for Samsung iPOLiS. Launch the iPOLiS mobile app add the DVR. At the Add Device pop-up, tap <OK>. Register the DVR to the iPOLiS mobile. - Page 11 To change the record quality & resolution, select <Rec Quality & Resolution>. System Record Size Possible FPS CIF 352 × 240 2CIF 704 × 240 NTSC OFF, 1~30 4CIF 704 × 480 WD1: 960 x 480 CIF 352 × 288 2CIF 704 ×...