
Related Manuals for DeWalt XR Li-Ion DCD710-XE


Summary of Contents for DeWalt XR Li-Ion DCD710-XE
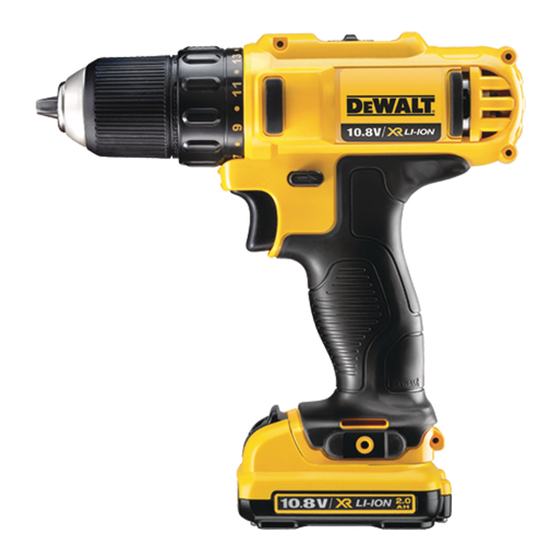
- Page 1 INSTRUCTION MANUAL DCD710-XE 10 mm (3/8") 10.8 V CORDLESS ADJUSTABLE CLUTCH DRILL/ DRIVER...
-
Page 3: Definitions: Safety Guidelines
SAVE THESE INSTRUCTIONS Definitions: Safety Guidelines 1) WORK AREA SAFETY The definitions below describe the level of severity for each a) Keep work area clean and well lit. Cluttered or dark areas invite accidents. signal word. Please read the manual and pay attention to these b) Do not operate power tools in explosive atmospheres, such as in the symbols. -
Page 4: Electrical Safety
c) Prevent unintentional starting. Ensure the switch is in the off position g) Use the power tool, accessories and tool bits etc., in accordance with before plugging in. Carrying power tools with your finger on the switch or these instructions and in the manner intended for the particular type of plugging in power tools that have the switch on invites accidents. -
Page 5: Extension Cords
• Replacement of the supply cord. If the supply cord is damaged, it must be • Hearing protection: AS/NZS1270 Acoustics – Hearing Protection; replaced by the manufacturer or an authorised D WALT Service Centre in order • Respiratory protection: AS/NZS1716 Respiratory Protective Devices. to avoid a hazard. -
Page 6: Important Safety Instructions For All Battery Packs
a sharp blow, been dropped, run over or damaged in any way (i.e., pierced with a nail, ..direct current ...alternating or direct current hit with a hammer, stepped on). Damaged battery packs should be returned to service ....Class I Construction no ....no load speed center for recycling. - Page 7 • Do not disassemble charger; take it to an authorized service center when CAUTION: Burn hazard. To reduce the risk of injury, charge only D WALT service or repair is required. Incorrect reassembly may result in a risk of rechargeable batteries. Other types of batteries may burst causing personal injury and electric shock, electrocution or fire.
-
Page 8: Charge Indicators
Indicator Light Operation Important Charging Notes 1. Longest life and best performance can be obtained if the battery pack is charged when the air temperature is between 18 and 24 ˚C (65 and 75 ˚F). DO NOT charge the battery pack in an air temperature below +4 ˚C (+40 ˚F), or above +40 ˚C (+105 ˚F). -
Page 9: Storage Recommendations
Be sure to securely tighten screw. The belt hook (I) can be be attached to either side of the tool using only the screw (J) DCD710-XE provided, to accommodate left- or right- handed users. If the hook is not desired at COMPONENTS (Fig. -
Page 10: Operation
OPERATION To select reverse, depress the forward/reverse control button on the left side of the tool. The center position of the control button locks the tool in the off position. When WARNING: To reduce the risk of serious personal injury, place the forward/ changing the position of the control button, be sure the trigger is released. -
Page 11: Keyless Single Sleeve Chuck
Keyless Single Sleeve Chuck FIG. 5 (Fig. 5) Your tool features a keyless chuck with one rotating sleeve for one-handed operation of the chuck. To insert a drill bit or other accessory, follow these steps. 1. Lock the trigger in the OFF position as previously described. -
Page 12: Maintenance
Lubrication WARNING: The drill may stall if overloaded causing a sudden twist. Always expect the stall. Grip the drill firmly with both hands to control the twisting action and avoid Your power tool requires no additional lubrication. injury. Cleaning 4. IF DRILL STALLS, it is usually because it is being overloaded or improperly used. RELEASE TRIGGER IMMEDIATELY, remove drill bit from work, and determine WARNING: Blow dirt and dust out of all air vents with clean, dry air at least once cause of stalling. - Page 16 The battery voltage is nominal, it can measure above or below depending on the state of charge. Stanley Black & Decker 701 East Joppa Road, Baltimore, MD 21286 • 82 Taryn Drive, Epping, VIC 3076 Australia 1800 444 224 (Aust) or 0800 339 258 (NZ) www.dewalt.com.au • www.dewalt.com.nz (AUG11) Part No. N128613 DCD710-XE Copyright ©...