Advertisement
Quick Links
Advertisement

Related Manuals for NZXT Tempest EVO


Summary of Contents for NZXT Tempest EVO
- Page 1 Инструкция для NZXT Tempest EVO Перейти в карточку товара 8 800 775 98 98...
- Page 2 TE MPE ST E VO User’s manual...
- Page 4 With every product, we are still breaking more boundaries and limits. Once again, thank you and all NZXT fans for the support and we hope to bring more amazing products in the coming years.
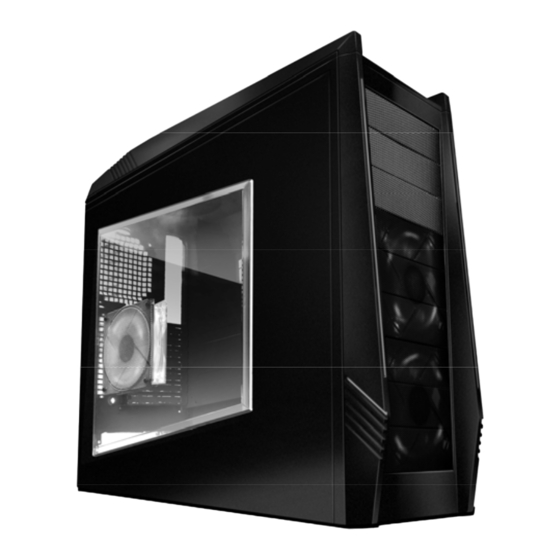
- Page 5 120mm fan and rear 120mm fan makes NZXT Tempest one of top cases in cooling, maximizing air circulation in all areas. The new Tempest EVO has upgraded all 120mm fans to nine blade design fans that deliver more air (40CFM each) at low noise levels.
- Page 6 Internal 3.5” Drive Bay Installation ..........11 Front fan, filters and HDD Cage usage ........13 Installing the power supply ............14 Managing the cables ..............15 Being water cooling ready ............15 Support and Service ..............17 NZXT. 3...
- Page 7 1. Remove the thumb screws securing the side panels. 2. Pull the side panel back, and then lift the panel to remove it. Opening t he side panel NZXT. 4...
- Page 8 USB, Audio port s, E-SATA, Reset , and Power but t ons 1. Connect the reset switch (labeled RESET SW) by connecting to your motherboard RESET connector. Make sure you always attach the white wire to ground. (Blue/White +/-) NZXT. 5...
- Page 9 All White and Black Pin Connectors correspond to ground. USB Installation 1. The USB is located of the top on your front panel. 2. Refer to your motherboard manual and match the labels on the USB port connectors with your motherboard in order to install. NZXT. 6...
- Page 10 ASUS© Motherboard Pin Assignment Please follow the directions below to install the 5.25” in the top 3 bays of the Tempest: 1. Remove the front panel of the chassis by pulling from the opening at the bottom of the front panel. NZXT. 7...
- Page 11 I nser t t he 5.25” Dev ice t hrough t he opening 5. Match the holes with the bay and the screw less bracket At t ach t he screw less brack et m at ching t he 5.25” holes NZXT. 8...
- Page 12 Please follow the directions below to install the 5.25” in bays 4 to 6 of the Tempest: 1. Remove the front panel of the chassis by pulling at the bottom of the front panel. 2. Remove the screws securing the bay. NZXT. 9...
- Page 13 3. Remove the cage.(Refer to page 13 for more information) 4. Attach the rails to the side of the case. 5. Slide the 5.25” drive into the rail position until a click sound is heard 6. Reattach the front panel. NZXT. 10...
- Page 14 The NZXT Tempest comes standard with one external 5.25” to 3.5” bracket attached to the inside the 3 bay. Please follow the directions below to install the external 3.5” devices: 1. Remove the 5.25” black mesh for the 5.25” to 3.5” bracket bay.
- Page 15 4. Slide the bracket back into the cage to secure it. The hard driv e secured int o t he cage NZXT. 12...
- Page 16 NZXT has installed filters at the front of the chassis for easy cleaning and removal. Also included are two cages holding the fans and hard drives. 1. Following the instructions to remove the front panel. 2. The filter can be easily removed after.
- Page 17 Push t he t abs t o rem ove t he cage The NZXT Tempest power supply bracket is located at the rear bottom of the chassis. Please follow the directions below for installation. 1. Align the power supply with the mounting holes on the bracket.
- Page 18 Secure from behind t he chassis The NZXT Tempest allows the user to hide cables behind the motherboard tray, simply route the cables behind the tray and out of the holes to organize cables in the chassis. In the new Tempest EVO, users will find more space behind the motherboard tray and a CPU punchout for removing heatsinks easily.
- Page 19 Wat er t ubes can be rout ed in from behind t he case. Holes are drilled at t he t op panel t o secur e a dual 120m m radiat or . NZXT. 16...
- Page 20 You may inquire about replacement parts at rma@nzxt.com. Thank you again for purchasing an NZXT case. If you have any more comments or questions. Please visit our website or send us an email.
- Page 21 NZXT Tempest EVO Описание Характеристики Отзывы...
Need help?
Do you have a question about the Tempest EVO and is the answer not in the manual?
Questions and answers