Nokia CK-300 Quick Manual And Safety Information
Hide thumbs
Also See for CK-300:
- User and installation manual (37 pages) ,
- Carmenu user manual (29 pages) ,
- Installation manuallines (19 pages)
Table of Contents
Advertisement
Quick Links
Advertisement
Table of Contents

Related Manuals for Nokia CK-300


Summary of Contents for Nokia CK-300
- Page 1 Nokia Car Kit CK-300 Quick Guide and Safety Information Issue 1 EN...
- Page 2 Nokia operates a policy of ongoing development. Nokia reserves the right to make changes and improvements to any of the products described in this document without prior notice. Under no circumstances shall Nokia be responsible for any loss of data or income or any special, incidental, consequential or indirect damages howsoever caused.
-
Page 3: For Your Safety
Only qualified personnel may install or repair this product. ENHANCEMENTS Use only approved enhancements. Do not connect incompatible products. CONNECTING TO OTHER DEVICES When connecting to any other device, read its user guide for detailed safety instructions. Do not connect incompatible products. © 2008 Nokia. All rights reserved. -
Page 4: Quick Start
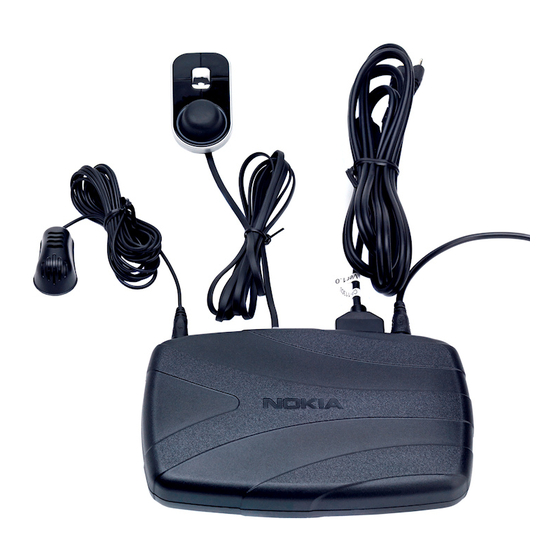
Q u i c k s t a r t 1. Quick start Thank you for choosing the Nokia Car Kit CK-300. With the car kit, you can conveniently make and receive hands-free calls and listen to music stored on your mobile device through your car stereo system. -
Page 5: Voice Dialing Key
• Switch the car kit on or off when the ignition sense wire is not connected • Connect the car kit to a paired device (press and hold the wheel for about 1 second) © 2008 Nokia. All rights reserved. -
Page 6: Install Carmenu
Nokia website, and install the application on your compatible mobile device. Also read the CarMenu user guide on the CD-ROM. You can use the Nokia Maps application with CarMenu if Nokia Maps is installed on your mobile device. Install CarMenu For the installation, you may need the administrator rights for your PC. -
Page 7: Use Carmenu With The Input Device
(if the CD-ROM autorun feature is set to on in Windows). Follow the displayed instructions to download the CarMenu installation file from the Nokia website to the PC, and copy the file from the PC to your mobile device or the memory card inserted in it. - Page 8 • Stop playing the displayed track in the main screen of the music player mode • In Nokia Maps, pressing the end key performs the same function as when you press the right selection key on your mobile device © 2008 Nokia. All rights reserved.
- Page 9 (such as a menu function), or to clear a calendar note from the screen • In Nokia Maps, pressing the Navi wheel performs the same function as when you press the middle selection key or the middle of the scroll...
-
Page 10: Car Kit Installation
• Only a qualified service technician should install or service the car kit using the approved original Nokia parts supplied in the sales package. Faulty installation or service may be dangerous and may invalidate any warranty which may apply to the car kit. - Page 11 ■ Integration with a car stereo system The car kit can be connected to the car stereo system in three different ways. Select the appropriate connection options depending on the components available in the sales package. © 2008 Nokia. All rights reserved.
-
Page 12: Setup Option
You can connect the car kit to a loudspeaker with an impedance of at least 2 ohms. The optimal impedance for the car kit is 4 ohms. If the impedance is over 8 ohms, the output power is significantly lower than normal. © 2008 Nokia. All rights reserved. - Page 13 Connect the wire labeled "Mute" of the system cable to one of the wires labeled "Mute 1", "Mute 2", or "Mute 3" according to the pinning of the car radio. Leave the other labeled mute wires © 2008 Nokia. All rights reserved.
- Page 14 (this cable is not supplied with the car kit). 4. To charge a compatible Nokia mobile device through the car kit, connect one end of the connectivity cable CA-113CU to the hands- free unit and the other end to the 2.0-mm (0.08 inch) charging connector of the mobile device.
- Page 15 (if available) to the car radio. Plug the connector into the hands-free unit. 2. For phone calls, connect the loudspeaker output of the hands-free unit to the mobile phone input of the car radio. Use an appropriate © 2008 Nokia. All rights reserved.
- Page 16 (this cable is not supplied with the car kit). 4. To charge a compatible Nokia mobile device through the car kit, connect one end of the connectivity cable CA-113CU to the hands- free unit and the other end to the 2.0-mm (0.08 inch) charging connector of the mobile device.
- Page 17 2. For phone calls, connect the loudspeaker output of the hands-free unit to the loudspeaker SP-3. 3. Connect the stereo music output of the hands-free unit (a standard 3.5-mm stereo connector) to the AUX input of the car radio. Use an © 2008 Nokia. All rights reserved.
- Page 18 (this cable is not supplied with the car kit). 4. To charge a compatible Nokia mobile device through the car kit, connect one end of the connectivity cable CA-113CU to the hands- free unit and the other end to the 2.0-mm (0.08 inch) charging connector of the mobile device.
-
Page 19: Care And Maintenance
• Do not paint the car kit parts. Paint can clog the moving parts and prevent proper operation. If the car kit is not working properly, take the vehicle to an authorized service facility for the car kit to be serviced. © 2008 Nokia. All rights reserved. -
Page 20: Additional Safety Information
If in-vehicle wireless equipment is improperly installed and the air bag inflates, serious injury could result. © 2008 Nokia. All rights reserved.