Table of Contents
Advertisement
Quick Links
Advertisement
Table of Contents

Related Manuals for Nokia CK-10


Summary of Contents for Nokia CK-10
- Page 1 Car Kit CK-10 User Guide EURO2 9233639 Issue 1...
- Page 2 Nokia reserves the right to revise this document or withdraw it at any time without prior notice.
-
Page 3: For Your Safety
FUSE REPLACEMENT Replace a blown fuse with a fuse of the same type and size. Never use a fuse with a higher rating! ENHANCEMENTS Use only approved enhancements. Do not connect incompatible products. Copyright © 2005 Nokia. All rights reserved. -
Page 4: Care And Maintenance
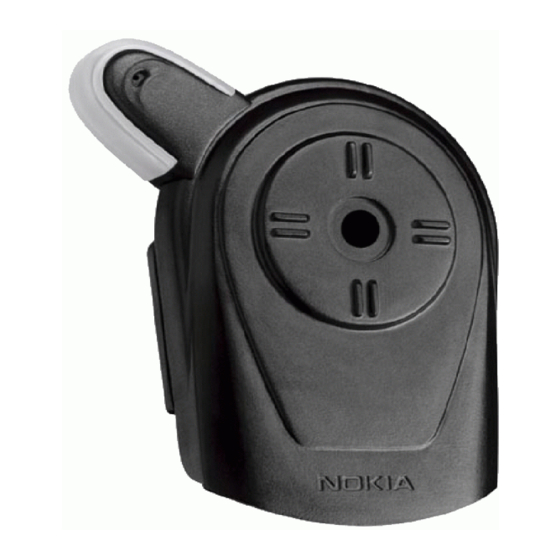
• Do not paint the car kit. Paint can clog the moving parts and prevent proper operation. All of the above suggestions apply equally to your car kit or any enhancement. If any device is not working properly, take it to the nearest of authorized service facility for service. Copyright © 2005 Nokia. All rights reserved. - Page 5 Introduction Car kit installation in the cockpit The Nokia CK-10 car kit was developed for installation in motor vehicles. You can operate your mobile in the hands-free mode and charge the phone battery.The car kit is extremely compact, consisting of the hands-free unit and microphone.You can install the car kit quickly and easily.
-
Page 6: Getting Started
8. Additional compatible microphone, e.g. microphone MP-2, for in-car installation (optional) 9. Antenna coupler to connect an external antenna when using a phone holder (optional) 10. Active mobile phone holder to connect a compatible mobile phone (sold separately) Copyright © 2005 Nokia. All rights reserved. - Page 7 The CK-10 car kit can be installed in various ways. The following figures give examples of typical installation variants. Before you start the installation, ask for professional advice on the configuration that would best suit your needs. Car kit with passive phone holder Copyright © 2005 Nokia. All rights reserved.
- Page 8 Car kit with active phone holder Car kit with separate antenna coupler and external antenna Copyright © 2005 Nokia. All rights reserved.
- Page 9 A range of antenna couplers may be available for mobile phones and phone holders. An antenna coupler can improve in-vehicle reception of the mobile phone. Please check the compatibility of couplers with the manufacturer. Copyright © 2005 Nokia. All rights reserved.
- Page 10 Note: If you have installed an external antenna, remember that in order to comply with RF exposure requirements for mobile transmitting devices, a minimum distance of 20 cm (8 inches) must be maintained between the antenna and all persons. Copyright © 2005 Nokia. All rights reserved.
-
Page 11: Installation
• Note that the instructions in this installation guide are general guidelines which apply for the installation of the Nokia CK-10 car kit in an automobile. Due to the wide variety of car types and models available, this guide cannot consider the individual technical requirements relevant for any particular vehicle. - Page 12 See the instructions on page 4 for an example of a suitable installation of the car kit equipment. You also need to install a phone holder (sold separately) that is compatible with the mobile phone to be used. If you want to install an external antenna (sold Copyright © 2005 Nokia. All rights reserved.
- Page 13 When mounting the antenna coupler AD-14, AXF-13L or AXF-15S, place the washer HH-9 between the coupler and the mounting plate. Finally, insert the cover with the Nokia logo into the recess, and press it into place. Copyright © 2005 Nokia. All rights reserved.
- Page 14 You can position the built-in microphone to point toward the user's mouth: loosen the securing screw, and carefully turn the microphone opening in the desired direction. While the microphone is in a suitable position, retighten the screw. Copyright © 2005 Nokia. All rights reserved.
- Page 15 1 metee (3 feet) away from the microphone to avoid feedback. If you want to use the loudspeaker installed in your vehicle with the car kit for audio output, ask your service technician for professional advice. Connecting cables to hands-free unit HF-7 Copyright © 2005 Nokia. All rights reserved.
- Page 16 12-V car battery using the 2-A fuse supplied. If the car kit is installed in this way, it stays in service as long as a compatible mobile phone remains in the phone holder. Copyright © 2005 Nokia. All rights reserved.
- Page 17 After you have installed your car kit, it needs to be checked to ensure that it is working properly. When testing the operation of the equipment, also check that it is mounted so that it does not impair the driver during operation of the vehicle. Copyright © 2005 Nokia. All rights reserved.
- Page 18 Remove the phone from the holder to stop hands-free mode operation. If necessary, disconnect the cable from the phone first. For details on using the features of the mobile phone, see the user guide of your mobile phone. Copyright © 2005 Nokia. All rights reserved.