Samson Go Mic Owner's Manual
Portable usb microphone for recording
Hide thumbs
Also See for Go Mic:
- Quick start manual (110 pages) ,
- Owner's manual (28 pages) ,
- Manual (12 pages)
Table of Contents
Advertisement
Advertisement
Table of Contents

Related Manuals for Samson Go Mic


Summary of Contents for Samson Go Mic
- Page 2 Copyright 2009, Samson Technologies Corp. Printed May, 2009 v1.1 Samson Technologies Corp. 45 Gilpin Avenue Hauppauge, New York 11788-8816 Phone: 1-800-3-SAMSON (1-800-372-6766) Fax: 631-784-2201 www.samsontech.com...
-
Page 3: Table Of Contents
Go Mic Specifications ........20 - 21... -
Page 4: Introduction
You can even mount the Go Mic on a standard microphone stand with the included adapter. You get everything you need to get started recording on your computer including USB cable, cable clip, mic stand mount and handy carry case to keep your mic protected during transport. - Page 5 Introduction In these pages, you’ll find a detailed description of the features of the Go Mic USB Studio Condenser Microphone, as well as step-by-step instructions for its setup and use, and full specifications. You’ll also find a warranty card enclosed—please don’t forget to fill it out and mail it in so that you can receive online technical support and so we can send you updated information about these and other Samson products in the future.
-
Page 6: Go Mic Features
A 10 foot USB cable, cable clip and mic stand adapter are included to easily set up the microphone right out of the box, plus you can keep it safe while carrying it in the included zipper pouch. • The Go Mic is perfect for recording voice, music, live instruments, podcasts, or for chatting and VoIP. -
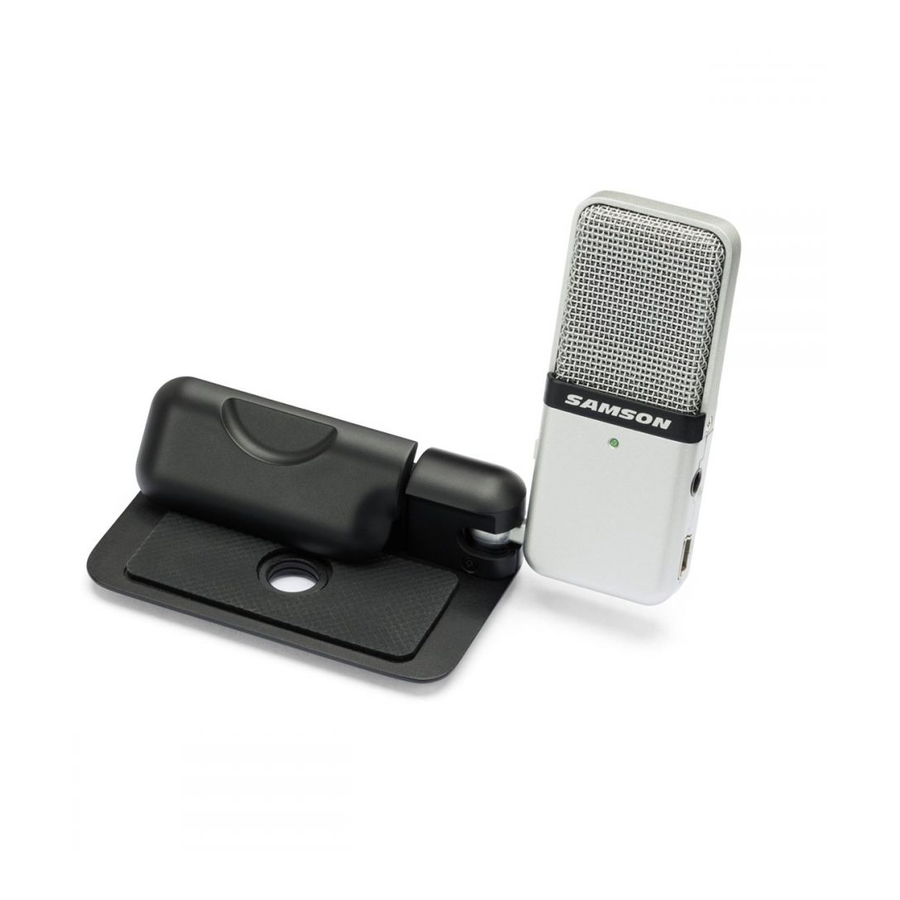
Page 7: Go Mic Layout
5. Mic Stand Mount – A standard Euro-mount mic stand mounting hole and included adapters allow you to attach the Go Mic to a standard microphone stand. 6. Clip – Integral mounting clip for easy set-up and installation up on just about any laptop computer. -
Page 8: Installing The Go Mic
Getting Started with Windows XP Figure 2 1. The first time you plug the Go Mic into a USB port, Windows will install the universal drivers for that port. A balloon tip will pop up, telling you it has “Found new Hardware”... - Page 9 Installing the Go Mic 3. To set the Go Mic as your default device for sound playback and recording, or to change its settings, click the Start button, click Control Panel and then click Sounds and Audio Devices. Under the Audio tab, you can select the Samson GoMic from the drop-down menus.
- Page 10 6), and click the checkbox next to Microphone. (Figure 7) 6. To prevent system sounds from coming through the Go Mic, select a different sound card for the system default, and then choose the Go Mic manually within your DAW software.
-
Page 11: Getting Started With Windows Vista
Installing the Go Mic Getting Started with Windows Vista 1. The first time you plug the Go Mic into a USB port, Windows Vista will install the universal drivers for that port. A balloon tip will pop up, telling you it has “Found new Hardware”. - Page 12 Installing the Go Mic 5. To set the direct monitoring level or the playback volume in the headphones, click the Properties button in the Playback tab instead, and open the Levels tab. Adjusting the Speakers slider changes the headphone level. To...
-
Page 13: Getting Started With Mac Os X
The following example is for setting up the Go Mic in MAC OS X . 1. To start using the Samson Go Mic, just plug it in. The LED will light to indicate it is re- ceiving USB power. The MAC will recognize the USB audio device and automatically install a universal driver. - Page 14 The amount of latency depends on the speed of your computer, available memory and the number of tracks you are recording. You can set the Go Mic to Direct Monitor mode to listen to the signal directly off the input of the microphone to eliminate the latency.
-
Page 15: Operating The Go Mic
Just follow the simple steps below to start recording. 1. Unfold the Go Mic, press the clip in and set the microphone on the top of your laptop screen. If you prefer, you can position the Go Mic on your desktop by using back of the clip as a desk stand. - Page 16 7. Set up a mono record track in your DAW for the vocal track. 8. At this point you want to set the level of the Go Mic and there are few ways to do this depending on your exact computer set up. You can set the microphone’s input level in the Sound playback in Windows or in the Sound dialog box in the System Preferences if you are using the MAC OS.
-
Page 17: Powering The Go Mic
Go Mic, will also have a PEAK indicator to show when the input signal is clipping. To set a good level on the mic, set the Go Mic up in front of the desired sound source and slowly raise the DAW’s or operating system’s input gain control until you see the CLIP or Peak indicator light up. -
Page 18: Polar Patterns
Omni pattern is ideal. When the Go Mic is set to Omni pattern it will pick up sound in a 360-degree pattern. This can also be used to pick up the ambient room sound for natural reverb when recording acoustic instruments. -
Page 19: P-Popping
P-popping (without the bad smell of old nylons) is to use a pop filter attached the microphone stand like the Samson PS-01. Using a pop filter also makes it easy to maintain a good level by keeping the vocalist at a constant distance from the... -
Page 20: Application Notes
Acoustic Guitar There are a variety of ways that the Go Mic can be used to mic an acoustic guitar. The microphone placement will depend on the type of instrument and what kind of sound you’re looking to capture, for example the tonal quality you want to focus on, and how much... - Page 21 Go Mic on a boom mic stand directly above the kit pointing from front to back. For stereo miking, use two Go Mic’s placed over the drum set at a distance of three to five feet. You can experiment with the exact placement depending on the size of the room and whether you’re looking for an ambient or close-miked sound.
-
Page 22: Go Mic Specifications
Go Mic Specifications Polar Pattern - Cardioid Go Mic Frequency Response - Cardioid Go Mic Frequency Response - Omni Polar Pattern - Omni... -
Page 23: Go Mic Specifications
Go Mic Specifications Go Mic Specifications Polar pattern Cardioid and Omni Frequency Response Cardioid 80Hz - 18kHZ Omni 20Hz - 20kHZ Element type Fixed Charge electret Element Diameter 10mm Diaphragm thickness Cardioid 4 microns Omni 2 microns Sensitivity -47 +/- 2dB/Pa... - Page 24 Samson Technologies Corp. 45 Gilpin Avenue Hauppauge, New York 11788-8816 Phone: 1-800-3-SAMSON (1-800-372-6766) Fax: 631-784-2201 www.samsontech.com...
Need help?
Do you have a question about the Go Mic and is the answer not in the manual?
Questions and answers