dji Osmo Pocket 3 Manual
- Safety manuallines (12 pages) ,
- User manual (40 pages) ,
- User manual (5 pages)
Advertisement
Introduction
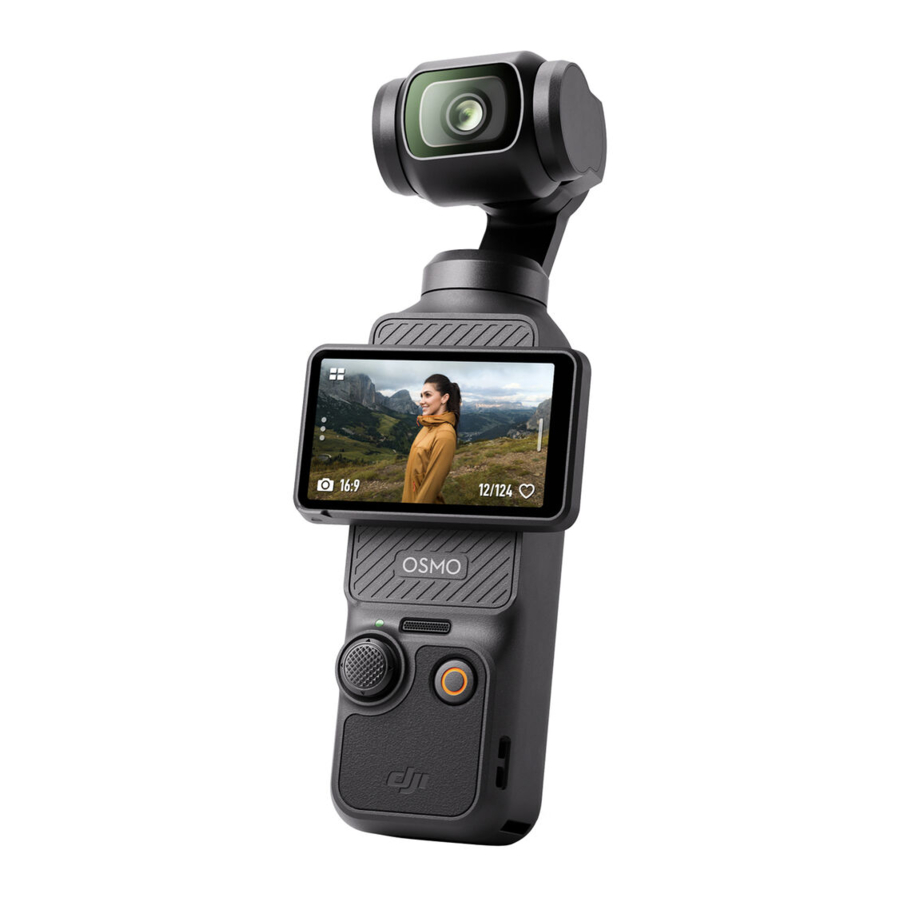
DJI Osmo Pocket 3 is a handheld gimbal camera with three-axis mechanical stabilization, which is capable of shooting stable and smooth videos in various scenarios. The 1-inch CMOS sensor ensures low-noise, high-quality footage in high-contrast environments. In addition, the 10-bit D-Log M color mode provides a more comfortable color perception and a larger dynamic range, which is convenient for post-production color correction.
The rotatable touchscreen of Osmo Pocket 3 allows users to check the live view of the camera, rotate to start recording, tap to adjust the settings, and can also be used to switch between horizontal and vertical shooting modes. Osmo Pocket 3 adopts a built-in three-mic array, which can effectively reduce wind noise and record stereo sound. It also supports the connection of external mies and monitoring earphones. Users can enjoy more with a variety of optional accessories such as Osmo Pocket 3 Handle With 1/4" Thread, Osmo Pocket 3 Battery Handle, Osmo Mini Tripod, and Osmo Pocket 3 Wide-Angle Lens.
Overview

- Camera
- Pan Motor
- Microphones*
- Rotatable Touchscreen
- Speaker
- Status LED
- 5D Joystick
- microSD Card Slot
- Quick-Release Slot I
- USB-C Port
- Shutter/Record Button
- Quick-Release Slot II
- Lanyard Hole
- Tilt Motor
- Roll Motor
Inserting Micro SD Card
The footage shot on Osmo Pocket 3 can only be stored on a microSD card (not included). A UHS-I Speed Grade 3 rating microSD card is required due to the fast reading and writing speeds necessary for highresolution video data.
Insert the microSD card into the microSD card slot as shown. To remove the microSD card, gently push the microSD card to partially eject it.

Powering On
Osmo Pocket 3 will start capturing footage as soon as you rotate the touchscreen and power on the camera. The shooting mode is subject to the users selection in the Screen Rotate & Capture function settings. After shooting, the camera will automatically power off if left idle for two seconds. Alternatively, users can press the Shutter/Record button for one second or rotate the touchscreen counterclockwise to power off the camera.
Activation
Make sure to activate the camera using DJI Mimo before first use. Follow the steps below to activate:
- Rotate the touchscreen clockwise or press the Shutter/Record button to power on the camera.
- Enable Wi-Fi and Bluetooth on the mobile device.
- Launch DJI Mimo on the mobile device, tap [o] to connect to the camera, and then follow the instructions to activate the camera.


Charging the Battery
Use the Type-C to Type-C PD cable (included) to connect a USB-C charger (not Included) to the USB-C port at the bottom of Osmo Pocket 3. It Is recommended to use the DJI 65W Portable Charger, DJI 30W USB-C Charger, or other USB-C Power Delivery chargers. When charging In the power-off state, the power status can be checked on the touchscreen. It takes about 16 minutes to charge the battery to 80% and 32 minutes until fully charged.*

* Tested in a laboratory environment with the DJI 65W PD charger (sold separately).
When the handle or battery handle is mounted, use the USB-C port on the rear of the handle for charging.
If the battery handle is mounted, the battery handle will not start charging until the battery of the handheld gimbal camera is fully charged.
Shooting Modes
Panorama
Take a panoramic photo with an ultra-wide angle view. The camera will take a group of photos for the view within the FOV and then combine them into a panoramic photo.
There are two panoramic modes: 180° and 3x3.
If 180° is selected, the camera will take four horizontal photos from left to right and combine them into a panoramic photo.
If 3x3 is selected, the camera will take nine photos from different directions and combine them into the final panoramic photo.
Take a Photo
Take a photo or countdown photo.
Record a video.
Low Light
When selected, the camera will automatically adjust exposure parameters intelligently to improve image quality in low-light environments.
Slow Motion
Supports 4x or 8x slow-motion video shooting. In Slow Motion mode, the camera records the video with a high frame rate and slows the footage down to 4x or 8x the normal speed during playback. Slow Motion catches details not visible to the naked eye, which is ideal for fast-action shots. Note that slow-motion videos do not include audio. The audio file is stored as a standalone file and has the same path as the video file, which can be transferred to your computer.
Timelapse
Select from Hyperlapse, Timelapse, and Motionlapse. In this mode, the camera turns long events into short videos by taking a frame of video at set intervals.
- Use Hyperlapse to record smooth timelapse videos when the camera is in motion such as in a car or when held in the hand.
- Use Timelapse to record timelapse videos when the camera is mounted and still. Three presets in Timelapse are designed for typical scenes such as Crowds, Clouds, and Sunsets. Users can also optimize the interval and duration for recording Timelapse videos.
- Motionlapse allows you to move along preset shooting positions and record a timelapse video from different angles. Motionlapse supports LTR (Left to Right), RTL (Right to Left), and Custom Motion. When using Custom Motion, select 2-4 positions and the gimbal will move to each position in sequence.
Documents / ResourcesDownload manual
Here you can download full pdf version of manual, it may contain additional safety instructions, warranty information, FCC rules, etc.
Advertisement


Need help?
Do you have a question about the Osmo Pocket 3 and is the answer not in the manual?
Questions and answers