Envertech EVT800 User Manual
Hide thumbs
Also See for EVT800:
- Quick installation manual (12 pages) ,
- Quick installation manual (14 pages) ,
- User manual (22 pages)

Related Manuals for Envertech EVT800


Summary of Contents for Envertech EVT800
- Page 1 User Manual Envertech Corporation Ltd. Tel: +86 21 6858 0086 EVT800-B Web: www.envertec.com Email: info@envertec.com Add: No.138, Xinjunhuan road, Minhang District, Shanghai, China USM-B-2023-V01...
-
Page 2: Table Of Contents
Content Important Safety Information ....... 1 Read it First ............... 1 Safety Instructions ............ 1 Envertech Microinverter System ......1 How it Works ............2 Monitoring Device EnverBridge ........ 2 Optimal Reliability............. 3 Simple Design ............3 Product Information ..........3 Overview .............. -
Page 3: Important Safety Information
Please be kindly note that the Envertech microinverter itself is a heat sink. WARNING indicates a hazardous situation which, if not Under normal operating conditions, its temperature is 20°C above ambient, but avoided, can result in death or serious injury or moderate injury. -
Page 4: How It Works
EnverBridge (Optional): monitoring and protecting PV system. You can view the real-time data from a web browser or Envertech app. This integrated solar system maximizes energy harvest, increases system reliability. Simplifies design, installation and management. EnverPortal: http://www.envertecportal.com 2.1 How it Works The Envertech microinverter maximizes energy production from your photovoltaic (PV) array. -
Page 5: Optimal Reliability
Current monitoring in grounding DC current monitoring. high DC voltage. EVT800 can be adapted to almost all modules. Before installation, please check the parameters of the microinverters and modules to ensure that they are compatible. -
Page 6: Preparation
Maximum Units Per Branch(12AWG 4. Packing Checklist Cable) 4.1 Accessories Efficiency After you receive the Envertech microinverter, please check if there is any Peak Efficiency 96.8% damage on the carton, and then check the inside completeness for any visible MPPT Efficiency 99.9%... -
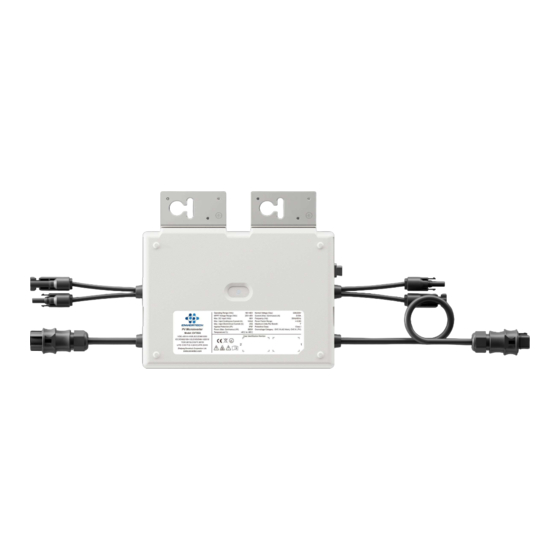
Page 7: Product Description
No unauthorized perforations or modifications Any unauthorized perforations or modifications are strictly forbidden. If any defect or damage (device/person) is occurred, Envertech shall not take 4.3 Further Information any responsibility for it. If you have any further questions concerning accessories or installation, please... -
Page 8: Accessories
Mount all microinverters under modules to avoid rain and sun, with the trademark facing downward. Only qualified personnel may connect the Envertech microinverter to the utility grid after receiving prior approval from the electrical utility company. Installing Envertech microinverter system involves several key steps. Each step listed here is elaborated on the following pages. - Page 9 Extension cable For better Wi-Fi signal, rotate the antenna clockwise until it is firmly secured to the EVT800. Option b. Put the open parts of the extension cable into the plug and use the plug to connect to the socket Step 5.
- Page 10 Option 1. Use EnverView app to configure Wi-Fi Note: Please place the EVT800 as close as possible to the router. Note: The EVT800 has built-in WI-FI modular which is able to connect the router 1. Please carefully check the Wi-Fi password, such as extra spaces. directly.
- Page 11 WI-FI. Note: If the setting is not successful, wait 5 seconds. Click Configuration again and check that the EVT800 is as close to the router as possible. Option 2. Use computer to configure Wi-Fi 1. Go to your computer’s WLAN setting. Connect a network of the same name as your EVT microinverter Serial Number.
- Page 12 Note: If more than one microinverter needs to be connected to Wi-Fi, configure one microinverter first. Step 10. Monitoring through EVT800 1) Register a new account by app or website. Option 1. Visit www.envertecportal.com. Click Sign Up. Fill in the account information to finish registration.
- Page 13 Click Add, then enter the SN of EnverBridge, click OK to finfish adding monitor. Option 2. Use EnverView app to bind MI (Local mode) Note: Please ensure that both EVT800 and your phone are in same router network. Step 1. Launch EnverView app, and enter Local Mode. Connect your EVT800.
- Page 14 Local Mode Components To use the local mode on EVB300, additional accessories should be prepared. • EVB300 (Firmware version EVB-300-E-N-003-014 or higher) • A USB flash drive with the sufficient storage space (format: FAT16/32 or exFAT) Operating steps Data query Insert the USB flash drive into the USB socket on EVB300.
-
Page 15: Debugging And Operating
EnverBridge. The entire system will be detected within 10 minutes. microinverter. 4. The voltage and frequency of EVT800 can be adjusted on the site. If adjustments are required by your local utility company, installers can use EnverBridge to manage grid parameters after all microinverters have been detected. -
Page 16: Led Status Indications And Error Reporting
7.1 LED Status Indications and Error Report WARNING: Envertech microinverters are powered by DC power from the PV modules. Please disconnect and reconnect DC power to check the LED blinks 1 LED Startup: minute after DC is applied. The LED of each microinverter blinks red for a while at the beginning, and then 1. -
Page 17: Disconnect Microinverters From Pv Modules
If your problems are still unsolved with the steps above, please contact control box 6 Router Envertech tech support through www.envertec.com. If Envertech approves the replacement, please take off the microinverter according to the following socket instructions. In order to ensure the disconnection between the microinverter... -
Page 18: Recycling And Disposal
EVB300. 9. Recycling and Disposal WARNING: Do not attempt to repair the Envertech microinverter. It contains no user-serviceable parts. If the microinverter fails, contact your direct supplier or Envertech customer service to obtain an RMA (return merchandise authorization) number and start the replacement process.
Need help?
Do you have a question about the EVT800 and is the answer not in the manual?
Questions and answers