Advertisement
Quick Links
Advertisement

Summary of Contents for Smith & Nephew RENASYS EDGE
- Page 1 The RENASYS EDGE System ◊ Quick reference guide smith-nephew.com/renasysedge...
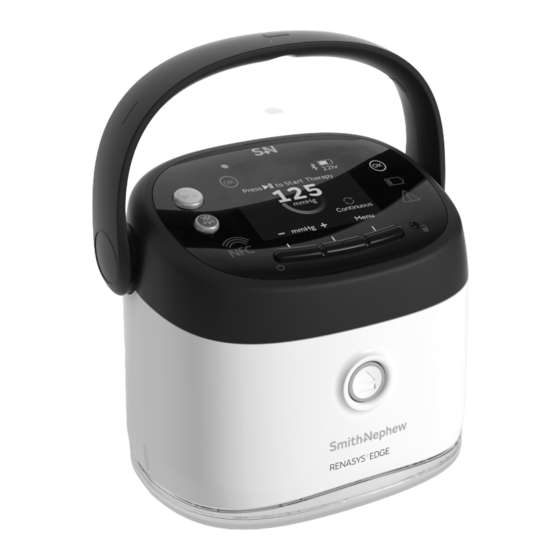
- Page 2 The RENASYS EDGE System ◊ Therapy screen Carry handle Play/pause OK light button Battery warning light Mute button Recessed lock / unlock button Multifunctional buttons Canister release button NFC sensor linked to online resources Power button Disposable canister...
- Page 3 Power on the device and start therapy Press the button to start / pause the therapy Progressing to target pressure. Progressing to target pressure. Target pressure achieved. Cancel Faster Cancel Faster Slower When the pump is working correctly the OK light will illuminate Switch On the pump Select the prescribed negative pressure level using...
- Page 4 Alerts Therapy paused too long Low battery Moderate air leak Pump too hot for charging Alarms Blockage Canister full Critical low battery Pump too hot Canister missing Critical air leak Battery failure High vacuum/System failure Icons and symbol glossary Pump buttons Battery icons Status bar icons Play/Pause...
- Page 5 Installing a new canister Ensure therapy is paused Remove the paper tape around or the pump is Off. the canister tubing and release tubing to full length. click click click click click If removing a used canister, push the canister release button and dispose of it Push down on the pump until properly.
- Page 6 RENASYS -F Foam and -G Gauze ◊ Dressing Kit with Soft Port application Clean and debride Debride any devitalized or necrotic eschar tissue. Cleanse the wound and pat dry. If desired, protect the periwound skin from exposure to moisture and adhesive through the use of skin sealant. Allow the skin sealant to dry fully prior to placement of the transparent film.
- Page 7 If dressing wound with gauze Apply a layer of saline moistened gauze to wound bed. Unfold remaining saline-moistened gauze and loosely fill the entire wound cavity. Avoid over packing the wound. Precaution: If multiple pieces of wound filler are needed to fill the wound profile, count and record how many pieces are present to ensure all pieces are removed at a dressing change to minimize the risk of retention and possible infection.
- Page 8 Smooth the dressing down while removing the RENASYS Soft Port stabilization frame. Secure the RENASYS Soft Port to the patient according to your institutional protocol. Ensure the aeration disc, located near the orange quick click connector, is not covered or otherwise occluded by the method used to secure the Soft Port.


Need help?
Do you have a question about the RENASYS EDGE and is the answer not in the manual?
Questions and answers