Dreame R10 Pro - Cordless Stick Vacuum User Manual
- User manual (24 pages) ,
- User manual (234 pages) ,
- User manual (41 pages)
Advertisement
- 1 IMPORTANT SAFETY INSTRUCTIONS
- 2 Product Overview
- 3 Installation
- 4 Charging
- 5 How to Use
-
6
Care & Maintenance
- 6.1 Cleaning the Vacuum
- 6.2 Cleaning the Dust Cup, Pre-Filter, and Cyclone Assembly
- 6.3 Installing the Dust Cup, Pre-Filter, and Cyclone Assembly
- 6.4 Cleaning the Filter
- 6.5 Installing the filter
- 6.6 Cleaning the Multi-Surface Brush
- 6.7 Cleaning the Soft Roller Brush
- 6.8 Cleaning the Motorized Mini-Brush
- 7 Documents / Resources
IMPORTANT SAFETY INSTRUCTIONS

When using an electrical appliance, basic precautions should always be followed, including the following:
READ ALL INSTRUCTIONS BEFORE USING (THIS APPLIANCE). Failure to follow the warnings and instructions may result in electric shock, fire and/or serious injury.

To reduce the risk of fire, electric shock, or injury:
Do not use outdoors or on wet surfaces.
Do not allow to be used as a toy. Close attention is necessary when used by or near children, pets or plants.
Use only as described in this manual. Use only manufacturer's recommended attachments.
Do not use with damaged cord or plug. If appliance is not working as it should, has been dropped, damaged, left outdoors, or dropped into water, return it to a service center.
Do not pull or carry by cord, use cord as a handle, close a door on cord, or pull cord around sharp edges or corners. Do not run appliance over cord. Keep cord away from heated surfaces.
Do not unplug by pulling on cord. To unplug, grasp the plug, not the cord.
Do not handle charger, including charger plug, and charger terminals with wet hands.
Do not put any object into openings. Do not use with any opening blocked; keep free of dust, lint, hair, and anything that may reduce air flow.
Keep hair, loose clothing, fingers, and all parts of body away from openings and moving parts.
Use extra care when cleaning on stairs.
Do not use to pick up flammable or combustible liquids, such as gasoline, or use in areas where they may be present.
Do not pick up anything that is burning or smoking, such as cigarettes, matches, or hot ashes.
Do not use without dust cup and/or filters in place.
Prevent unintentional starting. Ensure the switch is in the off-position before connecting to battery pack, picking up or carrying the appliance. Carrying the appliance with your finger on the switch or energizing appliance that have the switch on invites accidents.
Disconnect the battery pack from the appliance before making any adjustments, changing accessories, or storing appliance. Such preventive safety measures reduce the risk of starting the appliance accidentally.
Recharge only with the charger specified by the manufacturer. A charger that is suitable for one type of battery pack may create a risk of fire when used with another battery pack.
Use appliances only with specifically designated battery packs. Use of any other battery packs may create a risk of injury and fire.
When battery pack is not in use, keep it away from other metal objects, like paper clips, coins, keys, nails, screws or other small metal objects, that can make a connection from one terminal to another. Shorting the battery terminals together may cause burns or a fire.
Under abusive conditions, liquid may be ejected from the battery; avoid contact. If contact accidentally occurs, flush with water. If liquid contacts eyes, additionally seek medical help. Liquid ejected from the battery may cause irritation or burns.
Do not use a battery pack or appliance that is damaged or modified. Damaged or modified batteries may exhibit unpredictable behavior resulting in fire, explosion or risk of injury.
Do not expose a battery pack or appliance to fire or excessive temperature. Exposure to fire or temperature above 130℃ may cause explosion.
Follow all charging instructions and do not charge the battery pack or appliance outside of the temperature range specified in the instructions. Charging improperly or at temperatures outside of the specified range may damage the battery and increase the risk of fire.
Have servicing performed by a qualified repair person using only identical replacement parts. This will ensure that the safety of the product is maintained.
Do not modify or attempt to repair the appliance or the battery pack except as indicated in the instructions for use and care.
Do not use and store in extremely hot or cold environments (below 0°C/32°F or above 40°C/104°F). Please charge the cordless vacuum cleaner in temperature above 0°C/32°F and below 40°C/104°F.

This device complies with Part 15 of the FCC Rules / Innovation, Science and Economic Development Canada's licence-exempt RSS(s). Operation is subject to the following two conditions:
- this device may not cause harmful interference.
- this device must accept any interference received, including interference that may cause undesired operation.
Changes or modifications not expressly approved by the party responsible for compliance could void the user's authority to operate the equipment.
This equipment has been tested and found to comply with the limits for a Class B digital device, pursuant to part 15 of the FCC Rules.
These limits are designed to provide reasonable protection against harmful interference in a residential installation.
This equipment generates uses and can radiate radio frequency energy and, if not installed and used in accordance with the instructions, may cause harmful interference to radio communications. However, there is no guarantee that interference will not occur in a particular installation.
If this equipment does cause harmful interference to radio or television reception, which can be determined by turning the equipment off and on, the user is encouraged to try to correct the interference by one or more of the following.
 | Direct current |
 | Alternating current |
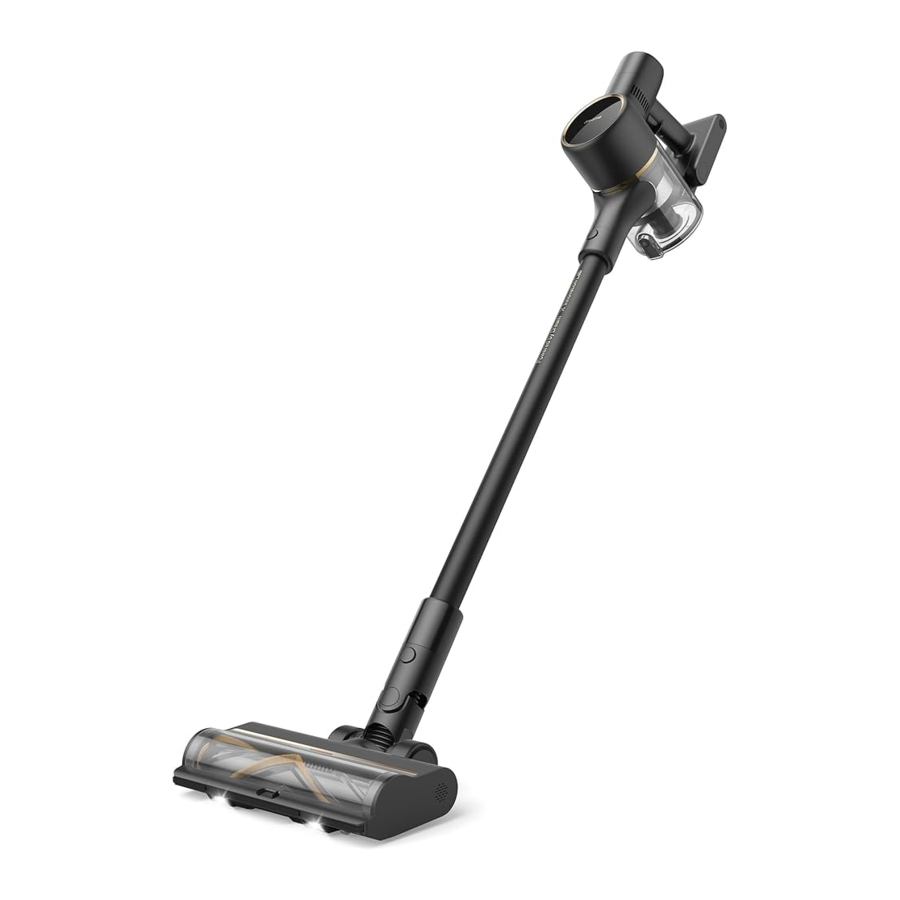
Product Overview
Component Names

Trigger switch lock
When the vacuum is running, press briefly to switch to discontinuous/continuous cleaning mode
On/Off Switch
- Press to turn on
- Release to turn off
Accessories

Note: The images in this manual are for illustrative purposes only. The actual product may differ.
Installation

Wall Mount Installation Diagram

- Paste the mounting template sticker on the wall. The bottom edge of the mounting template sticker should be parallel to and about 42.126'' from the ground.
- Use a power drill with an 0.315'' drill bit to drill a hole into each marker on the mounting template sticker, then insert a wall plug into each hole.
- Align the holes on the mount with the holes on the wall. Fasten it to the wall with the included screws.
Note:
- The wall mount is an optional accessory. You can install it based on your needs.
- The wall mount should be installed on a cool, dry surface with an electrical outlet nearby. Prior to installing, ensure that there are no electrical wires or pipes in the space directly behind installment position.
Charging
Fully charge the vacuum before using it for the first time.
Note:
- A full charge will take approximately 4 hours.
- Using Turbo mode for a prolonged period will cause the battery to heat up, which increases charging time. Allow the vacuum to cool down for 30 minutes before charging it.
Charging Methods
Charging the vacuum with the charger

LED Battery Status Indicator

 | Low battery |
 | Half battery |
 | Nearly full |
 | Fully charged |
 Off; Off;  Blinking; Blinking;  On On | |
Note: Once the vacuum is fully charged, the indicator will turn off after 5 minutes, and the vacuum will enter the energy-saving mode.
How to Use
Working Methods
Select from two working methods for the vacuum, based on your needs.
Method 1: Discontinuous Cleaning Mode
Press and hold the on/off switch to power it on, and release it to stop immediately.

Method 2: Continuous Cleaning Mode (Trigger switch lock)
Click the trigger switch lock to switch to Continuous Cleaning Mode when the vacuum is running. Then release the on/off switch to make the vacuum in Continuous Cleaning Mode.

Use the trigger switch lock to free your fingers and avoid finger fatigue caused by holding the switch.

Note:
- In this mode, the lock indicator will illuminate steadily.
- Click the trigger switch lock again to quit the Continuous Cleaning Mode.
Using Different Accessories
Multi-Surface Brush
Suitable for vacuuming on the med/low pile carpets, tiles and floors.
For vacuuming large particles by turning on the switch on the brush, such as coffee beans, corn flakes and etc.

Note:
- The multi-surface brush can be attached directly to the vacuum.
- When the appliance starts, the lights in front of the brush roller will automatically turn on, which is convenient for use.
Motorized Mini-Brush
For vacuuming dirt, pet hair, and other stubborn debris from sofas, bedding, and other fabric surfaces.

Note: It is not recommended to vacuum on fragile surfaces, such as silk.
Wide Combination Tool
For vacuuming curtains, keyboards, ceilings, sofas, vehicle interiors, coffee tables, etc.

Soft Roller Brush
Suitable for cleaning hard floors such as marbles and tiles.

Note: The soft roller brush can be attached directly to the vacuum.
Flexible Combination Tool
Bendable and retractable brush-nozzle, more flexible to vacuum in narrow gaps.

Wall Mount
The vacuum cleaner can be placed on the wall mount when it is not in use.
Note:
- Do not put the vacuum cleaner alone on the wall mount.
- Place it on the wall mount after connecting it with the extension rod and the multi-surface brush.
![]()

Note:
- If any rotating part becomes stuck, the vacuum may shut off automatically. Remove any trapped foreign objects, then resume use.
- When the motor becomes overheated, the vacuum will automatically shut off. Wait until the battery temperature returns to normal, then resume use.
Care & Maintenance
Tips:
- Always use genuine parts to keep your warranty from being void.
- If the filter or nozzle becomes clogged, the vacuum will stop working shortly after being turned on. Clear the tube to restore functionality.
- If the vacuum is not used for an extended period, fully charge it, unplug its charger, and store it in a cool, low-humidity environment away from direct sunlight. To avoid over-discharging the battery, recharge the vacuum at least once every three months.
Cleaning the Vacuum
Wipe the vacuum with a soft dry cloth.
Cleaning the Dust Cup, Pre-Filter, and Cyclone Assembly
The vacuum's cleaning ability will be reduced if the dust cup is filled to the "MAX" mark. To regain performance, empty the dust cup in a timely manner. Before emptying the dust cup, make sure the vacuum is disconnected from the power, and do not press its power button.
- Press the dust cup bottom cover release button, then empty the contents.

- Push the dust cup release switch in the direction indicated by the arrow, then gently remove the dust cup from the vacuum.

- Remove the pre-filter first, then lift the handle of the cyclone assembly and turn it counterclockwise until it stops, then pull to lift out the cyclone assembly.

- Wipe the dust cup with a soft wet cloth. Pay attention to wringing out the cloth before using.
![]()
![shock hazard]() To avoid the risk of electric shock, do not rinse the dust cup with water.
To avoid the risk of electric shock, do not rinse the dust cup with water. - Rinse the cyclone assembly and pre-filter until they are clean. After washing, air dry for at least 24 hours.
![]()


 To avoid the risk of electric shock, do not rinse the dust cup with water.
Note:
- It is recommended to clean the dust cup once every month.
- It is recommended to clean the pre-filter at least once every 3 months and the cyclone system at least once every 6 months.
Installing the Dust Cup, Pre-Filter, and Cyclone Assembly
- Insert the cyclone assembly vertically into the dust cup, and make sure that the handle of the cyclone assembly line up with the slot on the left side of the dust cup. Turn the handle clockwise until it locks, then flip the handle down.
- Place the pre-filter with its front side facing up into the cyclone assembly.

- Slightly tilt the dust cup so the slot aligns with the clip on the vacuum. Then gently push the dust cup until it clicks into place.


Cleaning the Filter
It is recommended to clean the filter once every 4 to 6 months.
- Remove the dust cup as shown in the figure.

- Remove the filter from the vacuum by pulling it down in the direction shown in the figure.
![]()
- Clean the filter with clean water. Make sure you rotate the filter 360° to thoroughly and remove all dust caught in the filter. Lightly tap the filter several times to remove any excess dirt.
![]()
- Allow the filter to air dry for 24 hours.
![]()


Note:
- Only use clean water to wash the filter. Do not use detergent.
- Do not attempt to clean the filter with a brush or finger.
Installing the filter
- Insert the filter into the vacuum and gently press down, as illustrated.
![]()
- Reinstall the dust cup.


Cleaning the Multi-Surface Brush
- Turn the lock counterclockwise until it stops, then remove the roller from the roller brush.
![]()
- Use scissors to cut off the hairs and fibers that get stuck on the brush roller. Wipe the dust from the notch and transparent cover with a dry cloth or paper towel. Thoroughly dry before use.
![]()
- When it is dirty, rinse the brush roller with clean water until it is clean.
![]()
- Stand the brush roller upright for at least 24 hours until it is fully dry.
![]()


Cleaning the Soft Roller Brush
- As shown in the picture, press the brush roller release button to remove the roller from the slot.

- Use scissors to cut off the hairs and fibers that get stuck on the brush roller. Wipe the dust from the notch and transparent cover with a dry cloth or paper towel. Thoroughly dry before use.
![]()
- When it is dirty, rinse the brush roller with clean water until it is clean.
![]()
- Stand the brush roller upright for at least 24 hours until it is fully dry.
![]()


Cleaning the Motorized Mini-Brush
- Use a coin as illustrated to rotate the lock counterclockwise until you hear a click.
![]()
- After unlocking the motorized minibrush, remove the brush roller, then rinse and clean it.
![]()
- Stand the brush roller upright in a well-ventilated area for at least 24 hours until it is fully dry.
![]()
- Once the brush roller is dry, reinstall it by following the disassembly steps in reverse.
![]()


Registration Quick Start
Welcome to register a Dreame account by scanning the QR code.
You are available for the User Manual and Special Offers.

With it you are obtaining a high quality product that is engineered for optimal performance. If you have any questions on the product, please contact us: support.us@dreame.tech

Documents / ResourcesDownload manual
Here you can download full pdf version of manual, it may contain additional safety instructions, warranty information, FCC rules, etc.
Advertisement


Need help?
Do you have a question about the R10 Pro and is the answer not in the manual?
Questions and answers