Advertisement
Quick Links
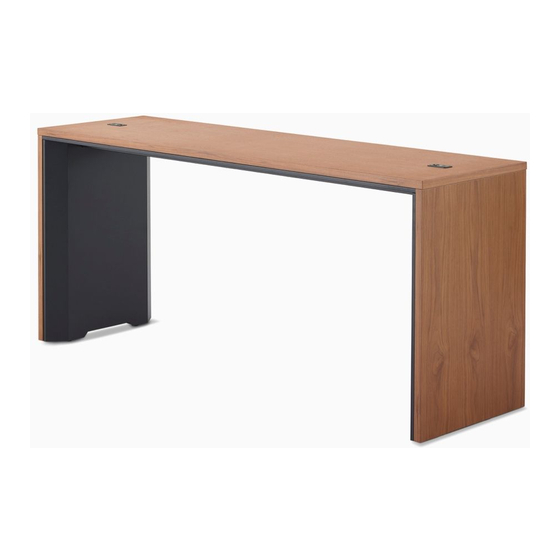
HermanMiller
Headway
Communal Table Installation and
™
Disassembly for Recycling Instructions
How to assemble your Communal Table.
Tools Required
Power Driver
Phillips Bit
Carpenter's Square
3/8" Socket
Safety Glass
Torque Wrench
Note: Sequence of screw installation is important.
Step 1
1.1 Place Worksurface upside down on clean padded surface. Observe bow
in worksurface. If significant, place blocks roughly 2 times height of bow.
1.2 Place weight on middle of surface.
HermanMiller
M8 Allen Wrench
Ratchet Wrench
Work Surface
Block
Block
Parts Included
DP1EP., DP1EG., DP1EF.
Worksurface
Spanner Rail (2)
LH Split Rail Cover (2)
Rail Cover (2)
(108" & 120" Tables)
Glide Support (4)
Leg Support (4)
M10 x 1.5 Flange Socket
Head Screw (8)
Cover Button (18)
Step 2
2.1 If table is over 96", Spanner Rail will be 2 piece assembly. Mate Split
Spanner Rail marked "L" with another marked "R".
2.2 Join together by placing Rail Brace over studs on rails.
2.3 Secure brace to rail with (6) Locknuts.
"L"
LH Split Spanner Rail
Locknut
Rail Brace
1BR5TN rev B
1
End Panel (2)
LH Split Spanner Rail (2)
RH Split Spanner Rail (2)
(108" & 120" Tables)
(108" & 120" Tables)
RH Split Rail Cover (2)
(108" & 120" Tables)
Rail Brace (2)
Connector Plate (2)
(108" & 120" Tables)
(108" & 120" Tables)
#10-32 Locknut
"R"
RH Split Spanner Rail
Assembly Instructions
Leg Cover (2)
#10-12 x 3/4 Pan
Head Screw (125)
Advertisement

Related Manuals for HermanMiller Headway


Summary of Contents for HermanMiller Headway
- Page 1 HermanMiller Parts Included DP1EP., DP1EG., DP1EF. Headway Communal Table Installation and ™ Disassembly for Recycling Instructions Worksurface End Panel (2) Leg Cover (2) How to assemble your Communal Table. LH Split Spanner Rail (2) RH Split Spanner Rail (2) Spanner Rail (2) (108”...
- Page 2 Pan Head Screw 5.4 Start Locknuts onto studs on covers. Push covers tight together, then tighten locknuts. Cover Buttons “R” RH Split Rail Cover Connector Plate LH Split Rail Cover Outside Face “L” Locknut 1BR5TN rev B HermanMiller Assembly Instructions...
- Page 3 7.1 Attach Leg Posts to End Panels with #10 Pan Head Screws. Follow “1” and 8.1 Attach Glide Supports to End Panels with #10 Pan Head Screws. “2” for first and second screws installed. Leg Post Pan Head Screw Pan Head Screw Glide Support End Panel “1” “2” 1BR5TN rev B HermanMiller Assembly Instructions...
- Page 4 Tighten screws to 25 ft-lbs. Leg Cover Cardboard Liner After tightening, ensure the leg feels rigid and there is no movement in the bolted joint before continuing with the installation. Outside Flange Cover Button Flange Head Screw 1BR5TN rev B HermanMiller Assembly Instructions...
- Page 5 Ferrous metals can be identified using a small magnet for recycling. Non-ferrous metals should be separated and recycled separately. To disassemble product, reverse the above installation steps. 1BR5TN rev B HermanMiller Assembly Instructions...
Need help?
Do you have a question about the Headway and is the answer not in the manual?
Questions and answers