
Related Manuals for Spireon GoldStar ATS300


Summary of Contents for Spireon GoldStar ATS300
- Page 1 GoldStar ATS300 Battery Operated Tracker Installation Guide STOP! READ THIS ENTIRE MANUAL BEFORE PROCEEDING WITH THE INSTALLATION OF THIS DEVICE. Rev. 00022305...
- Page 2 This installation guide explains the procedure for covertly installing and operating the ATS300 Battery Operated Tracking device (hereafter referred to as “the Tracking Device”) in a vehicle. Tracking Device Kit Contents (Spireon Supplied) Magnetic Mounting Plate Kit Contents (Optional) Required Tools & Materials (Customer Supplied) •...
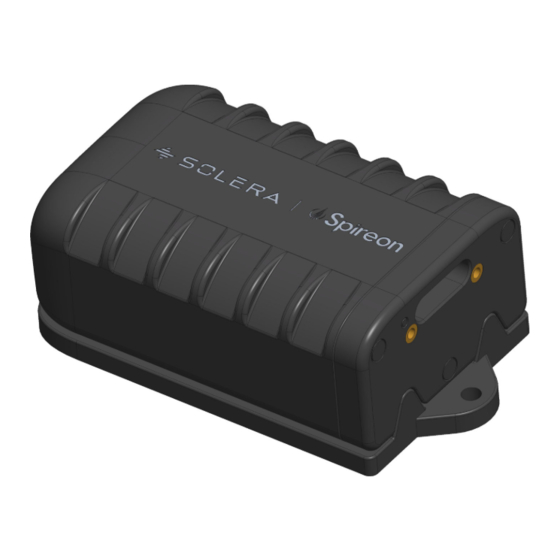
- Page 3 GoldStar ATS300 Installation Guide Major Components of the Tracking Device Rev. 00022305...
-
Page 4: Installation Procedure
GoldStar ATS300 Installation Guide Installation Procedure Powering Up the Tracking Device 1. Locate the Power-up Button on the left side of the flat face of the Tracking Device. 2. Using the Power-Up Tool (supplied in the Tracking Device Kit) press and hold the Power- up Button for 5 seconds to turn on the Tracking Device. - Page 5 GoldStar ATS300 Installation Guide Optical Tamper Sensor The Tracking Device includes an optical tamper sensor located on the bottom surface of the device. Ensure the mounting location allows the sensor to be covered when the Tracking Device is installed. If location does not allow sensor to be covered, place black tape over sensor to prevent invalid tamper alerts.
- Page 6 GoldStar ATS300 Installation Guide 3. Press the Tracking Device firmly against a clean, flat surface in the vehicle. 3. Screw Mounting (requires optional Mounting Plate) 1. Using the M3 x 6 screw (supplied in the Mag- netic Mounting Plate Kit), attach the Magnetic Mounting Plate to the bottom of the Tracking Device.
- Page 7 GoldStar ATS300 Installation Guide 2. Use the 2 self-tapping screws (supplied in the Magnetic Mounting Plate Kit) to mount the Tracking Device to a rigid surface. 4. Magnetic Mounting (requires optional Mount- ing Plate) 1. Using the M3 x 6 screw (supplied in the Mag-...
- Page 8 GoldStar ATS300 Installation Guide 2. Attach the Tracking Device to a suitable metal surface within the vehicle. Caution! Ensure Magnetic Mounting Plate adheres securely to the surface. Device Behavior - Mode Definition The Tracking Device has three operational modes: Mode...
- Page 9 GoldStar ATS300 Installation Guide This page has been left blank intentionally. Rev. 00022305...
- Page 10 Please contact customer service at: Phone: 1-877-563-0012 | Email: customer_support@spireon.com © Copyright Spireon®, Inc. 2023...
Need help?
Do you have a question about the GoldStar ATS300 and is the answer not in the manual?
Questions and answers