Advertisement
Introduction
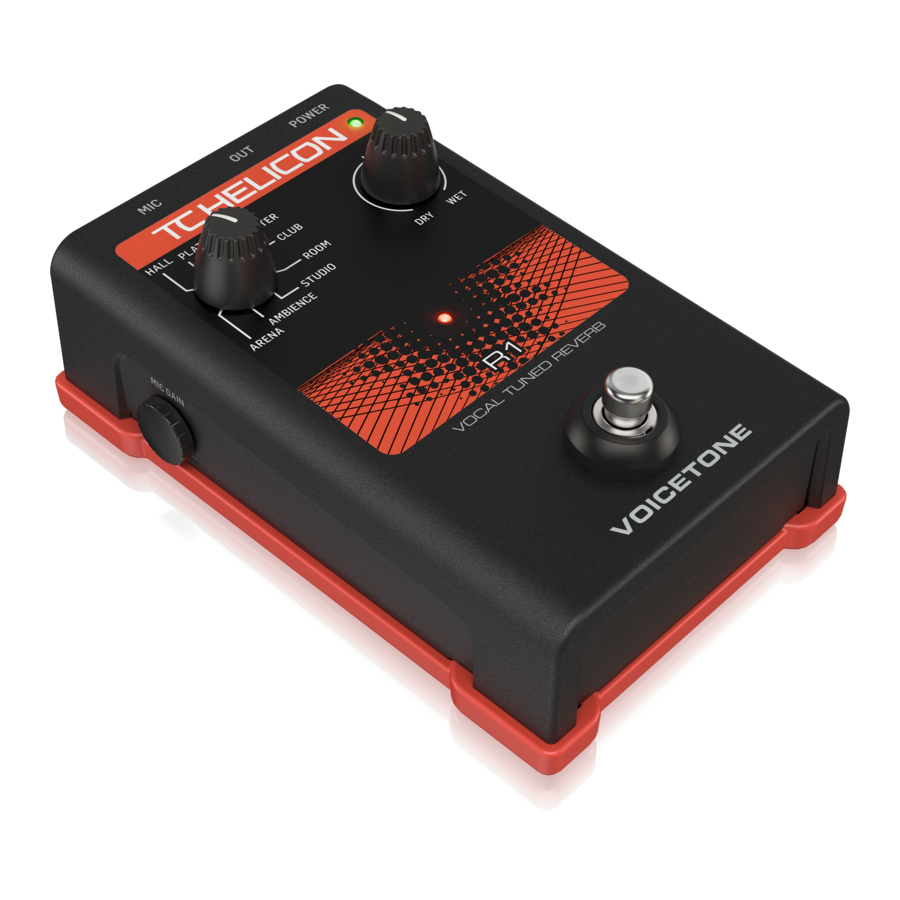
VoiceTone R1 fills out your vocals with pro acoustic spaces from lush halls to tight ambience.
Offering you control over the acoustic environment that surrounds your voice, VoiceTone R1 is the simplest reverb processor you've ever used. We've removed the complexity of setting up vocal reverberation leaving you more time to focus on what you do best: sing and perform. It's easy to connect, easy to use and it will help your voice sound great.
- Super-simple operation
- Useful range of 8 styles offer choice without "parameter anxiety".
- "Set and forget" center notch on the mix control defines a factory-set reverb level so you don't have to search for your sound.
- High quality reverberation algorithm blends well with your voice and accompaniment.
- Mic Control feature works with optional TC-Helicon MP-75 mic to add "on-mic" effect switching.
- USB connection to computer for easy firmware updates, news and tips via the free VoiceSupport application.
- Balanced XLR in and out with phantom power for condenser microphones.
www.tc-helicon.com - www.youtube.com/tchelicon

- Effect on/off footswitch
- Effect active LED indicator
- Reverb style selector
- MIC GAIN control for input level
- Balanced XLR mic input
- Balanced XLR mono output
- Power in
- USB connector to computer
- Input level LED; green=signal, red=clip
- Effect on/off via optional mic (MP-75): in=on
- Mix control with center notch
Connecting

MIC jack - Connect your mic here using a balanced XLR cable. Phantom power is always on.
OUT jack - Connect to your PA mixer, another VoiceTone pedal or powered speaker.
Power in - Connect the supplied 12VDC power supply.
USB - Connect to a computer running the TC-Helicon VoiceSupport application for registration, latest version and tips.
 NOTE
NOTE
- Turn down your PA when making all connections
- The latest version of VoiceSupport is available free from www.tc-helicon.com/voicesupport
- The USB connection does not provide power to the unit
First Setup and Use
- Turn down your PA's master volume.
- Connect your mic and PA as shown in the diagram first, then plug in the AC adaptor. For liveperformance, a USB connection to a computer is not required.
- Set the Reverb style to Hall and the mix control to the center notch.
- Sing into your mic while adjusting the MIC GAIN control so that the input level LED flashes green.
Brief flashes of red on the LED on your loudest singing are ok. - Ensure that the effect is on (center LED is lit).
- Sing while turning up your PA volume to a comfortable level.
You can now sing while you sample the different reverb styles and raise and lower the mix. You're ready to perform!
Phantom Power
There is no switch to enable phantom power on the VoiceTone singles. Phantom power is available when the product is powered. Microphones that don't require phantom power will operate properly. Always apply power as the last connection step and ensure your PA is muted. This will reduce the chance of audio pops that could harm your equipment.
Effect Descriptions
Reverb Styles - The following table offers an overview of the different factory styles.
| Length | Tone | Initial Reflections | PreDelay | |
| Hall | Medium | Medium | Medium | Medium |
| Plate | Medium | Bright | Low | Medium |
| Theatre | Medium | Dark | Low | Yes |
| Club | Short | Medium | High | Short |
| Room | Short | Bright | High | None |
| Studio | Short | Medium | Medium | None |
| Ambience | Shortest | Bright | High | None |
| Arena | Longest | Medium | Medium | Long |
Song tempo can be a useful guide to choosing a reverb style: fast songs are better with short reverb and vice versa. Dark tone is often best with solo singing or ballads while bright tone can sound good with faster tempo and busier instrumentation.
The Dry/Wet (mix) control - Fully left, only your dry lead voice is heard. At the center notch is a factory-set balance of reverb and your voice. Beyond the center notch, reverb level is increased until your dry voice is gradually faded out at the end of its travel.
Using Multiple Single Pedals
It is possible (even encouraged!) to use more than one VoiceTone pedal at a time. You will only need to adjust the MIC GAIN control of the first pedal in the chain. On the rest, MIC GAIN should be set to the minimum (fully left) position.
The order of the pedals is important. See the following table showing 2, 3 and 4 pedal combinations.
| 2 Pedals | D1 > R1 | T1 > D1 | C1 > D1 |
| T1 > C1 | T1 > R1 | C1 > R1 | |
| 3 Pedals | T1 > D1 > R1 | T1 > C1 > R1 | |
| C1 > D1 > R1 | T1 > C1 > R1 | ||
| 4 Pedals | T1 > C1 > D1 > R1 | ||
The VoiceSupport Application
VoiceSupport is your way of getting the most from your TC-Helicon product, as well as letting your product grow with firmware updates. VoiceSupport includes:
- Access to firmware updates and new features
- Videos, artist profiles, tips & tricks
- Registration of your product
To access the VoiceSupport application:
- Download VoiceSupport from www.tc-helicon.com/voicesupport.
- Install VoiceSupport on your computer.
- Connect your product via USB to your computer.
- Run VoiceSupport.
- Read the news, click on tabs and browse the features of the application.
Using the Mic Control Feature
Mic Control allows you to turn effects on and off from the optional TC-Helicon MP-75 microphone. Push the MIC CONTROL switch in to allow remote on/off control on any or all pedals in a chain. When Mic Control is not desired, ensure the switch is out. Using multiple pedals requires the control signal pass through feature to be enabled on all but the last pedal. To enable or disable this feature, hold the effect footswitch and the switch on the mic for 3 seconds.
Tips for Avoiding Feedback
- Ensure your monitor and/or PA speakers don't aim directly at the front of your mic
- Sing close to the mic, even touching the grill with your lips
- Try a super-cardioid dynamic mic such as TC-Helicon's MP-70 and MP-75
- Set your PA channel EQ and graphic EQ flat
- Have your band play quieter on stage.
FAQ
Why am I hearing distortion
Likely the MIC GAIN knob is set too high. Ensure that the Input LED is green most of the time with only brief and rare peaks of red.
Can I use the product on an auxiliary send/return?
Yes. You will need balanced XLR to TRS cables to do so. Ensure that the MIC GAIN knob is set to minimum to accept the line level signal from your mixer.
Will I need a DI box to connect to a mixer?
No.
Why is the product turning the effect on and off by itself?
This can happen when you have the MIC CONTROL knob pushed in and you are connected to a mixer with "pseudo balanced" outputs. Unless you are using only the specific TC-Helicon mic with the Mic Control feature, the MIC CONTROL knob should be out.
Technical Specifications
| Input | Mic Input Impedance: | Balanced: 2.68 kOhm |
| Mic Input Level @ 0 dBFS: | -42dBu to +1dBu | |
| EIN @ Max Mic Gain Rg = 150 Ohm: | -126 dBu | |
| Mic input SNR: | >104 dB | |
| Output | Output Impedance, Bal./Unbal.: | 200/100 Ohm |
| Output Full Scale: | +1 dBu | |
| Dynamic Range: | >104 dB, 20 Hz to 20 kHz | |
| Frequency Response: | +0/-0.3 dB, 20 Hz to 20 kHz | |
| Power | Power Supply (Supplied): | 12V.4A  |
| Power Consumption: | 5.6W | |
| Requirements | Operating Temperature: | 32°F to 122°F(0°C to 50°C) |
| Storage Temperature: | -22°F to 167°F(-30°C to 70°C) | |
| Humidity Max.: | 90% non-condensing | |
| Size & Weight | Dimensions: 5.4" x 3.5" x 2.3" (140 x 90 x 60) | Weight: 0.92 lb. (420 g) |
| Warranty | See www.tc-helicon.com\support for warranty information | |
Due to continuous development, these specifications are subject to change without notice

VideosTC-Helicon VOICETONE R1 review by Evilena Protektore Video
Documents / Resources
References

Download manual
Here you can download full pdf version of manual, it may contain additional safety instructions, warranty information, FCC rules, etc.
Advertisement


Need help?
Do you have a question about the VoiceTone R1 and is the answer not in the manual?
Questions and answers