
Related Manuals for Timeguard NTT03


Summary of Contents for Timeguard NTT03
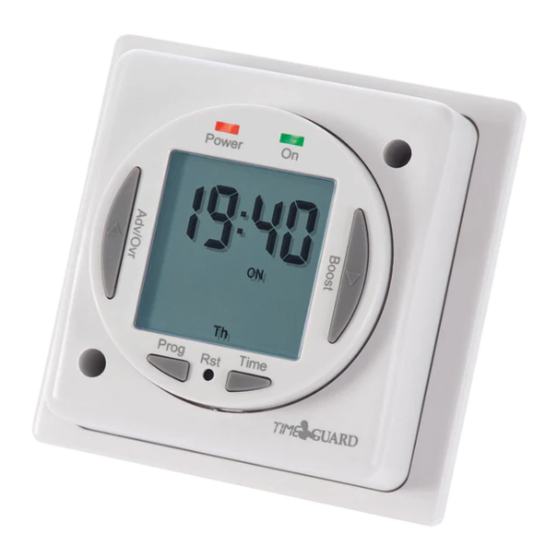
- Page 1 7 Day Digital Time Switch Model: NTT03 Immersion Timer Model: NTT04 General Purpose Timer...
-
Page 2: General Information
100W Compact fluorescent & LED lighting The LED switching capabilities of this product can be increased to 200W by the addition of the Timeguard ZV900 Automatic switch load controller – sold separately. • Switch Type: 16A relay • Voltage free contact: NTT04 only •... - Page 3 • Minimum Depth of Wall Box: 32mm • Manual Override: Permanent ON or OFF • Power Status LED Indicator: • Output LED Indicator: Green • 7 Day Time Period (7 Day, 5 + 2 Days or Individual Day) – 4 ON/OFF switching programmes per day •...
-
Page 4: Installation
4. Installation • Ensure the mains supply is switched off and the circuit supply fuses are removed or the circuit breaker turned off. • Remove the two bezel fixing screws, and remove bezel from timer module and wall plate. • Ease the module forward without disconnecting, so you have access to the wall plate and loosen the screws on the terminal block for both supply and load cables. -
Page 5: Connection Diagram
5. Connection Diagram • The terminals are marked as follows on the rear of the wall plate; NTT03 – 230V Mains Voltage Switching Load Load 230V 50Hz Load Mains Supply 230V 50Hz Mains Supply Live (Brown or Red) to Neutral (Blue or Black) to... - Page 6 NTT04 – 230V Mains Voltage Switching 230V 50Hz 230V 50Hz Link or ‘bridge wir e’ ains Supply Load Mains Supply 230V 50Hz Link or ‘bridge wir e’ Mains Supply Load 230V 50Hz Link or ‘bridge wir e’ Mains Supply Load 230V 50Hz Mains Supply Live (Brown or Red) to L &...
- Page 7 NTT04 Only – Voltage Free Switching e.g. 24V lighting circuit 230V 50Hz Mains Supply 230V 50Hz 230V 50Hz Mains Supply Load Mains Supply 230V 50Hz Mains Supply 230V 50Hz Mains Supply Live (Brown or Red) to Neutral (Blue or Black) to Load Live Input (for voltage free output) S IN Switch Live output...
-
Page 8: Setting The Clock
6. Battery • The time switch has a factory fitted rechargeable battery to give clock operation and programme memory back up during loss of mains supply. • Before programming for the first time, connect the unit to the mains for at least 15 minutes prior to pressing the Rst button and programming the unit. - Page 9 • Use the Adv/Ovr to increase (or the Boost buttons to decrease) the value and set to the correct year. • Press the Time button once to save the year, and the screen with show the month; • Use the Adv/Ovr or boost button to set the correct month.
- Page 10 There is no automatic exit from Time/date entry mode. 9. Programming ON/OFF times The NTT03/04 has 4 independent On/Off periods available for programming each day. There is a choice of programming options, including 7 days the same (24 hours), 5 + 2 days...
- Page 11 • Use the Adv/Ovr or Boost to change the day grouping mode. This will step through the following options; 24hour – Mo Tu We Th Fr Sa Su 5 day – Mo Tu We Th Fr (followed automatically in programming by 2 day – Sa Su) Individual day –...
- Page 12 leave the dashes in place and scroll past the rest of the programs using the Prg button. • After Programme 4 has been entered, then next day grouping will follow e.g. In this example the day grouping will change to 2 day – Sa Su Programme 1 ON. •...
- Page 13 or group of days. Alternatively, leaving the programme entry mode before filling in all the ON/OFF times will leave the remaining times blank. Note: The only way to re-enter a blank times (or dashes) is to reset the unit. Programming across midnight •...
-
Page 14: Boost Button
10. Advance/Override button In normal operating mode the Adv/Ovr button advances the programme to the next time change. • If the output is currently OFF, it will change the output to ON ADVANCE, until the next programmed OFF time. • If the output is currently ON, it will change the output to OFF ADVANCE, until the next programmed ON time. -
Page 15: Year Guarantee
020 8450 0515. Note: A proof of purchase is required in all cases. For all eligible replacements (where agreed by Timeguard) the customer is responsible for all shipping/postage charges outside of the UK. All shipping costs are to be paid in advance... - Page 16 If you experience problems, do not immediately return the unit to the store. Telephone the Timeguard Customer Helpline; HELPLINE 020 8450 0515 or email helpline @ timeguard.com Qualified Customer Support Co-ordinators will be on-line to assist in resolving your query.
Need help?
Do you have a question about the NTT03 and is the answer not in the manual?
Questions and answers