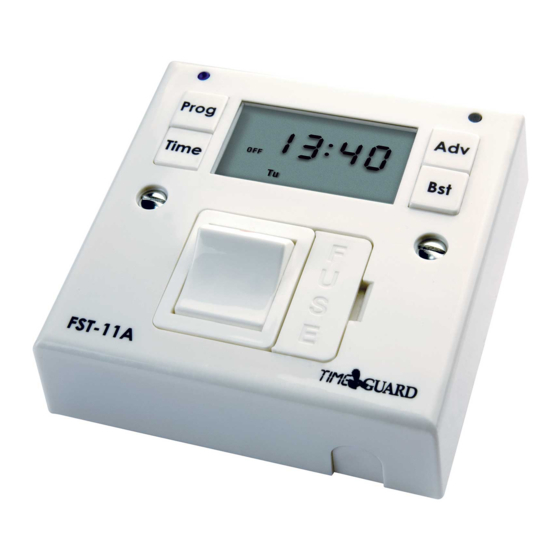
Summary of Contents for Timeguard SupplyMASTER FST11A
- Page 1 FUSED SPUR TIMESWITCH Cat No. FST11A - 24 Hour Cat No. FST17A - 7 Day Cat No. FST17 Installation & Operating Instructions...
-
Page 2: General Information
1. General Information Reset button Override until Power Display (back lit for 30 secs (recessed) next programme ON LED when any button is pressed) change and increments displayed value Sets during time and TimeDayMonthYear programmes Prog programme Prog setting Time MODE BOOST 12 Sets date Mo Tu We Th Fr Sa Su... - Page 3 2. Battery The unit has an in-built non replaceable, rechargeable battery, which will keep the programmed times during power down situations for up to 4 weeks. If the main switch is left in the OFF position for longer than this, the display will go blank. If the screen goes blank, once power is restored and 4 hours elapsed (to give a working battery charge) reset must be pressed, and times / programmes re-entered.
-
Page 4: Installation
4. Installation The unit is designed to replace an existing single gang connection unit or fixed appliance outlet giving timed mains output, protected by a BS 1362 fuse. The unit is capable of forming part of a ring main (the terminals can accept 2 x 2.5mm sq. cables) or terminating a spur off the ring main. -
Page 5: Setting The Date And Time Of Day
6. First Supply Connection and Reset The reset button is recessed to achieve a degree of tamper proofing and an implement such as a pen, pencil or matchstick will be required to operate it. From first connection to the supply allow the internal battery to charge up for 4 hours followed by pressing the reset button. - Page 6 Press the ‘Time’ button and the day digits will flash:- Prog Time Use ‘Adv’ or ‘Bst’ to set the day. Press the ‘Time’ button and the hour digits will flash:- Time Prog Time Use ’Adv’ or ‘Bst’ to set the hour (24 hour clock). Press the ‘Time’...
- Page 7 7.2 Modifying the Date and Time of Day Normally the only change required will be to the time of day minutes, in which case press and hold ‘Time’ for 2 seconds, during which the word ‘HOLD’ will appear in the bottom left hand corner of the display.
- Page 8 Once the desired day grouping is selected, press ‘Prog’ to move onto programming ON / OFF times. Display will show prog 1 ON, and the hour digits flashing. Prog Prog Time Mo Tu We Th Fr (example shown is for a 5 + 2 day program, as the display shows Mo Tu We Th Fr). Use ‘Adv’...
- Page 9 The display will show the correct day and time but the ON / OFF indicator may not reflect the current programme accurately in which case press the ‘Adv’ button to correct the indicator. In the same way as for individual programmes, days or groups of days can be omitted either by leaving dashes in all the locations for a day or a group of days or by leaving the programming mode before its completion where all further entries are to be dashes.
-
Page 10: Operating Mode
10. Operating Mode 10.1 Override until Next Program Change In operating mode, ‘Adv’ advances the program to the next change. If the output is OFF, it will change the output to ON until the next programmed OFF period. If the output is ON, it will turn it OFF until the next programmed ON period. -
Page 11: Specifications
11. Specifications This product complies with: LVD Directive 72/23/EEC. EMC Directive 89/336/EEC. and relevant clauses of the following standards: BS EN 60730-7-2:1992; Particular requirements. Timers and time switches. BS1363-4:1995; Specification for 13A fused connection units. EN61000-6-3:2001; Emission Requirements for the RCLI Environment. EN61000-6-1:2001;... -
Page 12: Year Guarantee
020 8450 0515. For assistance with the product please contact:- HELPLINE 020-8450-0515 or email helpline@timeguard.com For a product brochure please contact: Timeguard Ltd. Victory Park, 400 Edgware Road, London NW2 6ND Tel: 020-8452-1112 or email csc@timeguard.com...


Need help?
Do you have a question about the SupplyMASTER FST11A and is the answer not in the manual?
Questions and answers