
Related Manuals for Timeguard FSTWiFi


Summary of Contents for Timeguard FSTWiFi
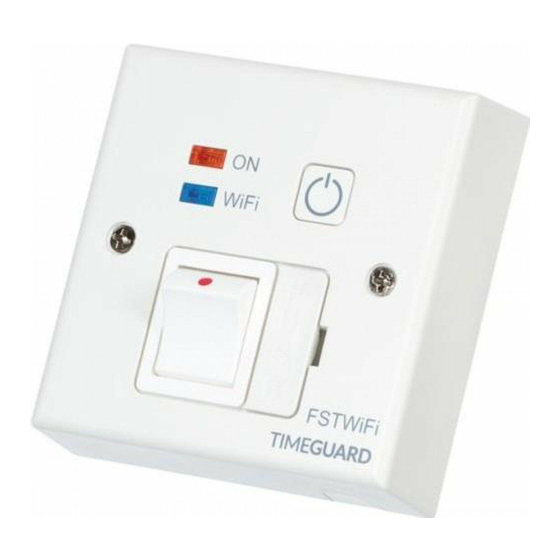
- Page 1 WiFi Controlled Fused Spur Time Switch Model: FSTWiFi – WiFi Controlled Fused Spur Model: FSTWiFiTGV – WiFi Controlled IP66 Fused Spur...
-
Page 2: General Information
These instructions should be read carefully and retained for further reference and maintenance. Note: Timeguard reserve the right to alter these instructions, and the SupplyMaster app, at any time. Up to date instructions will always be available for download at www.timeguard.com. - Page 3 1 or 2 hour • Output Light: • Operating Temperature: 0°C to +40°C • IP Rating: FSTWiFi – Intended for indoor use only FSTWiFiTGV – IP66 rated suitable for restricted external applications • Minimum Depth of Wall Box: 25mm • Multiple Device Support: •...
- Page 4 FSTWIFI MAC address and ID Wi-Fi number label Important: Do not remove this label from the side of the product. 4. Contents FSTWIFITGV FSTWIFI • 1x FSTWIFITGV time switch • 1x FSTWIFI time switch • 2x 20mm cable glands • 2x Mounting screws •...
- Page 5 5.2 Connect the incoming 230V 50Hz mains supply and outgoing load cables to the relevant terminals ensuring correct polarity is observed and that all bare conductors are sleeved (see section 6. Connection Diagram). 5.3 There is a removable cable blank to cover the front cable exit if this feature is not required.
- Page 6 5.8 Using the back box as a template mark the position for the holes. Note the back box must be mounted in the correct orientation, following the ‘TOP’ marking inside the back box. If the mounting position desired is uneven use a sheet of marine ply as a base plate and fit the back box.
- Page 7 6. Connection Diagram • The terminals are marked as follows on the rear of the time switch; Loop terminal for earth continuity Green/Yellow Mains Supply Mains Supply Terminal Terminal Live – Brown Neutral –Blue 230V 50Hz Switched Live Terminal Load Switched Neutral Terminal Load live connection –...
- Page 8 7.1 Ensure your phone or tablet is connected to your local Wi-Fi network. 7.2 Download the Timeguard Supplymaster App onto your phone or tablet by searching for Timeguard on Google Play or the App Store. You can also scan the QR code below applicable to your device.
- Page 9 7.9 Once the blue LED is flashing press start in the App. The App will search for an available device. 7.10 Once the App has found and configured the FSTWiFi/FSTWiFiTGV to the network and your account your device will show up in the devices menu.
- Page 10 8. Features of the FSTWiFi/ FSTWiFiTGV Device Micro Disconnection • The unit offers micro disconnection of the load using the programmed times, or full isolation using the double pole rocker switch on the front of the unit. • Micro disconnection can also be applied using the override switch on the front of the unit.
- Page 11 • The app can be accessed, and the device controlled from any accessible Wi-Fi zone. Once Wi-Fi is set up on the device, the App can also control the FSTWiFi/FSTWiFiTGV through 4G. The device must be connected to a Wi-Fi network.
- Page 12 Device Home Screen • From log in, the user is presented with a list of devices. Each of these has a device home screen. When a device is selected, the home screen is then shown. Device name Back Settings button Time of next program Mode...
- Page 13 Operating Modes • The following options are available in mode settings through the device home screen Auto: Output is controlled by the timer programme, and can be temporarily overridden by boost or advance. Permanent OFF: Output will remain off until auto is re-enabled by the user.
- Page 14 Advance • Advance changes the output state until the next programmed change. Note: The display will show the next program change: • The time of the next programmed change is shown on the device home screen. It also shows the boost time in boost mode (see above). Program Entry •...
- Page 15 Start Time 10:30PM Repeats (MTWTF) End Time 06:30AM Repeats (MTWTF) Quick Programming Tips • Up to 6 ON/OFF periods are allowed per program set with weekly repeats. • Days can be selected and deselected by touching the day required. • If a day is deselected, it shows grey; this would mean that after the last program off time for the selected day ends, no programs will be active until the next selected day within the alternative program set.
- Page 16 • Hold the program name to edit or delete, and use the plus key to add new programs. 12/24 Hour Clock • Times can be shown in either 12 or 24 hour format, in Advanced Settings. Clear ON/OFF Status • The device home screen clearly shows output status through both text (ON/OFF), and colour change of advance button (Red OFF, Green ON).
- Page 17 (standby), until the load is detected again, when it will show green. This is common when the output has a secondary control option, such as a thermostat or isolation point between the FSTWiFi/ FSTWiFiTGV and the appliance. Refer to the no load indicator guide video on our YouTube channel for more information on this.
- Page 18 • Add User: Allows the main account holder to add additional users known as sub account users. Subaccount users can manipulate the control aspects of the FSTWiFi/FSTWiFiTGV but will not be able to delete the device from the main holder’s account. Subaccount users must register via the users’...
- Page 19 • Time format: Allows the user to change the time format between a 12/24 hour clock. • Privacy policy: Directs the user to the Timeguard privacy policy page on our website. 3 Year Guarantee In the unlikely event of this product becoming faulty due to defective...
- Page 20 If you experience problems, do not immediately return the unit to the store. Telephone the Timeguard Customer Helpline: HELPLINE 020 8450 0515 or email helpline @ timeguard.com Qualified Customer Support Co-ordinators will be online to assist in resolving your query.
Need help?
Do you have a question about the FSTWiFi and is the answer not in the manual?
Questions and answers