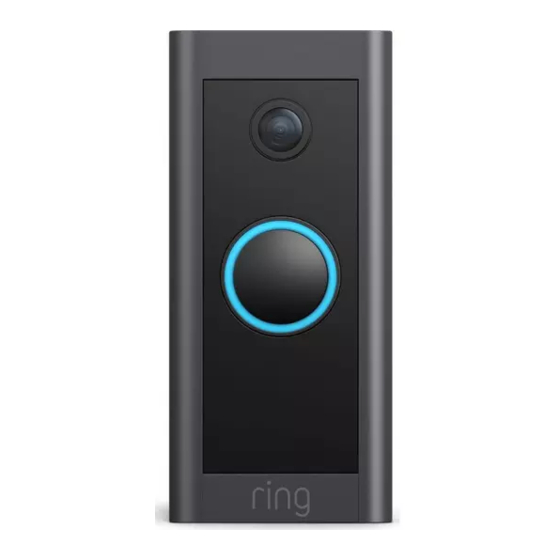
Summary of Contents for ring 5AT3T5
- Page 2 User Guide Doorbell Wired...
-
Page 3: Included Hardware
(2) 1" Mounting Screws doorbell system. Ring your existing doorbell (2) Wall Anchors and listen for the chime. If it rings, we know your existing doorbell system is working. - Page 4 Jumper Cable. This is essential to The Jumper Cable bypasses keeping you and your and disables your existing new Ring Doorbell safe. doorbell chime, and must be installed before you install If you’re not sure which your Ring Doorbell. breaker controls your...
- Page 5 Remove the cover from your Connect the Jumper Cable. doorbell chime. Connect one end of the After you’ve located your Jumper Cable to the “Front” doorbell chime and turned off terminal, and the other to the power at the breaker, remove “Trans”...
- Page 6 Uninstall your existing Mark the screw holes. doorbell button. Using your Ring Doorbell as Remove your doorbell from a template, mark the location the wall. of the two mounting holes on your wall. Disconnect the wires. Make sure they don’t fall back inside your wall so you can access them later.
- Page 7 ¼" masonry bit to drill terminals on the rear of your holes in your wall, then insert Ring Doorbell then tighten the included wall anchors. the terminals to secure. (If you’re installing on wood or...
- Page 8 Mount your Ring Doorbell It may take a moment for your with the two included Ring Doorbell to power on. mounting screws. You’ll know it’s ready once it lights up and speaks to you. Be sure to feed any excess wiring back into the wall first.
- Page 9 Ring Doorbell. to drive the small security screw into the bottom of Search for “Ring” in one of the your Ring Doorbell. app stores below, or visit ring.com/app CAUTION! If you use the wrong screws to...
- Page 10 For a list of all our customer support numbers, visit ring.com/callus For information on our warranty, theft © 2020 Ring LLC or its affiliates. protection, and Ring Protect Plans, see Ring and all related marks are trademarks ring.com/legal of Ring LLC or its affiliates.


Need help?
Do you have a question about the 5AT3T5 and is the answer not in the manual?
Questions and answers
Can you mount this model horizontally