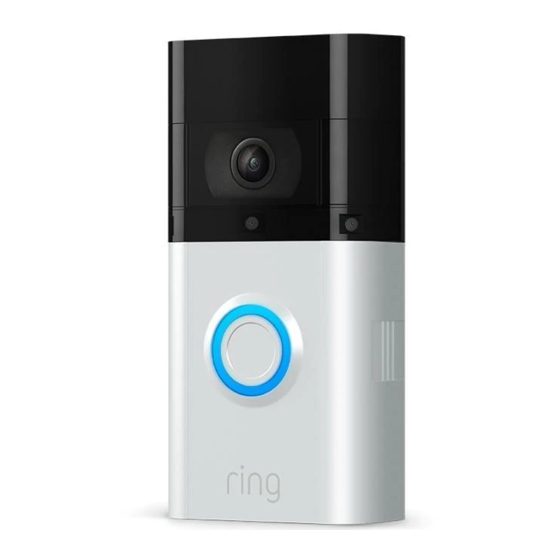
ring Video Doorbell User Manual
2nd gen
Hide thumbs
Also See for Video Doorbell:
- Manual (29 pages) ,
- Getting started (20 pages) ,
- Setup and installation manual (20 pages)
Table of Contents
Advertisement
Quick Links
Advertisement
Table of Contents

Summary of Contents for ring Video Doorbell
- Page 1 User Guide Video Doorbell (2nd Gen)
- Page 2 Video Doorbell. included cable. Once the light ring is fully lit, it’s ready to use. Search for “Ring” in one of the app stores below, or visit ring.com/app Please make sure you have your wifi password ready for the next step.
- Page 3 Ring app. Camera field of view Motion detection range If you have problems with video quality after installation, you may need to move your router closer to your door, or add a Ring Chime Pro. Learn more at: ring.com/chime-pro...
- Page 4 Your Video Doorbell is compatible with doorbell systems supplying 8-24 volts AC at 50 or 60Hz, 40VA max. Do not wire your Video Doorbell to a DC-powered intercom system or other DC power source. Do you have an in-home chime? The chime can ring when the button on your Video Doorbell is pressed.
- Page 5 Mark the screw holes. Install the mounting bracket. Use the bracket as a template to mark If you’re wiring your Video Doorbell, feed the four corner holes. The recommended your doorbell wires through the hole in the install height is 4 feet above the ground.
- Page 6 Doorbell onto the tab near the top of the screw. The order doesn’t matter. mounting bracket. Your Video Doorbell is compatible with Then, let the Doorbell pivot down to sit doorbell systems supplying 8-24 volts AC, flush on its bracket.
- Page 7 CAUTION! Using the wrong screw to secure the Video Doorbell could damage the battery and create a potential fire hazard. Your Video Doorbell is now ready to use. If you wired in your Video Doorbell, you can now restore power at the breaker.
- Page 8 *$4 AUD, $4.50 NZD, $5 CAD per month or www.ring.com/warranty $40 AUD, $45 NZD, $50 CAD per year © 2020 Ring LLC or its affiliates. **$15 AUD/NZD/CAD per month or Ring and all related marks are trademarks of Ring LLC $150 AUD/NZD/CAD per year or its affiliates.


Need help?
Do you have a question about the Video Doorbell and is the answer not in the manual?
Questions and answers