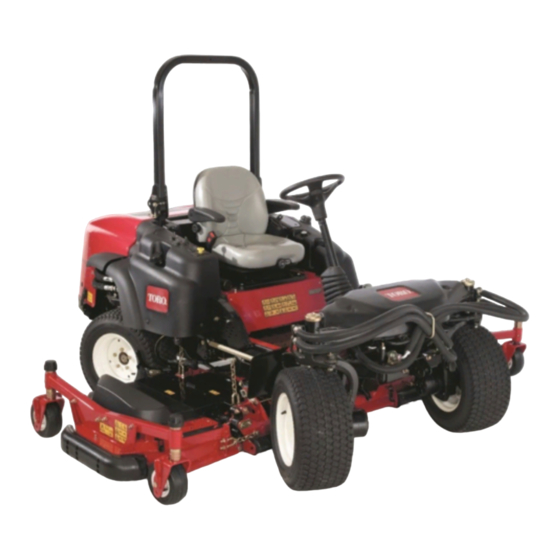
Toro Groundsmaster 360 Installation Instructions Manual
Winter attachment joystick kit
Hide thumbs
Also See for Groundsmaster 360:
- Service manual (497 pages) ,
- Operator's manual (72 pages) ,
- Installation instructions (4 pages)
Table of Contents
Advertisement
Quick Links
Winter Attachment Joystick Kit
Groundsmaster
Model No. 31219
This product contains a chemical or chemicals known to the State of California to
Safety
Safety and Instructional Decals
Safety decals and instructions are easily visible to the operator and are located near any area of potential
danger. Replace any decal that is damaged or missing.
1. Joystick
4. Joystick
forward—lower
the attachment
2. Joystick
5. Left toggle
right—actuate
the attachment
in the second
direction
3. Joystick
6. Right toggle
rearward—raise
the attachment
© 2016—The Toro® Company
8111 Lyndale Avenue South
Bloomington, MN 55420
®
360 Multi-Purpose Machine
Proposition 65 Warning
cause cancer, birth defects, or reproductive harm.
121–5356
7. Read the
left—actuate
Operator's
the attachment
Manual.
in the first
direction
Register at www.Toro.com.
WARNING
CALIFORNIA
Form No. 3408-175 Rev A
Installation Instructions
Original Instructions (EN)
All Rights Reserved *3408-175* A
Printed in the USA
Advertisement
Table of Contents

Summary of Contents for Toro Groundsmaster 360
- Page 1 3. Joystick 6. Right toggle rearward—raise the attachment © 2016—The Toro® Company Register at www.Toro.com. Original Instructions (EN) All Rights Reserved *3408-175* A 8111 Lyndale Avenue South Printed in the USA Bloomington, MN 55420...
-
Page 2: Installation
No parts required Download the software. Important: You must install the Quick-Attach Front Frame Kit (Toro Model No. 30509) to operate the Winter Attachment Joystick Kit. Important: You must install the Electrical Accessory Kit (Toro Model No. 115-0019) to operate the Winter... -
Page 3: Preparing The Machine
Preparing the Machine Routing the Joystick Wire Harness No Parts Required Parts needed for this procedure: Procedure Joystick wire harness 1. Park the machine on a level surface, and lower the mower deck and any attachments to the ground. Procedure 2. -
Page 4: Installing The Joystick
Installing the Joystick Pod Installing the Joystick Mounting Bracket Parts needed for this procedure: Parts needed for this procedure: Joystick Clip Joystick pod mounting bracket Joystick pod cover Carriage bolt Joystick pod Clip Hex-head screw (1/4 x 5/8 inch) Knob Procedure Decal 1. -
Page 5: Connecting The Battery
Commercial Products Distributor Service staff person. Note: You will need a laptop PC (with the current version Figure 4 of Toro Diag software loaded onto it) and a communication cable for USB to CAN for Toro Diag. 1. Toggle switch 8. -
Page 6: Operation
Operation G017857 Figure 5 1. Joystick forward 5. Toggle left 2. Joystick right 6. Toggle right 3. Joystick back 7. Joystick 4. Joystick left... - Page 7 Operating the V-Plow Refer to Figure 5 while reading the table below. Note: To toggle off, remove your thumb from the toggle switch. Joystick Action Toggle (Left or Right side) On Forward Lowers the V-plow Back Raises the V-plow Left without toggle Actuates the first side of the plow Right without toggle Actuates the first side of the plow...


