
Related Manuals for Philips SQM5822


Summary of Contents for Philips SQM5822
- Page 1 Register your product and get support at www.philips.com/welcome SQM5822/27 EN F ixed wall mount...
-
Page 2: Table Of Contents
Table of contents Important Your fixed wall mount 2.1 What’s in the box 2.2 What you’ll also need Installing your wall mount 3.1 Mounting the wall plate (drywall) 3.2 Mounting the wall plate (concrete) 3.3 Attaching the arms to the display Mounting and adjusting Guarantee and service... -
Page 3: Important
2 Your fixed wall mount Congratulations on your purchase and welcome to Philips! To fully benefit from the support that Philips offers, register your product at www.philips.com/welcome. Designed to fit most TV brands with a focus on safety and ease of use. -
Page 4: What's In The Box
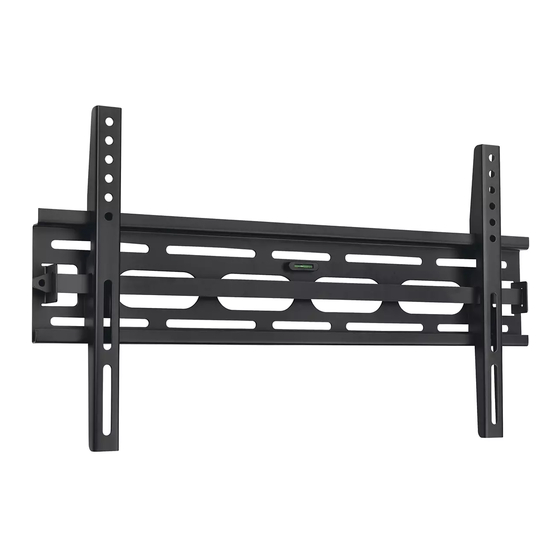
2.1 What’s in the box. Wall mount Cotter pin Bag #1 (A) M4x12 Bolt (x4) Bag #2 (D) M5x12 Bolt (x4) Bag #3 (G) M6x12 Bolt (x4) Bag #4 (J) M8x16 Bolt (x4) Bag #5 (M) Small Spacer (x4) Bag #6 (P) Concrete Anchor (x6) 2.2 What you’ll also need. -
Page 5: Installing Your Wall Mount
Installing your wall mount In this chapter, the basic steps to get you started are described. Warning Carefully read the safety precautions in “Section 1 Important” before you install the wall mount. 3.1 Mounting the wall plate (drywall) Warning For safety reasons, this mount must be secured to two adjacent wood studs at least 16”... -
Page 6: Attaching The Arms To The Display
With the help of another person, place the mount against the wall and level it using the bubble guide. While another person holds the mount in place, mark six locations on the wall where the mount is to be installed. Set the mount aside and drill a 3/8”... -
Page 7: Mounting And Adjusting
Attach the arms to the back of your display using the bolts identified in Steps 1 and 2 and the corresponding lock washer (C, F, I, or L). You will need to use the M6 washers (O) if you are using the M4, M5, or M6 bolts. -
Page 8: Guarantee And Service
A small cotter pint can be used to secure your display to the mount. (included). 5 Guarantee and service Please contact Philips directly if you have any questions in the installation process of the wall mount. Call 1-919-573-7854. Limited One-Year Warranty:... - Page 10 © 2009 Koninklijke Philips Electronics All rights reserved. SQM5822_27_UM_V2.0...