
Related Manuals for Ventair STANZA STA1203WH-LR


Summary of Contents for Ventair STANZA STA1203WH-LR
- Page 1 Model:STA1203WH-LR CAUTION: TO REDUCE THE RISK OF FIRE OR INJURY.DO NOT USE THIS PRODUCT IN CONJUNCTION WITH ANY VARIABLE (RHEOSTAT) WALL CONTROL.
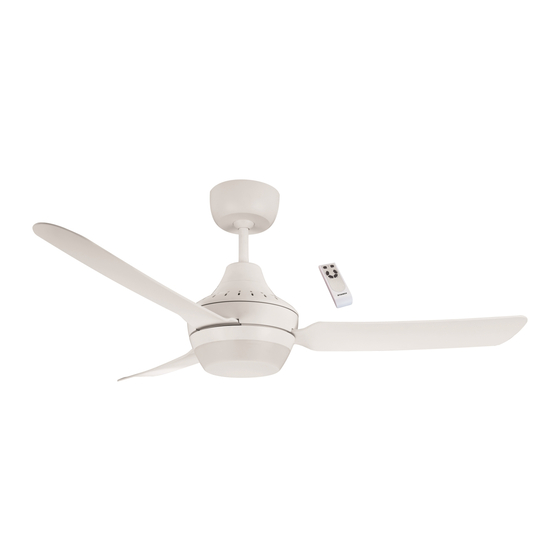
- Page 3 2 x B22 Base STA1203WH-LR Max 15W each 2.Blades Light Frame 10.Remote Handpiece...
- Page 4 Mounting Plate Hanging System 1. Ceiling Joist 2. Canopy 3. Quick Fix terminal Block 4. Earth Wire 5. Hanger Ball 6. Down Rod 7. Safety steel wire(to be fixed on the bracket via the screw) Fix Bracket to ceiling. 1.Ensure Bracing structure is solid and firm and able to support at least 4 times the weight of the actual fan .
- Page 5 BLADE ASSEMBLY(2 X OPTIONS) ( Turning counterclockwise direction) 1. Remove light diffuser 2. Option 1 Quick Fix blade assembly ( Option 2 ) Attaching blades in hanging position NOTE: 'THIS SIDE UP' text on the blades should be facing upwards once the fan is installed .
-
Page 6: Remote Instructions
INSTALLING REMOTE RECEIVER Note:All Screws and fittings provided with this fan must be used for fixing and assembly. (Failure to use screws supplied may result in voiding of warranty) REMOTE INSTRUCTIONS 4. 2x AAA BATTERIES The remote handpiece comes factory paired with the remote receiver, but if you wish to pair a remote handpiece to multiple fans, see below Step 1:Turn “OFF”... - Page 7 WARINING:FOR YOUR SAFETY,ENSURE THE MAINS SUPPLY IS SWITCHED OFF TO THE WIRING CIRCUIT BEFORE PERFORMING ANY ELECTRICAL TASKS.
- Page 8 Is there any unusual noise such as knocking or ticking? Are the blade holding screws or screws for the suspended parts loose? 1. Make sure the bracing structure is sound and firm. Even slightly loose fixings may create knocking or ticking that will reverberate down through the fan. Upper canopy should not be in contact with the ceiling surface.
- Page 9 diffuser...
Need help?
Do you have a question about the STANZA STA1203WH-LR and is the answer not in the manual?
Questions and answers