
Related Manuals for Ventair Stanza STA1203WH


Summary of Contents for Ventair Stanza STA1203WH
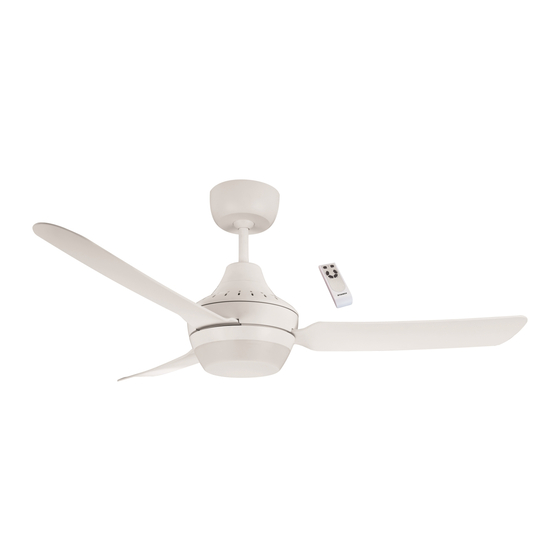
- Page 1 Model:- STA1203WH Model:- STA1203WHLED Installation Instructions PLEASE READ INSTRUCTIONS IN CONJUNCTION WITH ILLUSTRATIONS. PLEASE SAVE THESE INSTRUCTIONS. ...
-
Page 2: Safety And Guidance Notes
Thank you for purchasing this quality Ventair ceiling fan. To ensure correct function and safety, Please read all Instructions before using the product and keep all Instructions for future reference. The information contained in the following pages has been prepared to ensure you of trouble-free operation of your ceiling fan. - Page 3 8. Do not insert anything into the fan blades while the fan is operating. This will damage the blades and upset the balance of the unit causing the unit to wobble. 9. After the fan is completely installed, make sure that all connections are secured and tightened to prevent any problems.
-
Page 4: Specification
SPECIFICATION Model Light Wattage Fan Wattage Voltage Frequency Net Weight (Hz) (kg) STA1203WH No light 55 Watts 220-240V 50Hz 6.80kg STA1203WHLED 20 Watts 55 Watts 220-240V 50Hz 7.0kg This 433MHz radio equipment complies with the RED Directive 2014/53 EU and the below relevant standards:- ETSI EN 300 220-1 V3.1.1 (2017-02), ETSI EN 300 220-1 V3.2.1( 2018-06), ETSI EN 301 489-1 V2.2.3 (2019-11), ETSI EN 301 489-3 V2.1.1 ( 2019-03) -
Page 5: Installation
Installation Mounting Plate Hanging System 1. Ceiling Joist Canopy 3. Quick Fix terminal Block 4. Earth Wire 5. Hanger Ball 6. Down Rod 7. Safety steel wire(to be fixed on the bracket via the screw Fix Bracket to ceiling. ... - Page 6 Blade Assembly (Section Option below) 1. Remove Fascia or LED (Turning counter clockwise direction) 2. Option 1:- Quick Fix blade assembly 3. Option 2:- Attaching blades in hanging position Note:- “THIS SIDE UP” text on the blades should be facing upwards once the fan is installed. ...
-
Page 7: Light Kit Assembly
Light kit assembly ... -
Page 8: Installing The Remote Control
WARNING:- For your safety, Ensure the mains supply is switched off and isolated before performing any electrical work. Installing the Remote Control The remote handset comes factory paired with the remote receiver, but if you wish to pair a remote hand piece to multiple fans, see below. - Page 9 Wiring Diagram for isolation switch with Remote Control WARNING:- For your safety, Ensure the mains supply is switched off and isolated before performing any electrical work. Step 1 : Connect the EARTH wire to the terminal port marked “ “on the terminal block mounting bracket. ...
-
Page 10: Installation Tips
Installation Tips The fixing point for the fan must be able to support the weight of 4 times that of the net weight of the fan. If you are mounting the fan to a ceiling junction box, the box and fixing must be able to support the moving weight of the fan and must not twist or work loose. ... - Page 11 Is there any unusual noise such as knocking or ticking? Are the blade holding screws or screws for the suspended parts loose? 1. Make sure the bracing structure is sound and firm. Even slightly loose fixings may create knocking or ticking that will reverberate down through the fan. Upper canopy should not be in contact with the ceiling surface.
- Page 12 Do not dispose of electrical products with household waste. Please check with your local council for advice on disposal or recycling. If electrical appliances are disposed of In landfills or dumps, hazardous substances can leak into the groundwater and get into the food chain, damaging your ...
Need help?
Do you have a question about the Stanza STA1203WH and is the answer not in the manual?
Questions and answers
The light works fine with the remote. The fan does not. It stays on a low speed and unable to be adjusted.