
Related Manuals for Toro TEMPUS-AG-MV


Summary of Contents for Toro TEMPUS-AG-MV
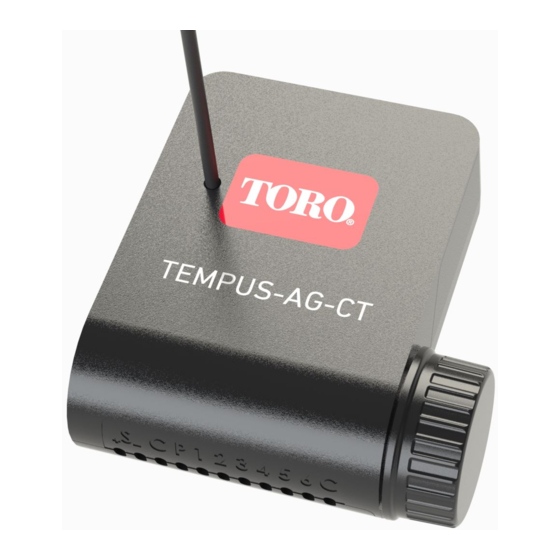
- Page 1 Toro TEMPUS-AG-MV TEMPUS-AG-MV Controller 1 Station TEMPUS-AG-MV Main valve or pump controller USER'S GUIDE...
- Page 2 Toro TEMPUS-AG-MV INTRODUCTION The TEMPUS-AG-MV is a Bluetooth / LoRa connected device. This is a 9V battery supplied controller with an autonomy about approximately a year (the autonomy depends on the programming). It allows to manage a main valve or a pump (via a pump relay). It also offers a water meter input which can control the water flow from the same agriculture controllers network TEMPUS-AG-CT and transmit the information remotely through a TEMPUS-AG-4G / WF.
-
Page 3: Specification
INSTALLATION GUIDELINES The TEMPUS-AG-MV is made for an outdoor use. You can place it in a buried valve box or set it on a wall (concrete, brick, cinder blocks) with 2 dowels and 2 countersunk screws of 4X40 not included. -
Page 4: App Download
Toro TEMPUS-AG-MV Step 1 APP DOWNLOAD 1. On your smartphone or tablet, go to the «App Store» or to the «Play Store». 2. Search for «The Toro Company» in the search bar. Developer The Toro Company 3. Once found, download the MyToroTempus App 4. - Page 5 Step 3 PAIRING WITH TEMPUS-AG-4G/WF The TEMPUS-AG-MV needs to be paired to a 4G gateway (TEMPUS-AG-4G) or WiFi gateway (TEMPUS-AG-WF) in order to enable a remote connection and a management from the app or from the MyToroTempusAG platform. In order to optimize the LoRa radio communication between gateways and controllers, it is recommended to instal the controller at least at 800 meters from the gateway.
- Page 6 Toro TEMPUS-AG-MV Step 4 SOLENOID VALVE / PUMP WIRING 1. Plug the TEMPUS-AG-MV as shown below. Use 9V solenoid valves only for a main valve and a relay for a pump use. +S- C P 1 +S- C P 1...
- Page 7 Toro TEMPUS-AG-MV Step 6 SET FLOWMETER 1. Check the «Instant Value». Instant Value: Ensures that the volume consumed indicated on the water meter is the same as the volume displayed on the application. If a gap is noted, check the wiring (polarity) or adjust the «COEFFICIENT» value.
- Page 8 Toro TEMPUS-AG-MV Step 7 SET PRESSURE SWITCH How to set up manually your pressure switch on the pipe : 1. The contact of the pressure switch is normally closed. 2. Put the pressure switch on the pipe. 3. Remove the cap on the head of the pressure switch.
-
Page 9: General Information
This symbol indicates that the product is waterproof. This symbol indicates that the supply voltage is a direct voltage. TEMPUS-AG-MV Controller 1 Station For Technical Assistance: © 2021 The Toro Company service.wb.emea@toro.com Toro ag 1588 N. Marshall Avenue, El Cajon, CA 92020-1523, USA... - Page 10 être installé à proximité ou être utilisé en conjonction avec une autre antenne ou un autre émetteur. TEMPUS-AG-MV Controller 1 Station For Technical Assistance: © 2021 The Toro Company service.wb.emea@toro.com Toro ag 1588 N. Marshall Avenue, El Cajon, CA 92020-1523, USA...