
Related Manuals for Chefman RJ40-6-V2


Summary of Contents for Chefman RJ40-6-V2
- Page 1 ® RJ40-6-V2 ALL-IN-ONE PROGRAMMABLE multi-cooker CUSTOMER SUPPORT: 888.315.6553 | customersupport@chefman.com RJ40-6-V2...
- Page 2 Thank you for your purchase! Every Chefman product is manufactured to the highest standards of performance and safety. We are confident that you will be so satisfied with your purchase that Chefman will be your go-to company for appliances in the future.
- Page 3 With the Multi-Cooker in your kitchen, it’s all about maximum flavor and minimum fuss. To learn more about how to use your Chefman Multi-Cooker and all the ways it fits into your cooking style, read this User Guide in full.
- Page 4 FUN FACTS • It’s a myth that different tastes are detected on different regions of our tongues. As you chew, hot foods cool in your mouth increasing the taste intensity. The taste receptors on our tongues are most active when foods are between 86°-95°F. •...
- Page 5 CONTENTS Safety Instructions Features 4 Operating Instructions 12 Cleaning and Maintenance 13 Troubleshooting 14 Cooking Tips/FAQ 15 Notes 17 Terms and Conditions 18 Warranty Card...
- Page 6 Do not operate the Multi-Cooker with a damaged cord or plug or after the appliance malfunctions or has been damaged in any manner. In such instances, Contact Chefman Customer Support. The use of accessory attachments not recommended by Chefman may cause injuries.
- Page 7 Before each use, inspect the power cord for cuts and/or abrasion marks. If any are found, this indicates that the appliance should be serviced, and the power cord replaced. Please return it to an authorized service representative or contact Chefman Customer Service for assistance.
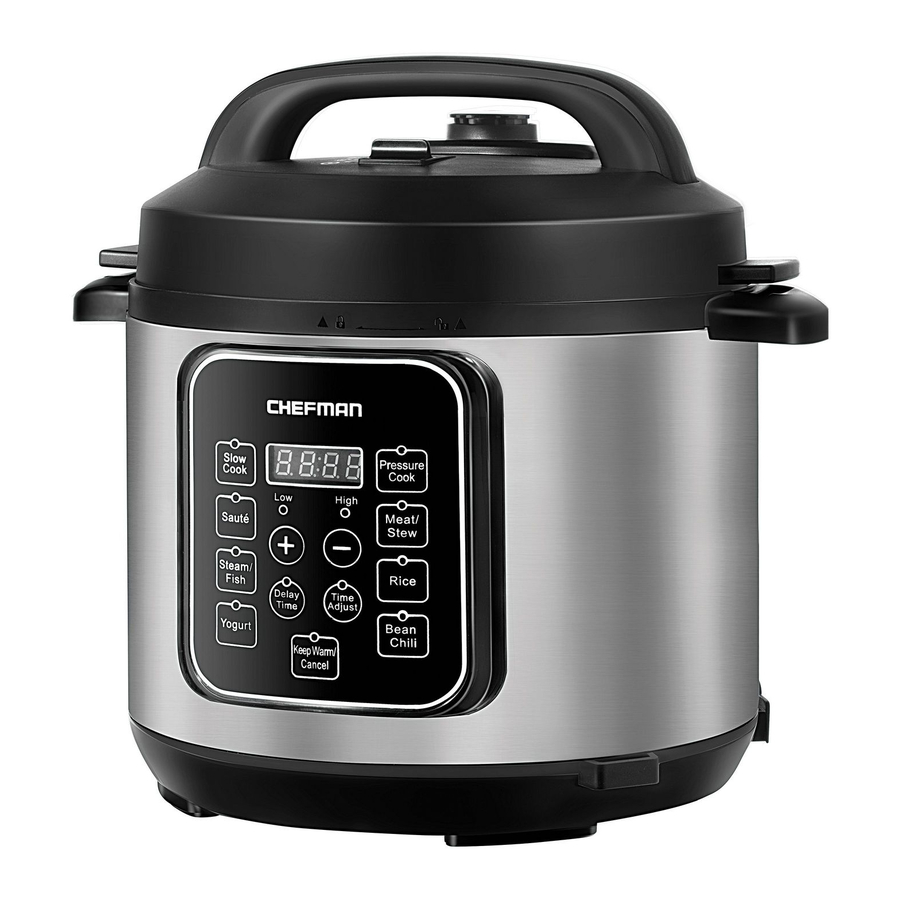
- Page 8 13. Gasket (inner sealing ring of lid) Side Carrying Handles 14. Touch Screen Control Panel Open and Close Markers (on lid) 15. Spoon Holder 16. Removable Power Cord Condensation Cup (holder located on 17. Steam Rack back of unit) RJ40-6-V2...
- Page 9 12 mins Bean/Chili (requires lid) Low and High 1 min-4 hours 30 mins Delay None 30 mins-24 hours 30 mins Keep Warm None Displays 00:00 Customizable on screen (runs up to 99 hours max, but do not run that long) RJ40-6-V2...
- Page 10 The Unlocked position will cause an error message. NOTE: The pressure regulator valve is removable for cleaning; pull it up to remove. Never attempt to remove it while the Multi-Cooker is in use or while the floating valve is lifted. RJ40-6-V2...
- Page 11 When using the Multi-Cooker for pressure cooking and then it switches to KEEP WARM, if you don’t Quick Release the pressure, the pressure will slowly come down on its own. The lid cannot be opened until the pressure is completely released. RJ40-6-V2...
- Page 12 Otherwise, put 1 cup of liquid into the cooking pot with the steam rack. Do not fill the cooking pot more than 2/3 of the way. Place the food on the steam rack and secure the lid and ensure the pressure release switch is set to Locked. RJ40-6-V2...
- Page 13 PRESSURE COOK. Use the - and + buttons to adjust the cooking time. Press PRESSURE COOK again to select high or low pressure. NOTE: Before pressing START, the DELAY TIME may be set using the instructions on page 11. RJ40-6-V2...
- Page 14 When the programmed time fully counts down, the Multi-Cooker will beep 3 times and then switch to KEEP WARM. 10. At this point, the pressure may be released naturally or by using the quick release method. (Refer to page 6 for instructions). RJ40-6-V2...
- Page 15 (high or low) will illuminate above the word. The time will begin to count down once the pressure is reached. Right before the Multi-Cooker comes to pressure, it will hiss slightly, and steam will start to escape from the pressure regulator valve. RJ40-6-V2...
- Page 16 Do not allow KEEP WARM to run for the maximum time. The KEEP WARM function may also be set individually by pressing KEEP WARM until the light above the button illuminates. 00:00 will display on the screen while KEEP WARM runs. RJ40-6-V2...
- Page 17 The Multi-Cooker lid and housing are NOT dishwasher safe. Dry everything thoroughly before storing. TIP: To avoid residual odors, store the gasket in a bag of coffee grounds in the freezer or soak it in a mixture of equal parts water and vinegar. RJ40-6-V2...
- Page 18 Check the lid to make sure it's in Lid is not closed properly. the right position. Temperature sensor is not ERR1 connected. Call Chefman Customer Support for assistance. Temperature sensor at the bottom ERR2 is not working. Unplug the Multi-Cooker and let it...
- Page 19 Can traditional stovetop recipes be converted for the Multi-Cooker? • Almost all stovetop recipes may be made in the Multi-Cooker. Pressure cooking doesn't result in as much evaporation as stovetop cooking, so keep in mind that not as much liquid will be needed. RJ40-6-V2...
- Page 20 NOTES RJ40-6-V2...
- Page 21 NOTES RJ40-6-V2...
- Page 22 CALIFORNIA RESIDENTS ONLY: California law provides that for In-Warranty Service, California residents have the option of returning a nonconforming product (A) to the store where it was purchased or (B) to another retail store which sells CHEFMAN ® products of the same type.
- Page 23 *We recommend you keep the receipt with this warranty card Retail Store of Purchase: Description of Malfunction: Return your completed warranty card to: ALL-IN-ONE PROGRAMMABLE MODEL: MULTI-COOKER RJ Brands RJ40-6-V2 200 Performance Drive Suite 207 Mahwah, NJ 888.315.6553 customersupport@chefman.com 07495 Phone lines available Monday to Friday, 9am-5pm EST...
- Page 24 ® C H E F M A N .C O M | @ M YC H E F M A N RJ40-6-V2...
Need help?
Do you have a question about the RJ40-6-V2 and is the answer not in the manual?
Questions and answers