
Related Manuals for Chefman RJ49-BLACK-V2-DS


Summary of Contents for Chefman RJ49-BLACK-V2-DS
- Page 1 DIE-CAST ELECTRIC DELI SLICER This is your one-stop guide to using your product. From the below links, you can jump ahead to a specific document if desired. QUICK LINKS • Quick Start Guide • User Guide RJ49-BLACK-V2-DS...
- Page 2 QUICK START GUIDE Before FIRST USE 1. Carefully remove slicer from box. 2. Carefully remove and discard plastic guards from blade and back support plate. Remove any other plastic wrapping, shipping materials, and stickers. 3. Carefully remove the blade as directed on page 8 in the User Guide. Carefully wash blade with soapy water and dry well.
- Page 3 HOW To Operate Slicer STEP 2 Place food on food carriage and secure with food holder. CAUTION: Always use food holder when slicing to ensure your fingers stay away from the blade. STEP 3 Turn the slicer on and turn the dial to adjust the blade to your desired thickness.
- Page 4 HOW To Operate Slicer STEP 4 Using the food holder, slide the food carriage back and forth across the blade. CAUTION: The slicer should only be run for 10 minutes at a time to avoid overheating the motor. STEP 5 When you are done, turn the power switch to OFF and unplug the slicer;...
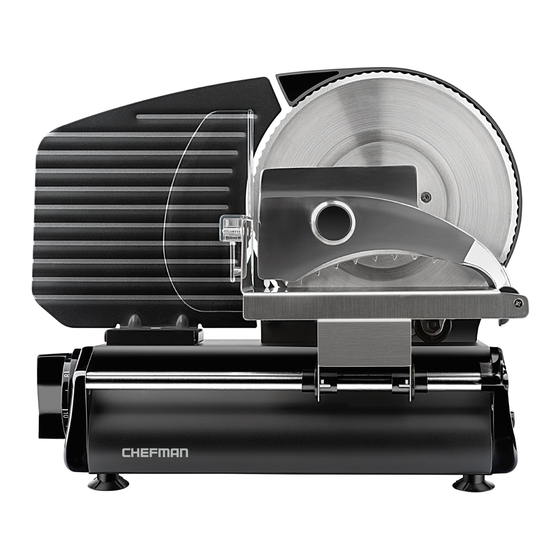
- Page 5 Features Back support plate Food holder Sturdy backing keeps slicing steady Sharp prongs and a sure-grip handle holds food securely in place On/off switch Carriage rod release mechanism Powers the single-speed blade Hard black plastic piece that slides right to Thickness adjustment knob allow for easy release of food carriage Set to slice from paper-thin to ½...
- Page 6 COOKING FORWARD™ Welcome! Whether this is your first Chefman appliance purchase or you’re already part of our family, we’re happy to be cooking with you. With your new deli slicer, you can slice meat and cheese like a pro, customizing slices as you like. But don’t stop there. Slice vegetables quickly and consistently for delicious gratins and salads or make quick work of cutting a crusty loaf of bread into perfectly even pieces.
- Page 7 CONTENTS Safety Instructions 4 Features Operating Instructions Cleaning and Maintenance 10 Food Slicer Tips 11 Terms and Conditions 12 Chefman Warranty Registration ®...
- Page 8 Never put the unit near a hot burner, in an oven or in a dishwasher. Do not operate the appliance with a damaged cord or plug, or after the appliance malfunctions. Return to the nearest authorized dealer or contact Chefman Customer Service. 10. Do not use outdoors or for anything other than intended use.
- Page 9 Do not pull on power cord to disconnect. 15. Always place the appliance on a firm and stable surface when not in use. 16. The use of attachments not recommended or sold by Chefman may cause fire, electric shock or injury.
- Page 10 To disconnect appliance, grasp the plug and remove it from the outlet. Before each use, inspect the power cord for cuts and/or abrasion marks. If any are found, this indicates that the appliance should be serviced, and the power cord replaced. Please contact Chefman Customer Support for assistance. ®...
- Page 11 FEATURES Back support plate Food holder Sturdy backing keeps slicing steady Sharp prongs and a sure-grip handle holds food securely in place On/off switch Powers the single-speed blade Carriage rod release mechanism Hard black plastic piece that slides right to Thickness adjustment knob allow for easy release of food carriage Set to slice from paper-thin to ½...
- Page 12 OPERATING INSTRUCTIONS BEFORE FIRST USE Before using the slicer for the first time, please read all instructions and safety information. 1. Carefully remove slicer from box. 2. Carefully remove and discard plastic guards from blade and back support plate. Remove any other plastic wrapping, shipping materials, and stickers.
- Page 13 OPERATING INSTRUCTIONS Secure food in place by pressing the food holder into the side of the food side or by lowering the food holder onto the top of the food. CAUTION: Always use food holder when slicing to ensure your fingers stay away from the blade. Turn the slicer on.
- Page 14 CLEANING AND MAINTENANCE It’s necessary to clean the slicer at regular intervals as perishable food scraps can accumulate on the slicer or behind the cutting blade. 1. Before starting to clean the slicer, switch it off and unplug it. This is very important as inadvertently starting the blade while cleaning can lead to injury.
- Page 15 CLEANING AND MAINTENANCE HOW TO REMOVE SLICING BLADE CAUTION: Be sure the slicer is turned off and unplugged before removing or reassembling the blade. To remove the slicing blade: 1. Turn the center locking mechanism clockwise to unlock the blade. As you turn the mechanism, carefully hold onto the blade to prevent it from falling as the mechanism is loosened.
- Page 16 CLEANING AND MAINTENANCE HOW TO REMOVE FOOD CARRIAGE The entire food carriage assembly can be removed from the unit to enable easy and thorough cleaning. Be careful when handling it as the heavy food holder moves and has sharp areas on it. To remove food carriage: 1.
- Page 17 CLEANING AND MAINTENANCE To put food carriage back on: 1. If necessary, slide the carriage rod release mechanism to the right to release the carriage rod. Or, if rod was removed from slicer, reinsert rod into left side of unit, leaving right side free. 2.
- Page 18 TERMS & CONDITIONS Limited Warranty Our products are backed by a limited 1-year warranty. To register, follow the instructions on the Chefman ® Warranty Registration page in this User Guide. We offer a limited 1-year warranty from the date of purchase. This warranty is void without proof of purchase within the USA, Canada or Mexico.
- Page 19 WARRANTIES OF ANY KIND IS REQUIRED BY ANY JURISDICTION, INCLUDING MERCHANTABILITY AND FITNESS FOR A PARTICULAR PURPOSE, THE DURATION OF SUCH IMPOSED IMPLIED WARRANTY IS LIMITED TO ONE (1) YEAR. THIS WARRANTY DOES NOT COVER, AND CHEFMAN® SHALL NOT BE LIABLE, FOR INCIDENTAL, INDIRECT, SPECIAL OR CONSEQUENTIAL DAMAGES, INCLUDING WITHOUT LIMITATION, DAMAGE TO, OR LOSS OF USE OF THE PRODUCT, OR LOST SALES OR PROFITS OR DELAY OR FAILURE TO PREFORM THIS WARRANTY OBLIGATION.
- Page 20 ® C H E F M A N .C O M | @ M YC H E F M A N © C H E F M A N 2 0 1 9...
Need help?
Do you have a question about the RJ49-BLACK-V2-DS and is the answer not in the manual?
Questions and answers
How do I order replacement parts?