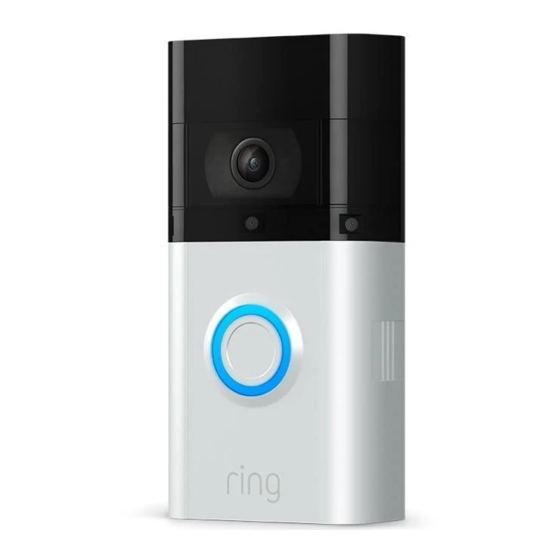
ring Video Doorbell User Manual
Hide thumbs
Also See for Video Doorbell:
- Manual (29 pages) ,
- Getting started (20 pages) ,
- Setup and installation manual (20 pages)
Advertisement
Quick Links
Advertisement

Subscribe to Our Youtube Channel
Summary of Contents for ring Video Doorbell
- Page 1 Video Doorbell User Manual...
- Page 2 You’ll need it for the next step, If you have problems with video quality after installation, wifi password. so write it down below. you may need to move your router closer to your door, or add a Ring Chime Pro. Learn more at: ring.com/chime-pro...
- Page 3 If you’re connecting to existing doorbell wiring that’s higher than four 1.2 metres and want to angle your Video Doorbell down for a better view, you can purchase a Wedge Kit here: ring.com/accessories Camera field of view...
- Page 4 Please see the included pamphlet for installation precautions. Install the Use the phillips head side of the mounting Ring screwdriver to screw in the bracket. mounting bracket. Keep the orange screwdriver handy. You’ll need it to take your Video Doorbell off the wall for charging.
- Page 5 Install the If you’re wiring your Video Connect Connect your doorbell wires to the mounting Doorbell, feed your doorbell the wires. screws on the rear of your Video bracket. wires through the hole in the (optional) Doorbell. It doesn’t matter which (continued) mounting bracket first.
- Page 6 Video Doorbell. Then, let the Doorbell pivot down to sit flush on its bracket. Your Video If you wired in your Video Doorbell, Doorbell is now you can now restore power at ready to use. the breaker.
- Page 7 Worldwide: +1 310 929 7085 For a list of all our customer support numbers, visit: ring.com/callus To review your warranty coverage, please visit www.eu.ring.com/pages/warranty © 2020 Ring LLC or its affiliates. Ring and all related logos are trademarks of Ring LLC or its affiliates.


Need help?
Do you have a question about the Video Doorbell and is the answer not in the manual?
Questions and answers