Table of Contents
Advertisement
Quick Links
Scope of delivery
Start by making sure that the contents of the package are complete.
The DMX 6Fire USB package should contain the following items:
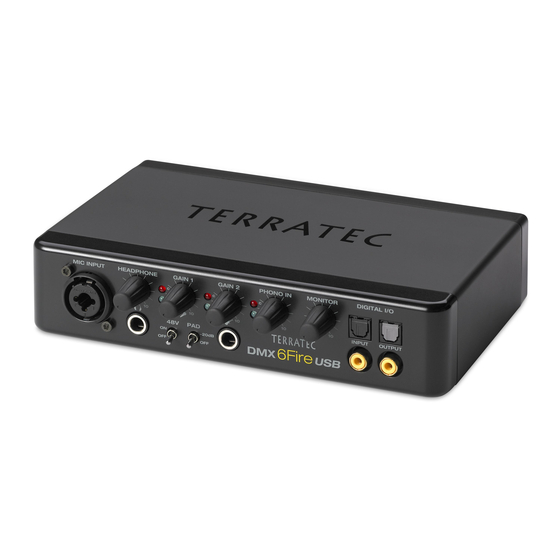
■ 1 DMX 6Fire USB (the hardware)
■ 1 network adapter
■ 1 adapter (6.3 mm -> 3.5 mm, stereo)
■ 1 adapter (6.3 mm -> 3.5 mm, mono)
■ 1 USB cable (1.8 m)
■ 1 installation CD (with detailed manual)
■ 1 Quick Start Guide
■ 1 customer service card
■ 1 registration card with the serial number
Windows installation—step by step
Please follow the steps in the same exact order they appear here.
Do not connect the DMX 6Fire USB to the computer until the point
specified in the installation.
Which operating system?
The DMX 6Fire USB can be used with Windows XP (Service Pack 2) and Windows Vista
only. Older Windows versions are not supported. Please ensure that you have applied the
current service packs and updates to your Windows installation.
Power supply
The DMX 6Fire USB is not bus-powered and thus cannot be used without a power
adapter. Power supply via USB cable is feasible only for smaller USB devices; more
complex systems like the DMX 6Fire USB require a separate power connection. More-
over, a power adapter provides much "cleaner" power than a USB port, which has a
noticeable effect on sound quality. Therefore, connect the 6Fire to the power adapter
provided.
Advertisement
Table of Contents

Related Manuals for TerraTec DMX 6Fire USB


Summary of Contents for TerraTec DMX 6Fire USB
- Page 1 Which operating system? The DMX 6Fire USB can be used with Windows XP (Service Pack 2) and Windows Vista only. Older Windows versions are not supported. Please ensure that you have applied the current service packs and updates to your Windows installation.
- Page 2 If AutoStart does not open, start it manually by double-clicking "Autorun.exe" in the CD's root directory. The "Installation" button in AutoStart installs the DMX 6Fire USB driver and the Control Panel in your op- erating system. 3. The installation wizard will now display its welcome message.
- Page 3 4. The default destination for the installation is specified in the following window. If you prefer another folder, select "Browse..." and choose the corresponding directory. Then, click "Install". 5. You can disregard the following safety warning without concern. Click "Con- tinue Anyway" to continue. DMX 6Fire USB (English)
- Page 4 6. The driver is now installed in the system, and as soon as the message below appears, you can connect the DMX 6Fire USB to your computer's USB 2.0 port using the cable provided. Windows XP will automatically recognise the device as new hardware and open the driver installation dialogue.
- Page 5 9. This concludes part 1 of the installation, so click "Finish". DMX 6Fire USB (English)
- Page 6 Here, too, select "Install the software automatically" to install the second batch of drivers. 11. Again, you can safely ignore the message that the software did not pass the "Windows Logo test". DMX 6Fire USB (English)
- Page 7 If AutoStart does not open, start it manually by double-clicking "Auto- run.exe" in the CD's root directory. The "Software Installation" button in AutoStart installs the DMX 6Fire USB driver and the Control Panel in your operating system. DMX 6Fire USB (English)
- Page 8 4. The driver is now installed in the system, and as soon as the message below ap- pears, you can connect the DMX 6Fire USB to your computer's USB 2.0 port using the cable provided. Windows Vista will automatically recognise the device as new hardware.
Need help?
Do you have a question about the DMX 6Fire USB and is the answer not in the manual?
Questions and answers