Table of Contents
Advertisement
Advertisement
Table of Contents

Related Manuals for Glow-worm Easicom 3 24c


Summary of Contents for Glow-worm Easicom 3 24c
- Page 1 The energy you need Operating instruc- tions Easicom 3 GB, IE...
-
Page 2: Table Of Contents
Contents Contents Care and maintenance ....12 Maintenance ........ 12 Safety ..........3 Caring for the product ....13 Action-related warnings ....3 Checking the condensate drain Intended use ........3 pipework and tundish....13 General safety information..... 4 Decommissioning...... 13 Notes on the documentation .. -
Page 3: Safety
Safety 1 ral heating installations and for 1 Safety hot water generation. 1.1 Action-related warnings Intended use includes the fol- Classification of action-re- lowing: lated warnings – observance of the operating The action-related warnings instructions included for the are classified in accordance product and any other system with the severity of the pos- components... -
Page 4: General Safety Information
1 Safety ▶ Do not use any electrical 1.3 General safety switches, mains plugs, door- information bells, telephones or other 1.3.1 Installation by skilled communication systems in tradesmen only the building. The installation, inspection, ▶ If it is safe to do so, close the maintenance and repair of the emergency control valve or product, as well as the gas ratio... - Page 5 Safety 1 – The product itself flue gas may escape into the room air. – to the gas, air, water and electricity supplies ▶ In order to operate the – to the entire flue gas install- product, ensure that the con- ation densate siphon is always full.
-
Page 6: Notes On The Documentation
1 Safety lead to corrosion on the product 2 Notes on the and in the air/flue pipe. documentation ▶ Ensure that the supply of 2.1 Observing other applicable combustion air is always free documents of fluorine, chlorine, sulphur, ▶ You must observe all operating instruc- dust, etc. -
Page 7: Product Description 3
The serial number is located on the identi- at the manufacturer's site. fication plate (1) and in the short operating instructions (2) (→ Page 7). 3.2 Benchmark Glow-worm is a licensed member of the 3.4 Information on the Benchmark Scheme. identification plate Benchmark places responsibilities on both The identification plate is mounted on the manufacturers and installers. -
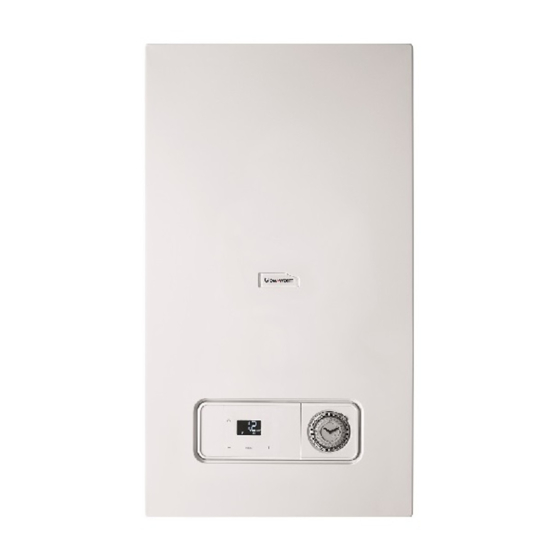
Page 8: Overview Of The Operator Control Elements
3 Product description 3.6 Description of the display Information Meaning on the identi- fication plate Type: Xx3(x) Approved flue gas connec- tions Maximum water pressure in heating mode Maximum water pressure in hot water handling mode V/Hz Electric connection Max. electrical power con- Operating in- Display showing sumption... -
Page 9: Timer
Operation 4 3.8 Timer 4.1.2 Starting up the product You can control the heating mode using the timer. Position for Functionality the selection switch Heating mode permanently switched off Heating mode intervals in ▶ Press the (2) button. accordance with the timer ◁... -
Page 10: Filling The Heating Installation
4 Operation 2. Slowly open the filling cock, as shown Note to you by the competent person. If the heating flow temperature 3. Fill with water until the required filling is shown in the display, press pressure is reached. and hold the buttons 4. -
Page 11: Setting The Heating Flow Temperature
Operation 4 1. Press the button to set the tem- 4.7 Setting the heating flow perature. temperature 2. Press the button to confirm. Conditions: Temperature controlled by the boiler, with heating mode activated 4.9 Setting the timer ▶ Set the heating flow temperature on the Applicability: Timer, Great Britain boiler (→... -
Page 12: Frost Protection
5 Troubleshooting 4.11 Frost protection Conditions: If you are away from home for a pro- longed period 4.11.1 The product's frost ▶ Contact a qualified competent person, protection function who can completely drain the system or The frost protection function switches on protect the heating circuit by adding a the boiler and the pump as soon as the special frost protection agent for heating... -
Page 13: Caring For The Product
(e.g. holiday), you should dress that is provided on the back page, or also close the gas isolator cock and the you can visit www.glow-worm.co.uk. cold water stop cock. 0020239561_01 Easicom 3 Operating instructions... -
Page 14: Appendix
Appendix Appendix A Operator level – overview Setting level Values Unit Increment, select Default set- ting Min. Max. Heating installation Pressure in the heating in- Current value stallation ℃ Heating flow temperature Current value Preset in the system Hot water generation Hot water temperature Current value ℃... - Page 15 Appendix Fault Cause Measure Product does not There is air in the heating installation. Purging the radiators start up: If the problem occurs again: In- form the competent person – No hot water After three successive failed ignition Press the button.
- Page 16 Publisher/manufacturer Glow-worm Nottingham Road ‒ Belper ‒ Derbyshire DE56 1JT Telephone 01773 824639 ‒ Technical helpline 0330 100 7679 After sales service 0330 100 3142 www.glow-worm.co.uk 0020239561_01 0020239561_01 ‒ 12.07.2019 © These instructions, or parts thereof, are protected by copyright and may be reproduced or distributed only with the manufacturer's written consent.
Need help?
Do you have a question about the Easicom 3 24c and is the answer not in the manual?
Questions and answers
How does easicom 3 25r know what heating temperature is required?
The Glow-worm Easicom 3 24c determines the required heating temperature by allowing the user to set the heating flow temperature using the control buttons. The display shows the current heating flow temperature, and the user can adjust it by increasing or decreasing the selected setting. The system also considers the filling pressure in the heating installation and the operating mode, which are displayed on the basic display.
This answer is automatically generated