Advertisement
Quick Links
Advertisement

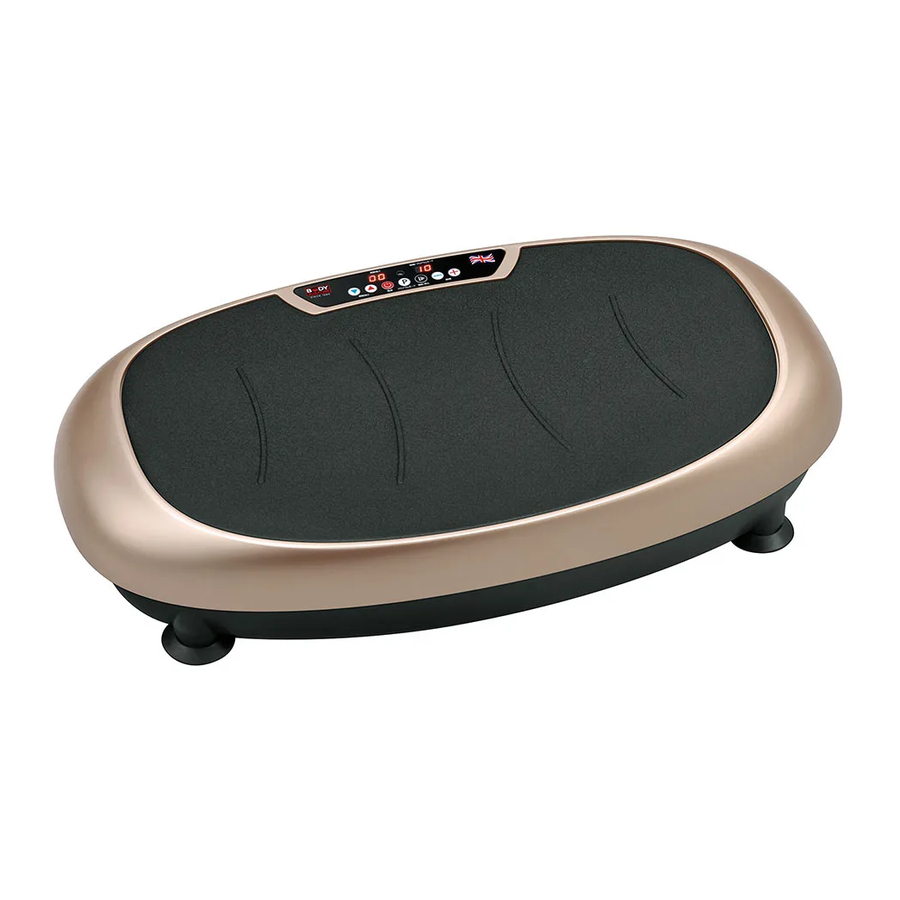
Summary of Contents for Body Sculpture BM-1491
- Page 1 BM-1491 POWER TRAINER WITH REMOTE CONTROL www.body--sculpture.com...
-
Page 2: Important Safety Information
Please keep this manual in a safe place for reference. WARNING: To reduce the risk of burns, fire, electric shock, or injury to persons, read the following important precautions and information before operating the Power Trainer. Cautions for using environment . - Page 3 10. Please close the power switch and pull the plug when meet outage condition or when it would be stopped in using for a long time. 11. Please stop using the product immediately when power cord damaged, turn off the power switch, pull the power cord away from the socket, and contact with professional serviceman.
- Page 4 ON/OFF: press the button with plug in, LCD shows “00””10”, the machine is with on and standby.. AUTO PROGRAM: “P1””P2””P3”. START/PAUSE: Insert the power plug, switch on power. Then press the button to start the product. In the operation of the machine, press this button to stop working.
-
Page 6: E X E R C I S E S E S S I On
Stand upright on the product, with two legs apart, the distance of two legs is mostly the same as width of shoulder. This position can exercise waists and buttocks to relieve stress on waists and sculpture beautiful curve of buttocks. Stand on the product with two legs apart and knees bent. - Page 7 Using your POWER TRAINER provides several benefits, improves physical fitness, tones your muscles, helps improve circulation, in conjunction with a calorie controlled diet, help you lose weight. 1.The Warm Up Phase This stage helps get the blood flowing around the body and the muscles working properly. It will also reduce the risk of cramp and muscle injury.
-
Page 8: Storage And Cleaning
& & ⚫ Clean the POWER TRAINER with a damp cloth and mild detergent only, immediately after use. Ensure the POWER TRAINER is unplugged from the mains before cleaning is undertaken. ⚫ Regularly check the cord/cable for damage before storing. Should the cord/cable be damaged in any way it must only be replaced by the manufacturer or a similar qualified person in order to avoid person in order to avoid a hazard. -
Page 10: Parts List
PARTS LIST PART DESCRIPTION QTY PART DESCRIPTION Rubber plate Plastic support plug Upper cover Support shaft pin Main plate Flat washer (8) Philip screw ST4*12 Nylon nut (M8) Motor Console overlay Belt Philip screw (ST3*6) Spring washer (8) Console board Hex bolt (M8*10) Remote controller Main frame... - Page 11 Use this space to record your own exercise routine results.
- Page 12 COPYRIGHT ©2018 BY BODY SCULPTURE INTERNATIONAL EUROPE LTD ALL RIGHTS RESERVED.UNAUTHORIZED DUPLICATION IS A VIOLATION OF LAW.


Need help?
Do you have a question about the BM-1491 and is the answer not in the manual?
Questions and answers