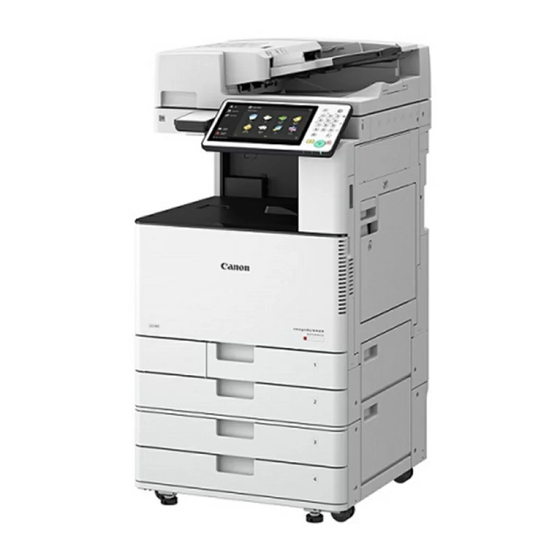
Canon imageRUNNER ADVANCE Manual
Scan & send
Hide thumbs
Also See for imageRUNNER ADVANCE:
- Easy operation manual (27 pages) ,
- Easy operation manual (26 pages) ,
- User manual (111 pages)

Related Manuals for Canon imageRUNNER ADVANCE


Summary of Contents for Canon imageRUNNER ADVANCE
- Page 1 ADVANCE Scan & Send Guide www.copy-pro.com 46 Fowle Street Woburn, MA 01801 (781) 938 - 7555...
- Page 2 Sections Unregistered Destination to File Unregistered Destination to Email How to change the Scan Settings How to change Scan Options File Formats...
- Page 3 1. Scan to unregistered destination The section below will show you how to scan to unregistered destinations for scanning to file and email. 1.1 Unregistered Destination to File After selecting the Scan & Send button, press New Destination. 1. Press File...
- Page 4 2. Press the Protocol drop-down list and select Windows SMB and then select Browse 3. Select the desired Workgroup 4. Select the desired file server and press down. 5. If the Enter Network Password Screen is displayed enter your user name and network password (one that never expires).
- Page 5 1A Unregistered Destination to Email 2. After setting the Scan & Send button press New Destination. Press Email 4. Enter the Email address and press ok 5. Place documents in the Feeder or onto the Platen Glass, and once you have selected your settings, press the green start button.
- Page 6 2. How to change the Scan Settings Using the settings panel on the right hand side of the destination screen you can configure scan settings for a particular scan job in the following way; • Auto (Color/Gray) – Press this button to change your colour settings. The document can be scanned using the following options;...
- Page 7 • Auto Color / Gray will determine which pages have color and which are B&W and scan them in the appropriate manner. This will result in the best scan quality at the minimum file size for mixed documents. Select the setting you require so it becomes highlighted and press OK 300x300 dpi –...
- Page 8 • Auto size - Auto will automatically detect the paper size e.g. A4, A3. Select any other size to manually restrict the scan area size. • PDF (Compact) - This is the default file format. It will be sent as a .PDF but compacted to reduce the file size.
- Page 9 3. How to change Scan Options 1. Select the Options button in the bottom right corner of the screen. 2. The below screen will be displayed. Please see below for more detailed information on scanning options.
- Page 10 • Text/Photo Mode - This mode is best suited for scanning originals containing both text and photos, such as magazines or catalogues. • Photo Mode -This mode is best suited for scanning photos printed on photographic paper, or photo originals containing halftones (e.g., printed photos).
- Page 11 • You can scan the original by erasing the background colour. This mode enables you to scan by erasing the background colour of the original. This feature is especially useful for scanning originals, such as catalogues and paper that have turned yellow from age. Adjust Press [ ] to move the indicator to the left to make the exposure lighter, or...
- Page 12 • This mode enables you to erase shadows and lines that appear when scanning various types of originals. The following three Erase Frame modes are available. Erase Original This mode erases the Frame dark borders and frame lines that appear around the scanned image if the original is smaller than the...
- Page 13 4. How to change Scan Options • The Delayed Send mode enables you to store a send job in memory, and have it sent at a later time. • This mode enables you to preview the scanned data of your originals and to check the page count before sending your document.
- Page 14 • Press to have the machine notify the user through e-mail when the fax job is finished. (iSend settings must be activated before use) • You can enter a file name for the document when sending or storing to e- mail, I-fax, server, or mail box.
-
Page 15: File Formats
4. File Formats The default settings will be set to PDF (Compact). However, you can change to any other option by touching the PDF (Compact) button. Sends the file in the PDF format regardless • PDF of the color mode. Sends the file in the XPS format regardless •... - Page 16 • Add Digital Signature Will allow you to send an electronic signature attached to the document either Device specific or user specific, this is to enable enhanced encryption for document security. • Reader Extensions Enables the recipient of the document to annotate PDF’s without a fully licensed version of Adobe.