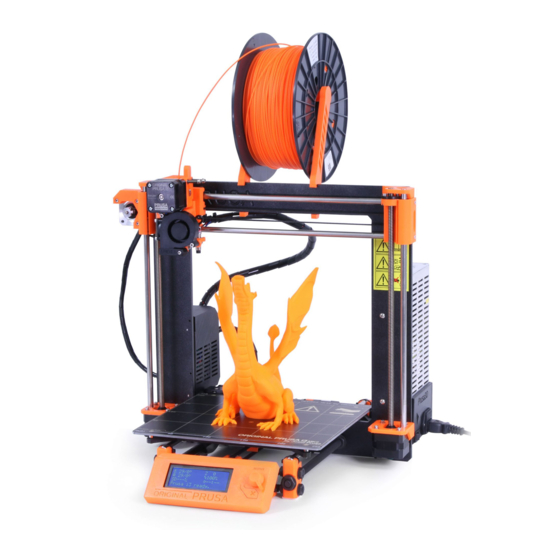
Summary of Contents for Prusa Research Prusa i3 MK2
- Page 1 1. Y-carriage drilling Guide ID: 131 - Draft: 2016-06-21 1. Y-carriage drilling Written By: Josef Prusa This document was generated on 2019-09-29 05:44:59 AM (MST). © 2019 manual.prusa3d.com/ Page 1 of 10...
- Page 2 1. Y-carriage drilling Guide ID: 131 - Draft: 2016-06-21 Step 1 — Assembling P-drill Y-identifier 3 mm drill bit P-drill M3x12 screws M3nS square nuts Step 2 Insert M3nS square nuts into the nut traps in the P-drill printed part. ...
- Page 3 1. Y-carriage drilling Guide ID: 131 - Draft: 2016-06-21 Step 3 Insert the 3 mm drill bit all the way into the P-drill printed part. Step 4 Insert M3x12 screws into the P-drill printed part. Tighten the screws as much as possible. ...
- Page 4 1. Y-carriage drilling Guide ID: 131 - Draft: 2016-06-21 Step 5 Highlighted holes are going to be drilled in next steps. This document was generated on 2019-09-29 05:44:59 AM (MST). © 2019 manual.prusa3d.com/ Page 4 of 10...
- Page 5 1. Y-carriage drilling Guide ID: 131 - Draft: 2016-06-21 Step 6 — Drilling Y-carriage Using the assembled P-drill, drill out the threads from highlighted holes. Rotate with the P-drill assembly clockwise as shown in the picture. Apply force in direction through the Y-carriage. ...
- Page 6 1. Y-carriage drilling Guide ID: 131 - Draft: 2016-06-21 Step 7 — Identifying Y-carriage orientation Place the Y-identifier on the Y- carriage as shown in the picture (pin on the top, hanged on y-carriage, pushed as down as possible). Make sure that you have the side ...
- Page 7 1. Y-carriage drilling Guide ID: 131 - Draft: 2016-06-21 Step 8 — Y-carriage identifying Make sure that holes in the middle of the Y-carriage are perfectly aligned with the Y-identifier as shown in the second picture. If they are not, turn the Y-carriage upside down and it should be aligned. ...
- Page 8 1. Y-carriage drilling Guide ID: 131 - Draft: 2016-06-21 Step 9 — Y-carriage marking DOUBLE CHECK that you have aligned holes in the Y-carriage with the Y-identifier and two bearing holes on the left hand side. Make a mark on the top left corner ...
- Page 9 1. Y-carriage drilling Guide ID: 131 - Draft: 2016-06-21 Step 10 — [OPTIONAL] PSU reinforcement part 1 If you want to have as close experience as MK2 builders have, you can glue PSU-reinfocement part to you power supply. PSU-reinforcement ...
- Page 10 Great, you're ready to assemble the new MK2 printer. You can continue by: 1. Introduction from Assembly Instructions for Original Prusa i3 MK2. Happy assembling! This document was generated on 2019-09-29 05:44:59 AM (MST). © 2019 manual.prusa3d.com/ Page 10 of 10...


Need help?
Do you have a question about the Prusa i3 MK2 and is the answer not in the manual?
Questions and answers