Advertisement
Quick Start Guide
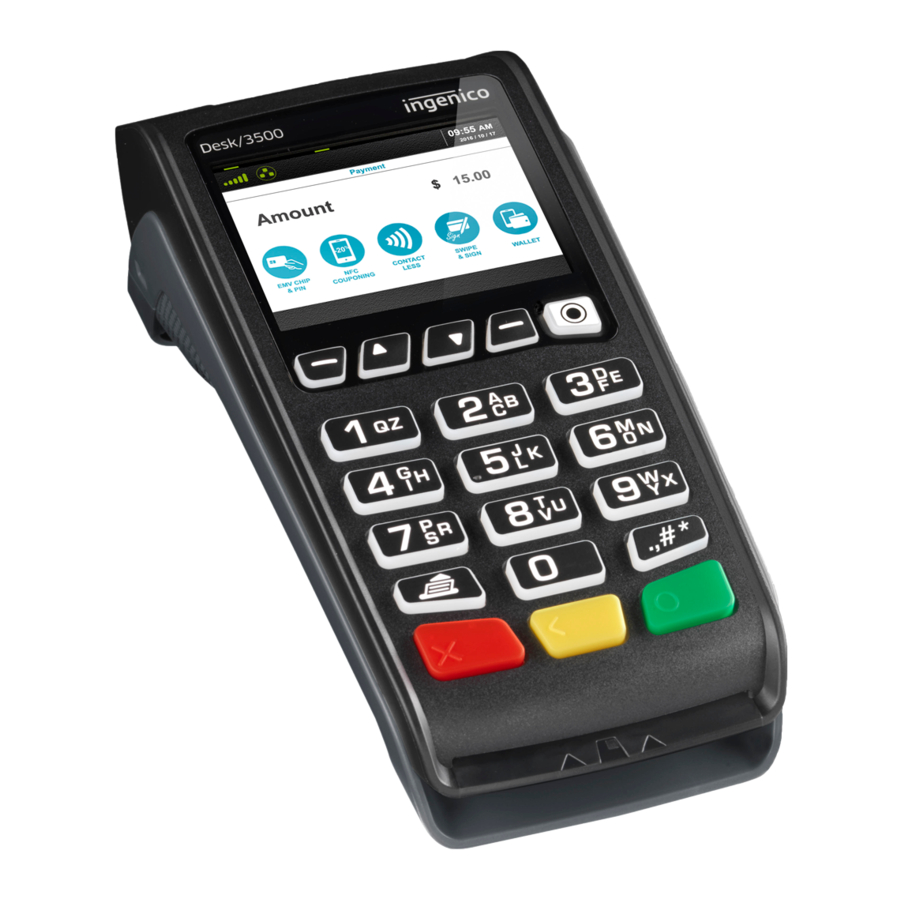
Desk/3500
GETTING STARTED
Set up your Desk/3500 in a convenient location close to a
power source and an Ethernet socket or telephone socket.
To connect an Ethernet cable, connect one side to your
Ethernet output or router and the other side to the 'ETH' socket
on the Magic box.
Finally, connect the power supply unit into the power socket on
your Magic box and to the mains power. After a short
initialisation process, the terminal will display READY or an
idle logo.
SUPERVISOR PASSWORD
The default supervisor password is 999999. Please note: The
terminal will require you to change this to a new code of your
choosing before you can process any transactions.
FUNCTION KEYS
Function Keys: These appear on the screen interface where
they may be used as shortcuts, such as F1 to print a
contactless receipt or F4 to access a sale menu.
Menu key: To enter the application menus press the
key from the idle (READY) screen. Pressing the
again moves to the next menu (if available).
Correction keys: When entering numbers or letters,
yellow
'Clear' key deletes one character at a time; while the
red
'Cancel' key deletes the entire line (this key also cancels
transactions).
Confirmation key: The
anything that has been typed into the terminal.
Note: Press and hold the yellow key and the dot key together
to turn the terminal off.
green
'Enter' key is used to confirm
Ethernet
Menu
Menu
key
the
Cancel key
Power In
Menu key
Dot key
Enter key
Clear key
Advertisement
Table of Contents

Related Manuals for Ingenico group Desk/3500


Summary of Contents for Ingenico group Desk/3500
- Page 1 Quick Start Guide Desk/3500 GETTING STARTED Set up your Desk/3500 in a convenient location close to a power source and an Ethernet socket or telephone socket. To connect an Ethernet cable, connect one side to your Ethernet output or router and the other side to the ‘ETH’ socket on the Magic box.
-
Page 2: The Chip Card Reader
THE CHIP CARD READER Customer cards must be inserted as shown, with the chip upwards. Push the card fully into the slot below the keypad and follow the instructions on screen. If you see a “BAD READ” message, check the card orientation and try again. - Page 3 TRANSACTION RECEIPT – (MERCHANT COPY – CHIP & PIN CARD) Merchant Name Merchant Address 1 Merchant Address 2 Terminal ID Merchant ID M:12345678 Sequence Number TID:22160000 SCH ID:12345678901234567 Scheme Reference ID Transaction WAITER:12345 TABLE:12345 Referencing HANDSET:01 VISA DEBIT Card Issuer AID: A0000000031010 VISA DEBIT Card AID &...
-
Page 4: Declined And Void Receipts
DECLINED AND VOID RECEIPTS Merchant Name Merchant Address 1 Merchant Address 2 Terminal ID Merchant ID M:****5678 Sequence Number TID:***0000 WAITER:02 Transaction TABLE:00000010 Referencing HANDSET:01 Card Issuer VISA DEBIT Card Number ************1111 EXP 12/20 Card Details STT 12/17 EXP for Expiry Date ISS 1 STT for Start Date Entry Method... -
Page 5: End Of Day Reports
END OF DAY REPORTS To access the reports menu press the Menu key twice, then “REPORTS”. Enter the Supervisor password and press green key. END OF DAY: One touch function that prints both the “Z REPORT” and the “BANKING” report. This MUST be done at the end of each day that you trade.
Need help?
Do you have a question about the Desk/3500 and is the answer not in the manual?
Questions and answers