Table of Contents
Advertisement
Advertisement
Table of Contents

Related Manuals for York Fitness C420


Summary of Contents for York Fitness C420
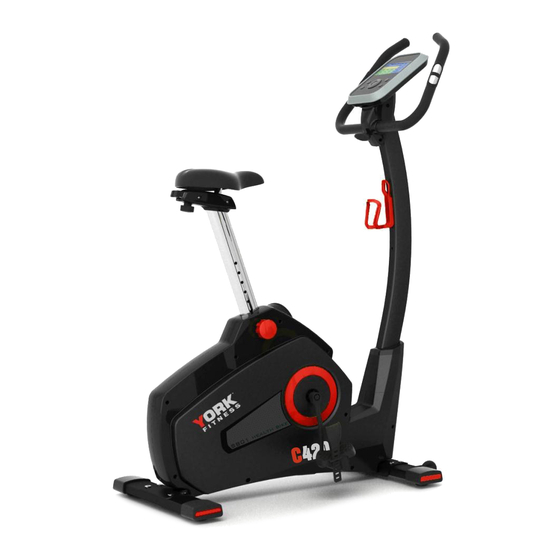
- Page 1 Owner’s Manual York C420 Bike Item YRK53102A www.yorkfitness.com.au...
- Page 2 • Due to our continuous policy of product development, • Use only the adjustment setting as described in the York Fitness reserves the right to change instructions. Always use the correct adjustment specifications without notice. pin / fixing. •...
- Page 3 Assembling your Bike PRECAUTIONS: WARNING: This exercise bike has been designed and constructed to provide maximum safety. Nevertheless, certain precautions should be taken when using exercise equipment. Read the whole manual before assembling and using the equipment. The following safety precautions should also be observed: 1.
- Page 4 Hardware Kit www.yorkfitness.com.au...
- Page 5 Exploded Diagram main frame www.yorkfitness.com.au...
- Page 6 Main Frame www.yorkfitness.com.au...
- Page 7 Part list Description QTY/ unit Console Screw Axle assembly set Hex. bolt Axle Big pulley Bushing Flywheel assembly set Star washer Bushing Bearing Flat washer Bearing One way bearing Flywheel Axle for flywheel C-10 Bearing C-11 Small pulley C-12 Bearing C-13 Flat washer Idler set...
- Page 8 Description QTY/ unit Adjustor Hex, Nut Gear box set Nylok screw Crank, left Screw Screw Chain cover, left Crank, right Chain cover, right Nylon nut Flat washer H-11 Bearing H-12 Knob for seat post H-13 Sleeve for seat post H-14 Sensor set H-15 Screw for sensor set...
- Page 9 Description QTY/ unit Rear stabilizer Seat post assembly Seat post Knob for seat slider Flat washer Cover for seat slider (right) Screw End cap for slider Fixing screw set for slider Seat slider Cover for seat slider (right) Handlebar assembly End cap for handlebar Handlebar Foam grip for handlebar...
- Page 10 Assembly Main Frame 1. Assemble the Front Stabilizer (J) and the Rear Stabilizer (L) to the Main Frame Assemble and secure tightly using the Allen Head Bolts (P-8) Note. Front Stabilizer has transportation wheels 1. Fix the Right (H-17 R) and Left Pedal (H-17 L) tightly to the Right (H-6) and Left Crank (H-2) 2.
- Page 11 STEP 3 1. Unscrew the Seat Post Knob (H-12) and insert the Seat Post (M) into the Main Frame 2. Adjust the Seat Post (M) to your desired height, and tighten the seat post knob. Note. You can adjust the seat height to the correct position after the Bike is fully assembled.
- Page 12 STEP 4 Nuts 1. Loosen the pre-assembled nuts underneath the Seat (H-18) and assemble the Seat onto the Seat Post (M-1) 2. Fix seat to the desired angle and use supplied tools to tighten the nuts to secure the Seat (H-18) www.yorkfitness.com.au...
- Page 13 STEP 5 1. Slide the Handlebar Post Cover (H-16) over the Handlebar Post (I) 2. Connect the Upper Cable (I-2) and Lower Cable (G-4) together. 3. Fix the Handlebar Post (I) to the Main Frame, with Screws (E-2) and Washers (E-1), then slide the Handlebar Post Cover (H-16) down to cover.
- Page 14 STEP 6 1. Hold the Handlebar (N) against the bracket on the Handlebar Post and insert the Hand Pulse Wire through the small hole into the top of the Handlebar Post. 2. Assemble the Handlebar (N) to the bracket on the Handlebar Post with Handlebar Clamp (P-1), Washer (P-2), Spring Washer (P-3), and Screw (P-4) 3.
- Page 15 STEP 7 1. Plug in the Upper Cable (I-2) and the Pulse Wire (N-6) into the ports at the back of the Console (A) 2. Assemble the Console (A) with Screw (A-1) STEP 8 1. Fix the Left (H-19) and Right (H-20) Handlebar Covers through the Handlebars and secure with Screws (I-1) and Self-Tapping Screws (P-7) Note.
- Page 16 DISPLAY FUNCTIONS: ITEM DESCRIPTION PULSE .Pulse beats per minute displayed during exercise. .Pulse alarm when over preset target pulse rate. .Rotation per minute .Range 0 ~ 999 WATTS .Workout power consumption .Range 10 ~ 350 MANUAL .Manual mode workout (resistance controlled by the user) PROGRAM .12 standard PROGRAM selections.
- Page 17 OPERATION: POWER ON Plug the power adapter into the wall outlet, once the switch is turned on, the computer will power up displaying all LCD segments for 2 seconds. If the console is left for 4 minutes without pedalling or receiving a pulse input, the console will enter into power saving mode.
- Page 18 H.R.C. mode Press the UP or DOWN key to select a workout program, choose the H.R.C. program and press ENTER to confirm. Press the UP or Down key to select 55%.75%.90% or TAG (TARGET H.R.) (default: 100).and press ENTER to confirm Press the UP or DOWN key to preset your workout TIME.
Need help?
Do you have a question about the C420 and is the answer not in the manual?
Questions and answers