Table of Contents
Advertisement
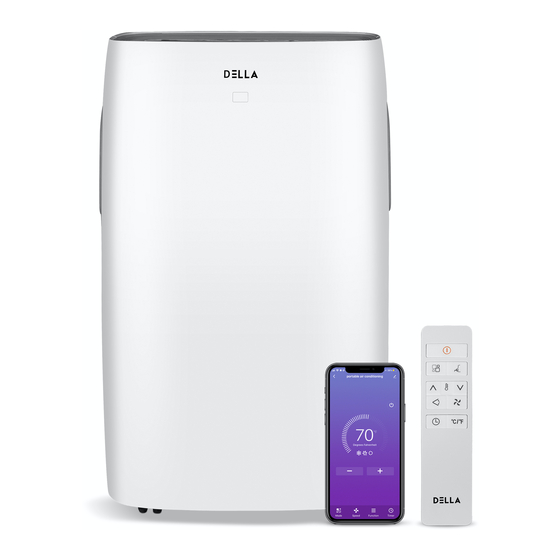
14K BTU PORTABLE AIR CONDITIONER
Model# 048-GM-48384
USER'S MANUAL
⚠CAUTION! WARNING: Do not use this device before reading these instructions.
Congratulation on your purchase of this DELLA protable Air Conditioner.
NOTICE:
If you are missing any parts or have any questions or concerns regarding installation, please call DELLA customer service
at 1-800-863-4143.
Have this manual open and ready for reference
CUSTOMER SERVICE:
manufacturer@dellausa.com
1-800-863-4143
www.dellausa.com
9:00AM - 6:00PM PST (Monday - Friday)
Advertisement
Table of Contents

Related Manuals for DELLA 048-GM-48384


Summary of Contents for DELLA 048-GM-48384
- Page 1 Congratulation on your purchase of this DELLA protable Air Conditioner. NOTICE: If you are missing any parts or have any questions or concerns regarding installation, please call DELLA customer service at 1-800-863-4143. Have this manual open and ready for reference CUSTOMER SERVICE: manufacturer@dellausa.com...
- Page 2 WARNING When using electrical appliances, basic safety precautions should always be followed including the following: READ ALL INSTRUCTIONS BEFORE USE 1. DO NOT shake, hit, or damage the appliance. 15. DO NOT unplug the unit by pulling the power cord. 2.
- Page 3 USER TIPS Portable Air conditioner is ideal for spot cooling. The compressor, condenser, and evaporator are built in a compack unit. The air is dehumidified and cooled while a flexible hose release heat outside. Permanent installation is not necessary, This protable air conditioner is easy to move from room to room and offers a wide range of air conditioning solution.
- Page 4 DIAGRAM Control Panel Air Outlet Handle Air Filter Exhaust Upper Water Drain Air Filter Bottom Water Drain Power Cord Exhaust Connector Exhaust Hose Window Slider Kit Window Adapter Remote Control Drain Hose...
- Page 5 INSTALLATION GUIDE Exhaust Installation The air conditioner needs to be installed next to a window and connect the exhaust hose from the unit to the window. HARDWARE ESTIMATED TIME NEEDED 15 mins 2 person assembly 1. Extend the exhaust hose and attach the connector to one end. 2.
- Page 6 INSTALLATION GUIDE (CONTINUE) 3. Attach the window adapter to the other end of the exhaust hose. 4. Attach the window adapter to the window slider kit.
- Page 7 INSTALLATION GUIDE (CONTINUE) 5. Adjust the length of the window slider kit according to your window.
- Page 8 INSTALLATION GUIDE (CONTINUE) Window Kit Installation 1. Open the window sash and place the window kit horizontally on the stool / vertically against the jamb. Adjust the length of the kit accordingly. 2. Close the window sash on the window kit. NOTE: Cut the window kit if the window width is shorter than the minimum length of the window kit.
- Page 9 INSTALLATION GUIDE (CONTINUE) Grounding This product must be grounded. If it should malfunction or breakdown, grounding provides a path of least resistance for electric current to reduce the risk of electric shock. This product is equipped with a power supply cord that has a three-pronged grounded plug. It must be plugged into a mating grounding type receptacle in accordance with the National Electrical Code and applicable local codes and ordinances.
- Page 10 USER INSTRUCTION (CONTROL PANEL / REMOTE CONTROL) POWER Turn ON / OFF the unit. TIMER Set turn ON / turn OFF timer. SLEEP Enable / Disable sleep mode. + / - Increase / decrease temperature or timer setting. MODE Cycle between cooling, heating, fan, dehumidifying, and fan mode. SPEED Toggle between fan speed.
- Page 11 USER INSTRUCTION (OPERATING) Power ON/ OFF Plug the unit to a grounded socket. The display window will show the ambient temperature and turn into stand-by mode. Press the POWER button once to turn on the unit. Press the POWER button again to turn off the unit. ⚠CAUTION! WARNING: DO NOT unplug the unit when it is still “ON”...
- Page 12 USER INSTRUCTION (OPERATING) Turn ON Timer Press the timer button once when the unit is in stand by mode. (Plugged into power but have not TIMER power on) Press button to set your desire time. Press the timer button again to cancel the setting. TIMER Turn OFF Timer Press the timer...
- Page 13 USER INSTRUCTION (REMOTE BATTERY) Insert or Replace Batteries on Remote Control Remove the cover on the back of the remote control. Replace the old batteries with two new AAA 1.5V alkaline batteries. Replace the cover. NOTE: Remove the batteries if the remote control is not use for an extended period of time. ⚠CAUTION! WARNING: DO NOT mix old and new batteries.
- Page 14 CARE AND MAINTENANCE (WATER DRAINAGE) Condensate will residue inside the unit when operate. Water full indicator will display on the control panel once the tank is full. Drain the water to keep the unit working properly. Manual Drainage 1. Unplug the unit from all power source. 2.
- Page 15 CARE AND MAINTENANCE (WATER DRAINAGE) Continuous Drainage 1. Make sure the unit has been manually drained following the manual drainage instruction. 2. Move the unit to a suitable drain location. 3. Unplug the upper drain plug and insert the water drain hose. 4.
- Page 16 CARE AND MAINTENANCE (AIR FILTER) Cleaning the air filter Air filter need to be cleaned to keep the air conditioner working efficiently. 1. Unplug the unit from all power source. 2. Remove the filter from the unit. 3. Gentle immerse the filter in warm water. 4.
- Page 17 CARE AND MAINTENANCE (STORAGE) Store your unit if not use for an extended period of time against wear and damage. 1. Turn off and unplug the unit from all power source. 2. Drain the water tank completely following the draining instruction. 3.
- Page 18 TROUBLESHOOTING Problem Possible Reasons Solutions Make sure the unit is plugged into No Power a grounded power socket Check circuit breaker. Reset if Circuit breaker triggered necessary Turn on in less than 4 mins after Wait after 4 mins turninf off Unit does not work Cancel timer or wait until turn ON Turn ON timer enabled...
- Page 19 ERROR CODE CHART Error Code Description Solution Water Tank Full Drain the water...
- Page 20 All returns must be shipped back to DELLA return center at the customer’s expense. If the reason of return is a result of an error by DELLA, DELLA will provide a pre-paid shipping label via-email. Boxes for return will not be provided by DELLA. Customer will be responsible to use the original boxex or purchase new boxes.
Need help?
Do you have a question about the 048-GM-48384 and is the answer not in the manual?
Questions and answers