Advertisement
Quick Links
SAVE THESE INSTRUCTIONS
DEALER/INSTALLER: GIVE TO HOMEOWNER
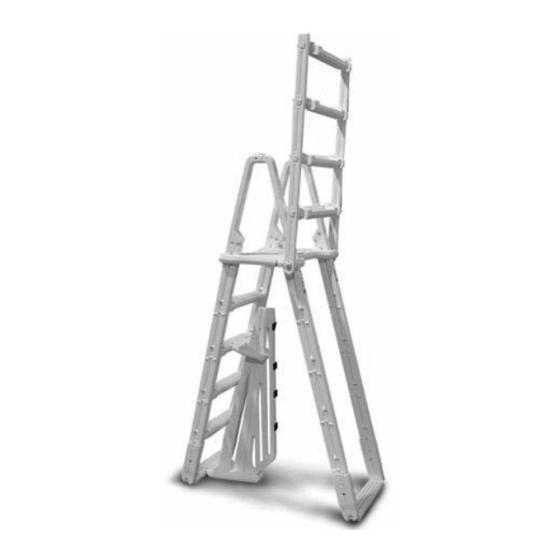
MODEL #7100
"EVOLUTION" A-FRAME LADDER
FOR RIGID-FRAMED POOLS ONLY
ASSEMBLY AND INSTALLATION MANUAL
The Anti-Entrapment Barrier is included in this ladder for the U.S. and Canada only, as required by ANSI/APSP requirements.
The Anti-Entrapment Barrier is NOT intended as a substitute for competent adult supervision.
If you would like to purchase the barrier, please visit our website at: www.conferladders.com
Made in U.S.A. by
Advertisement

Related Manuals for Confer Plastics EVOLUTION 7100


Summary of Contents for Confer Plastics EVOLUTION 7100
- Page 1 SAVE THESE INSTRUCTIONS DEALER/INSTALLER: GIVE TO HOMEOWNER MODEL #7100 “EVOLUTION” A-FRAME LADDER FOR RIGID-FRAMED POOLS ONLY ASSEMBLY AND INSTALLATION MANUAL The Anti-Entrapment Barrier is included in this ladder for the U.S. and Canada only, as required by ANSI/APSP requirements. The Anti-Entrapment Barrier is NOT intended as a substitute for competent adult supervision. If you would like to purchase the barrier, please visit our website at: www.conferladders.com Made in U.S.A.
- Page 2 Model #7100 “EVOLUTION” A-FRAME LADDER Adjustable to fit 48” to 54” Rigid-Framed Above Ground Pools ASSEMBLY INSTRUCTIONS - PLEASE READ BEFORE ATTEMPTING ASSEMBLY Platform Parts List Tools Needed for Assembly 4 - Ladder Legs * - Hammer or mallet Ladder Leg 2 - Tread Connectors * - Phillips Screwdriver 4 - “Swing Up”...
- Page 3 Attach one of the ladder legs to the Tap the ladder leg down onto the ends of opposite ends of the four standard treads the treads. making sure that the curved upper ends are both facing in the same direction. Tap the treads downward so that they seat fully into the bottom of the keyhole slots.
- Page 4 Attach the two remaining standard Position the tread connector as shown, treads to the extension boots (or directly Position the four “swing up” treads with the padlock hole facing upward, and to the ends of the ladder legs if installing onto the ladder legs as shown.
- Page 5 TO PREVENT FLOATING For maximum stability, the ladder should be fas- tened to the top of the pool. Postion the ladder at Fill the “inner” ladder legs with water and cover the the desired location on the pool top seat and mark four fill holes with plugs.
-
Page 6: Safety Rules
CONFER PLASTICS, INC. LIMITED, PRO-RATED WARRANTY Confer Plastics, Inc. warrants their swimming pool ladders to be free from defects in workmanship for one year from date of purchase. After the first year the cost to replace a part is as follows:...
Need help?
Do you have a question about the EVOLUTION 7100 and is the answer not in the manual?
Questions and answers